
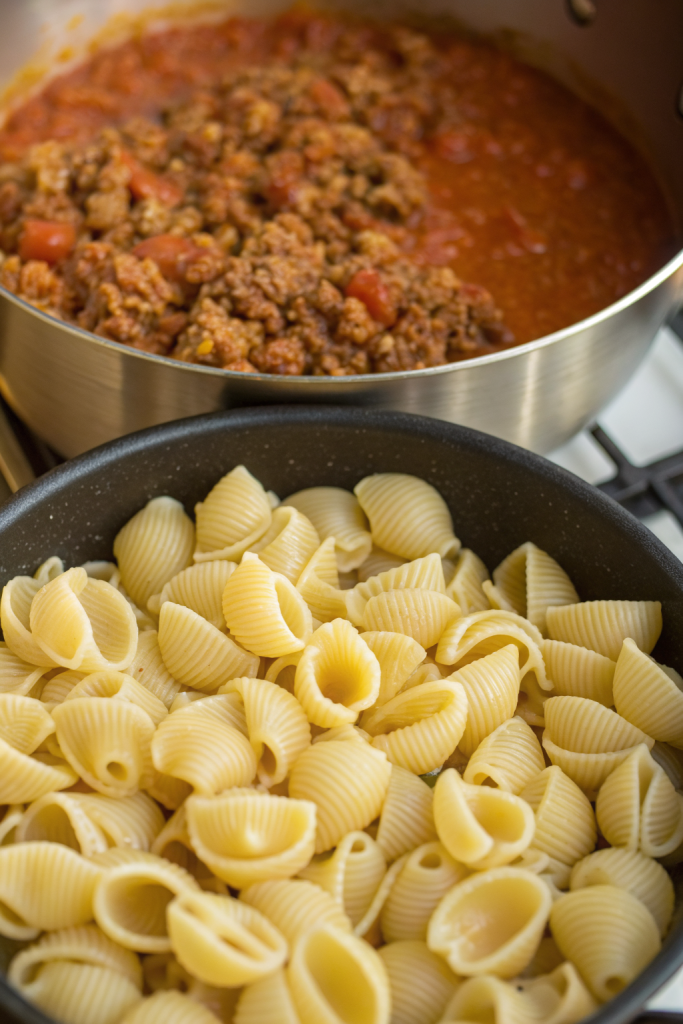
Cheesy Instant Pot Taco Pasta Recipe tastes like a cozy mash-up of beefy tacos and ultra-creamy mac and cheese in one bowl. It works perfectly for busy weeknights when you want dinner on the table in about 25 minutes, start to finish. I tested this on my own picky family, and the pot came back almost suspiciously clean.
Why Choose This Cheesy Instant Pot Taco Pasta Recipe
This Cheesy Instant Pot Taco Pasta Recipe uses simple pantry ingredients and turns them into a rich, cheesy, taco-style pasta that feels like comfort food with a little attitude. You toss everything into one pot, press a button, and dinner practically cooks itself while you set the table and referee homework.
The recipe uses budget-friendly ingredients like ground beef, dry pasta, and jarred salsa, so you stretch your grocery dollars without sacrificing flavor. Cleanup stays easy because you only dirty the Instant Pot and a cutting board.
“My whole family inhaled this Cheesy Instant Pot Taco Pasta Recipe and asked for seconds before I even sat down to eat. ★★★★★”
Ingredients You’ll Need
Protein
- 1 pound ground beef (use 85–90% lean for flavor without too much grease; ground turkey or chicken also works)
- 1 tablespoon olive oil (only if your beef runs very lean or you use poultry)
Pasta
- 12 ounces short pasta such as rotini, cavatappi, or medium shells
- Elbow macaroni works in a pinch, but it softens faster, so watch the timing.
- Whole wheat pasta works, though it turns slightly firmer and nuttier.
Liquids
- 2 cups low sodium beef broth (chicken broth or vegetable broth both work)
- 1 cup water (add a bit more at the end if the pasta looks tight)
- 1 cup jarred salsa (mild, medium, or hot; choose your favorite brand with flavors you already like)
Seasonings
- 2 tablespoons taco seasoning
- Use a packet or 2 tablespoons of homemade.
- Choose low sodium if you feel sensitive to salt.
- 1 teaspoon ground cumin (boosts taco flavor)
- 1 teaspoon chili powder (adjust to taste)
- ½ teaspoon smoked paprika (optional, adds a subtle smoky note)
- ½ teaspoon onion powder
- ½ teaspoon garlic powder
- ½ teaspoon kosher salt, plus more to taste
- ¼ teaspoon black pepper
Veggies & Mix-ins
- 1 small yellow onion, finely chopped
- 2 cloves garlic, minced (or 1 teaspoon garlic from a jar if that fits your style)
- 1 can (10 ounces) diced tomatoes with green chiles, undrained (like Rotel; use mild for kids)
- 1 can (15 ounces) black beans, drained and rinsed (adds protein and fiber)
- 1 cup frozen corn (no need to thaw; canned corn works if you drain it)
Cheesy Goodness
- 2 cups shredded cheddar cheese, divided (sharp cheddar gives the best flavor; pre-shredded works fine here)
- ½ cup shredded Monterey Jack or pepper jack (pepper jack adds a gentle kick)
- 4 ounces cream cheese, cut into cubes and softened slightly (use full-fat for the creamiest texture)
Toppings (optional but highly recommended)
- Sour cream or plain Greek yogurt
- Sliced green onions
- Chopped fresh cilantro
- Diced avocado
- Shredded lettuce
- Diced tomatoes
- Crushed tortilla chips
Equipment
- 6-quart or 8-quart Instant Pot or similar electric pressure cooker
- Wooden spoon or spatula
- Measuring cups and spoons
- Cheese grater if you shred your own cheese
- Small knife and cutting board
Tips & Tricks
-
Brown the meat well so it develops flavor and tastes like real tacos, not boiled beef.
-
Drain excess grease if your beef releases a lot of fat, or the sauce may turn oily.
-
Scrape the bottom of the pot after browning and deglaze with a splash of broth to avoid the burn warning.
-
Layer the ingredients in this order: browned meat, seasonings, pasta, then liquids over the top, and do not stir before cooking.
-
Keep the pasta just covered with liquid; too much liquid gives you soup, too little gives you crunchy pasta.
-
Use short pasta shapes that cook evenly, like rotini, shells, or penne; long pasta clumps.
-
Let the pressure release naturally for 5 minutes, then quick release, so the pasta finishes gently and stays tender.
-
Add the cheese and cream cheese after cooking and stir until everything melts into a thick, glossy sauce.
-
Taste and adjust salt, chili powder, or salsa at the end, since different brands vary in salt and heat.
-
Stir in extra broth or a splash of milk if the pasta thickens too much as it sits.
-
Use Greek yogurt instead of sour cream on top if you want extra protein.
-
Keep toppings on the side so each person customizes their bowl and picky eaters stay happy.
How to Make Cheesy Instant Pot Taco Pasta Recipe
Step 1: Brown the meat and build flavor
Set the Instant Pot to Sauté on high and let it heat for 1 to 2 minutes.
Add olive oil if your meat runs lean, then add the ground beef and chopped onion.
Break the meat into small crumbles and cook until the beef browns and the onion softens, about 5 to 7 minutes.
Stir in the minced garlic and cook 30 seconds until fragrant.
Turn off Sauté.
If you see a lot of grease, tilt the pot and spoon some out, leaving a thin layer for flavor.
Pour in a splash of broth and scrape the bottom of the pot with a wooden spoon to loosen any browned bits.
This step keeps the Instant Pot happy and avoids the burn warning.
Step 2: Season the taco pasta base
Sprinkle in taco seasoning, cumin, chili powder, smoked paprika, onion powder, garlic powder, salt, and pepper.
Stir until the meat and onions look evenly coated in spices.
Add the black beans, frozen corn, and the can of diced tomatoes with green chiles with all their juices.
Stir again so everything mixes together.
Step 3: Add pasta and liquids
Pour the dry pasta over the meat mixture in an even layer.
Do not stir; you want the pasta to sit mostly on top.
Pour in the beef broth, water, and salsa, gently pouring over the pasta so the liquid reaches through the noodles.
Press down lightly with the spoon so the pasta sits just under the liquid, but still avoid stirring.
Step 4: Pressure cook
Lock the lid in place and set the valve to Sealing.
Select Pressure Cook or Manual on high pressure.
Set the timer to half the time on the pasta box minus 1 minute; for pasta that lists 10 minutes, set the timer to 4 minutes.
The pot will take about 8 to 10 minutes to come to pressure.
When the cook time ends, let the pressure release naturally for 5 minutes.
After 5 minutes, carefully turn the valve to Venting and quick release the remaining pressure.
Open the lid and give everything a good stir; the mixture may look slightly loose, but it thickens as you add cheese.
If the pasta feels a bit firm, keep the pot on Keep Warm and cover with the lid for 2 to 3 minutes.
Step 5: Add cheese and finish the sauce
Switch the Instant Pot back to Sauté on low or Keep Warm.
Add the cream cheese cubes and stir until they melt and blend into the sauce.
Sprinkle in 1½ cups of the cheddar and all the Monterey Jack, then stir until the cheese melts and the sauce turns thick and creamy.
If the pasta looks too thick, stir in a splash of broth or water until it reaches your favorite texture.
Taste and adjust seasoning with extra salt, chili powder, or salsa.
Turn off the Instant Pot so the bottom does not scorch.
Top the pasta with the remaining ½ cup cheddar and cover with the lid for 2 minutes so it melts on top.
Serve hot with your favorite toppings like sour cream, green onions, cilantro, avocado, and crushed tortilla chips.
What to Serve with it?
This Cheesy Instant Pot Taco Pasta Recipe already feels like a full meal, but a few simple sides round it out nicely. Serve it with a crisp green salad with lime dressing, or a side of steamed broccoli or green beans for extra veggies. Warm tortillas or tortilla chips on the side make a fun way to scoop up the cheesy pasta. Fresh fruit like pineapple, mango, or a simple fruit salad adds a bright, sweet contrast that balances the rich, cheesy sauce.
Storage Options
- Store leftovers in an airtight container in the fridge for up to 4 days; the flavors deepen and taste even better the next day.
- Reheat gently on the stovetop over low heat or in the microwave, and stir in a splash of broth or milk to loosen the sauce.
- Freeze portions in freezer-safe containers for up to 2 months; cool completely before freezing to avoid ice crystals.
- Thaw overnight in the fridge, then reheat on the stovetop with a bit of extra liquid and a small handful of fresh cheese to bring the sauce back to life.