
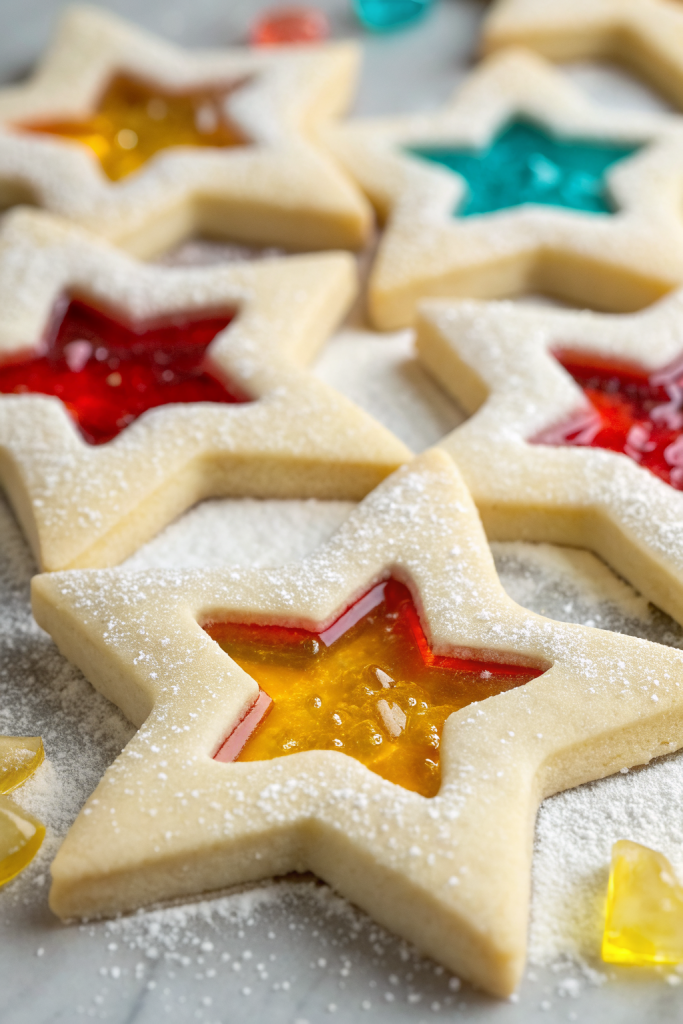
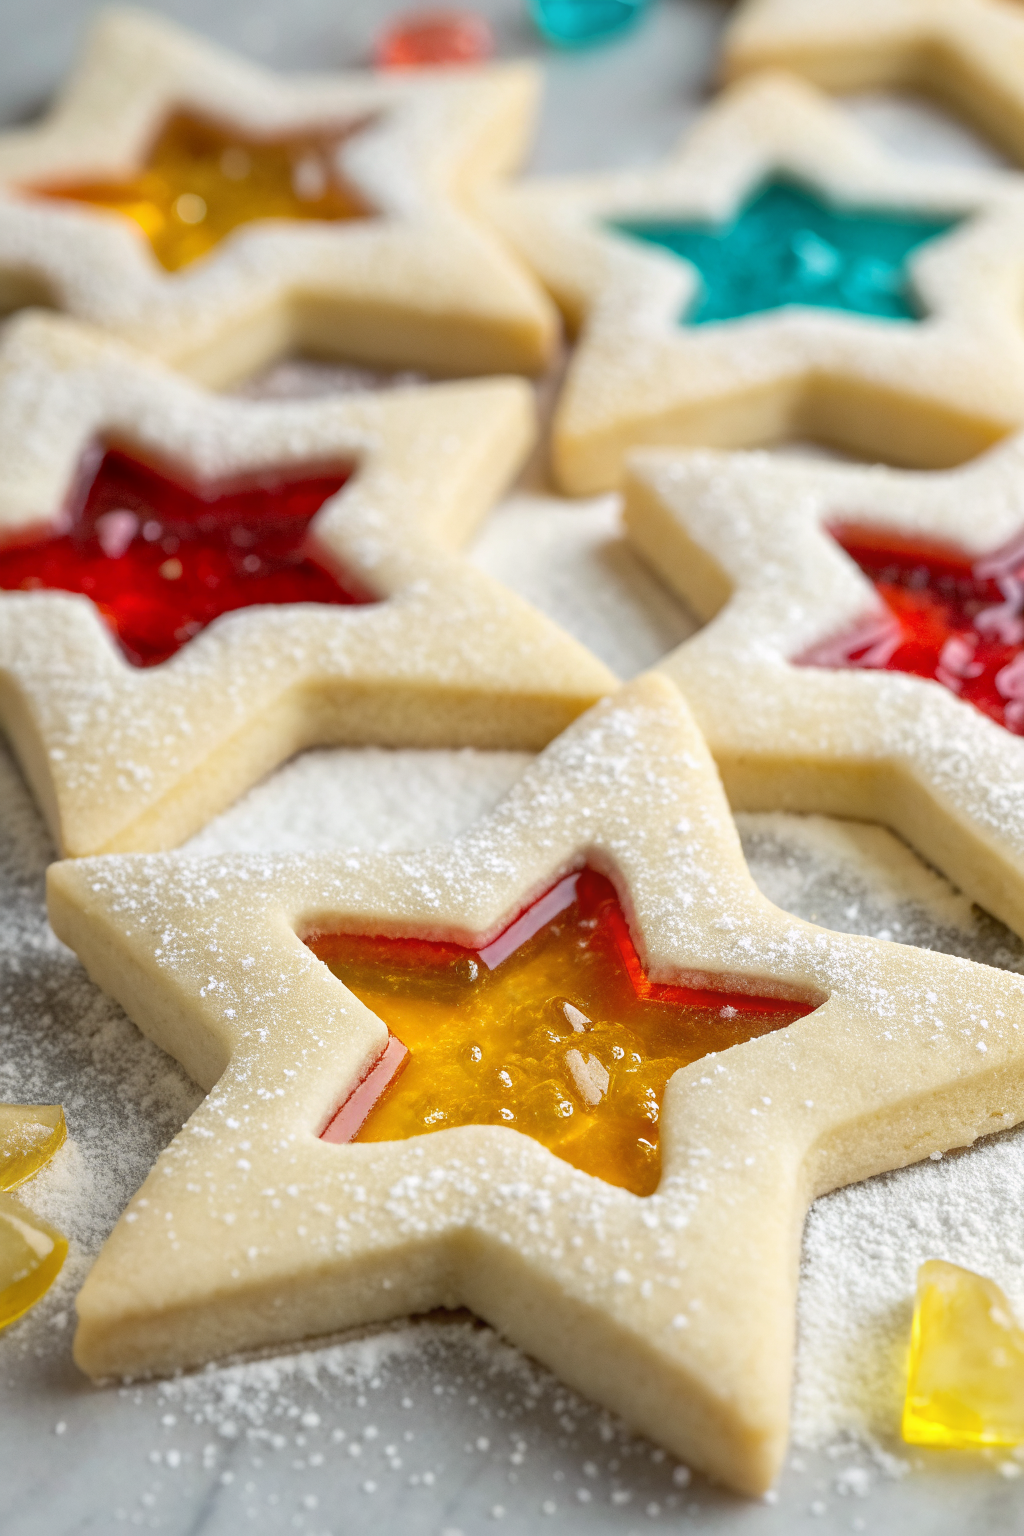
Easy Stained Glass Cookies Recipe tastes like buttery sugar cookies with a crunchy, candy-glass center that looks way fancier than the effort it takes. This recipe works perfectly for busy bakers who want a fun, kid-friendly cookie that comes together in about 1 hour, including chill time. I still remember the first time my niece saw these and yelled, “You baked jewelry!” and honestly, that felt like a core memory.
Why Make This Easy Stained Glass Cookies Recipe at Home
Homemade stained glass cookies taste fresher, richer, and more buttery than anything from a box. You control the sweetness, the colors, and the shapes, so they fit any holiday or party theme.
Kids love helping with the cookie cutters and candy colors, and adults secretly love them even more. You can hang them on a tree, stack them on a platter, or wrap them as gifts, and they always steal the show.
“These stained glass cookies look like they came from a fancy bakery, but the recipe felt totally doable and my kids devoured them.” ★★★★★
Ingredients You Need
Here is everything you need for this Easy Stained Glass Cookies Recipe. I include some pantry shortcuts and simple swaps so you can use what you already have.
Dry ingredients
- 2 ¾ cups all-purpose flour
- Use a standard grocery store brand; no need for specialty flour.
- Spoon and level the flour so the dough stays tender, not dense.
- ½ teaspoon baking powder
- ½ teaspoon fine sea salt or table salt
Wet ingredients
- 1 cup unsalted butter, softened to room temperature
- I like using a mid-range butter like Challenge or Land O’Lakes.
- Salted butter works in a pinch; just reduce added salt to a tiny pinch.
- 1 cup granulated sugar
- 1 large egg, room temperature
- 1 ½ teaspoons pure vanilla extract
- Use real vanilla if possible; imitation works but tastes slightly sharper.
- ¼ teaspoon almond extract (optional but highly recommended)
- Adds a bakery-style flavor without overpowering the cookie.
Candy “glass” centers
- 1 to 1 ½ cups hard candies, separated by color
- Jolly Ranchers, Life Savers, or generic fruit hard candies all work.
- Avoid chewy or filled candies; they do not melt into a smooth glass.
Optional decorations
- Sprinkles for the cookie edges (add after baking, while warm, if you like)
- Simple icing for outlining, if you want extra detail
Equipment list
- Large mixing bowl and hand mixer or stand mixer with paddle attachment
- Medium bowl for dry ingredients
- Rolling pin
- Cookie cutters in two sizes
- One larger shape for the cookie outline
- One smaller shape to cut out the center window
- Baking sheets
- Parchment paper or silicone baking mats
- Small zip-top bags or a sturdy bag for crushing candy
- Small bowls for holding crushed candy by color
- Cooling racks
- Spatula
Tips & Mistakes
- Chill the dough at least 30 minutes so the cookies hold their shape and do not spread.
- Crush candy into small bits, not dust, so it melts evenly and does not burn.
- Line baking sheets with parchment so the melted candy does not stick.
- Cut the center window large enough; tiny holes close up when the dough puffs.
- Bake one test cookie first to check timing and candy melt before filling a whole tray.
- Keep candy colors separate so you get clear, bright “glass” instead of a muddy mix.
- Pull cookies from the oven when the candy looks melted and bubbly, not browned.
- Let cookies cool completely on the pan so the candy sets and does not smear.
- Avoid very thin cookie edges; they brown too fast and turn crunchy instead of tender.
- Use room temperature butter and egg so the dough mixes smoothly and does not turn greasy.
How to Make Easy Stained Glass Cookies Recipe
Mix the dough
-
Add softened butter and granulated sugar to a large bowl. Beat on medium speed for 2 to 3 minutes until the mixture looks light and fluffy. Scrape the bowl so no butter hides at the bottom.
-
Add the egg, vanilla extract, and almond extract. Beat again until the mixture looks creamy and smooth. Scrape down the sides and bottom of the bowl.
-
In a separate bowl, whisk together flour, baking powder, and salt. Add the dry ingredients to the wet ingredients in two additions. Mix on low speed just until the dough comes together and no dry streaks of flour remain.
-
Divide the dough into two equal portions. Flatten each portion into a disc, wrap in plastic or place in a reusable container. Chill the dough in the fridge for at least 30 minutes and up to 2 days.
Prepare the candy
-
While the dough chills, unwrap the hard candies and group them by color. Place one color at a time in a small zip-top bag. Crush with a rolling pin or a heavy pan until you get small pieces, roughly the size of coarse salt or slightly larger.
-
Pour each crushed color into its own small bowl. Set the bowls aside so you can work quickly once you cut the cookies. Preheat your oven to 350°F and line baking sheets with parchment paper.
Roll and cut the cookies
-
Take one disc of dough from the fridge. Lightly flour your work surface and rolling pin. Roll the dough to about ¼ inch thickness, turning the dough occasionally so it does not stick.
-
Use your larger cookie cutters to cut shapes and transfer them to the lined baking sheets. Leave about 2 inches between cookies. Use the smaller cookie cutter to cut out a window in the center of each cookie.
-
Gather the dough scraps, press them into a disc, and chill them again if they feel soft. Repeat the rolling and cutting process with the second disc of dough. Keep the trays of shaped cookies in the fridge while you crush more candy if needed.
Fill with candy and bake
-
Spoon crushed candy into the center cutout of each cookie. Fill the window in a thin, even layer, right up to the edges of the dough but not piled high. Use one color per window or mix colors in small sections for a stained glass effect.
-
Bake the cookies at 350°F for about 8 to 11 minutes. Pull the tray when the cookie edges look set and just start to turn light golden and the candy looks fully melted and bubbly. If the candy starts to brown, take them out right away.
-
Keep the cookies on the baking sheet and place the sheet on a cooling rack. Let the cookies cool completely so the candy centers firm up. Slide the cookies gently off the parchment once the centers feel hard to the touch.
Optional decorating and hanging
-
If you want to hang the cookies as ornaments, use a straw to punch a small hole at the top of each cookie right after they come out of the oven while they still feel soft. Let them cool, then thread ribbon or twine through the hole.
-
If you want a little extra sparkle, outline the cookie edges with a thin icing or press a few sprinkles into the warm dough edges. Let everything dry before stacking or packaging.
Variations I've Tried
I like to use all red and pink candies for Valentine’s Day hearts and green and clear candies for winter snowflakes. Rainbow colors look amazing for birthday parties or classroom treats. You can switch the vanilla to lemon extract for a bright citrus cookie that pairs nicely with yellow and orange candy.
Chocolate stained glass cookies also taste great. Replace ¼ cup of the flour with cocoa powder and add a touch more sugar if you like a sweeter dough. The dark cookie frame makes the candy colors pop even more.
You can also try a spice version with ½ teaspoon cinnamon and a pinch of nutmeg in the dough. That version works nicely for fall leaves or star shapes. I serve those with hot cocoa and they disappear fast.
How to Serve Easy Stained Glass Cookies Recipe
Serve this Easy Stained Glass Cookies Recipe on a big platter so the colors catch the light and draw everyone in. Kids love to pick their favorite color, so I always include a mix of red, green, yellow, and blue. Pair the cookies with hot chocolate, warm apple cider, or cold milk for a cozy treat.
These cookies also work well as edible gifts. Slip a few into clear treat bags, tie with ribbon, and you have a simple but impressive present. If you make ornament versions, hang them on a cookie tree or across a string as a sweet centerpiece.
How to store
- Store cooled cookies in an airtight container at room temperature for 4 to 5 days, with parchment between layers so the candy centers do not stick.
- Keep them in the fridge for up to 7 days if your kitchen runs warm, but let them sit at room temperature for 10 to 15 minutes before serving so the texture softens slightly.
- Freeze baked cookies in a single layer on a tray, then transfer to a freezer bag or container for up to 2 months; thaw at room temperature in the closed container so condensation stays on the outside.
- Avoid reheating in the oven or microwave, since the candy centers can bubble and lose their glassy look; instead, enjoy them at room temperature for the best texture and shine.
Easy Stained Glass Cookies
Ingredients
Method
- In a large bowl, beat the softened butter and granulated sugar on medium speed for 2 to 3 minutes until light and fluffy, scraping the bowl as needed.
- Add the egg, vanilla extract, and almond extract (if using). Beat again until creamy and smooth, scraping down the sides and bottom of the bowl.
- In a separate bowl, whisk together the flour, baking powder, and salt. Add the dry ingredients to the wet ingredients in two additions, mixing on low speed just until the dough comes together and no dry streaks of flour remain.
- Divide the dough into two equal portions, flatten each into a disc, wrap, and chill in the fridge for at least 30 minutes and up to 2 days.
- While the dough chills, unwrap the hard candies and separate them by color. Place one color at a time in a small zip-top bag and crush with a rolling pin or heavy pan until the pieces are roughly the size of coarse salt or slightly larger.
- Pour each crushed color into its own small bowl. Preheat the oven to 350°F (175°C) and line baking sheets with parchment paper.
- Remove one disc of dough from the fridge. Lightly flour your work surface and rolling pin, then roll the dough to about 1/4 inch thickness, turning the dough occasionally so it does not stick.
- Use larger cookie cutters to cut shapes and transfer them to the lined baking sheets, leaving about 2 inches between cookies. Use a smaller cookie cutter to cut out a window in the center of each cookie.
- Gather the dough scraps, press into a disc, and chill again if they feel soft. Repeat the rolling and cutting with the second disc of dough.
- Spoon crushed candy into the center cutout of each cookie in a thin, even layer, filling right up to the dough edges but not piling it high. Use one color per window or arrange small sections of different colors for a stained glass effect.
- Bake at 350°F for 8 to 11 minutes, until the cookie edges look set and just start to turn light golden and the candy centers are fully melted and bubbly. If the candy begins to brown, remove the cookies immediately.
- Leave the cookies on the baking sheet and set the sheet on a cooling rack. Let the cookies cool completely so the candy centers firm up before carefully sliding them off the parchment.
- If you want to hang the cookies as ornaments, use a straw to punch a small hole near the top of each cookie right after they come out of the oven while still soft. Let cool completely, then thread ribbon or twine through the holes.
- If desired, outline the cookie edges with a thin icing or press a few sprinkles into the warm dough edges. Let any decorations dry fully before stacking or packaging.
Notes
Approximate per cookie (about 30 cookies total): 140 calories; fat 7 g; saturated fat 4 g; carbohydrates 18 g; fiber 0 g; sugars 10 g; protein 2 g; sodium 70 mg. Values are estimates and will vary based on candy type, exact cookie size, and decorations.