
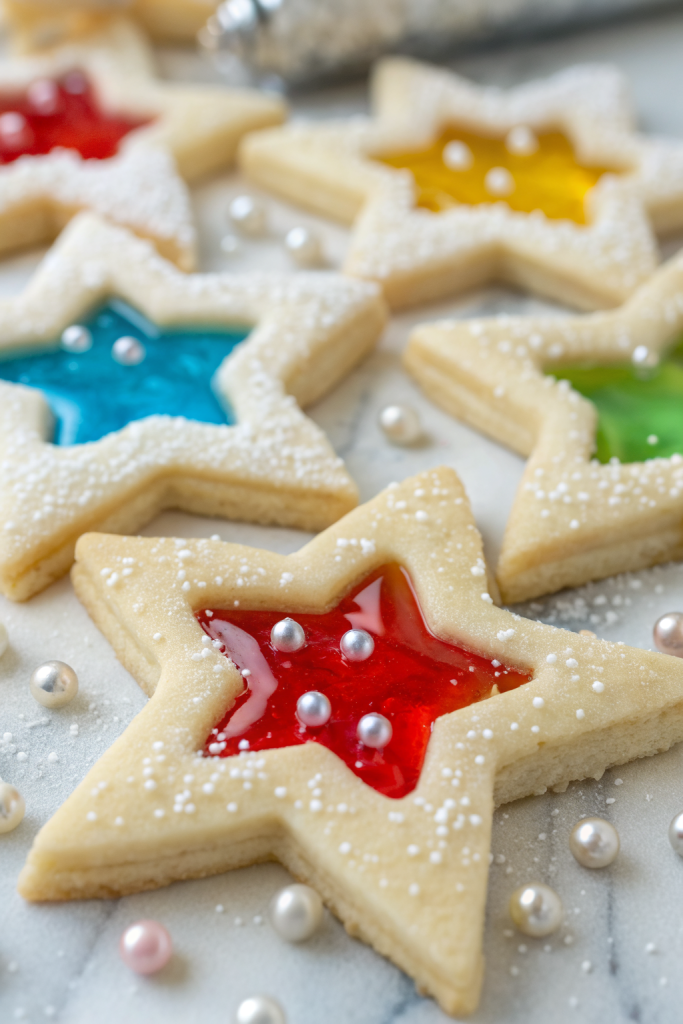
Stained Glass Cookies Recipe tastes like buttery sugar cookies with a crunchy, candy-glass center that looks like it came straight out of a holiday window display. It works perfectly for bakers who want a showstopper cookie in about 1 hour total, including chill time, without pastry school stress. I started making these for my nieces a decade ago, and they still judge every other cookie by this one.
Why Choose This Stained Glass Cookies Recipe
This version gives you crisp edges, tender centers, and candy windows that actually stay clear instead of bubbling into a sticky mess. You roll, cut, fill, and bake with simple steps that beginners handle easily, while more experienced bakers enjoy the decorating freedom.
You also use basic pantry ingredients plus store-bought hard candy, so you skip specialty baking supplies. Kids love to help crush the candy and cut shapes, and adults secretly enjoy that part too.
“These stained glass cookies looked like bakery art but tasted like my favorite sugar cookie from childhood, so they disappeared in one afternoon. ★★★★★”
Ingredients You’ll Need
Dry ingredients
- 2 ¾ cups (330 g) all-purpose flour
- ½ teaspoon baking powder
- ½ teaspoon fine sea salt
Wet ingredients
- 1 cup (2 sticks / 226 g) unsalted butter, softened to cool room temperature
- 1 cup (200 g) granulated sugar
- 1 large egg, room temperature
- 1 large egg yolk, room temperature
- 2 teaspoons pure vanilla extract
- ¼ teaspoon almond extract (optional, but it adds bakery-style flavor)
Candy “glass”
- 1 to 1 ½ cups assorted clear hard candies, unwrapped
- Use brands like Jolly Rancher, Life Savers, or any clear fruit-flavored candy.
- Avoid cloudy candies or ones with soft centers, since they melt unevenly.
Optional decorations
- Sprinkles for the cookie edges (keep them away from the candy centers)
- Royal icing or a simple powdered sugar glaze for outlining after baking
Pantry shortcuts & substitutions
- Use salted butter and reduce added salt to a pinch if that is what you keep on hand.
- Swap almond extract with lemon extract for a citrus twist.
- Use gluten-free 1:1 baking flour if you need a gluten-free version, and chill the dough a bit longer since it softens quickly.
Equipment list
- Large mixing bowl and medium mixing bowl
- Hand mixer or stand mixer with paddle attachment
- Measuring cups and spoons
- Rubber spatula
- Rolling pin
- Cookie cutters: one large shape and one smaller shape to cut the “window”
- Baking sheets
- Parchment paper or silicone baking mats
- Small zip-top bags or a sturdy plastic bag for crushing candy
- Small bowls or ramekins for different candy colors
- Cooling racks
- Optional: skewer or straw to poke a hole if you want to hang cookies as ornaments
Tips & Tricks
- Chill the dough at least 30 minutes so the cookies hold their shape and the candy stays in the center.
- Crush candy into small pieces, about pea-sized, so it melts evenly without overflowing.
- Separate candy colors into different bowls so the “glass” stays bright and not muddy.
- Fill each cut-out window only about three-quarters full with crushed candy to avoid bubbling over.
- Line baking sheets with parchment so the melted candy releases cleanly.
- Let cookies cool completely on the parchment before you move them, or the candy centers may crack.
- Bake one test cookie first to check how much candy you need and how your oven behaves.
- Keep dough slightly thicker, about ¼ inch, so the cookie supports the candy window.
- Work with half the dough at a time and keep the rest in the fridge so it stays easy to cut.
- If the dough sticks, lightly flour the rolling pin and surface, but brush off excess flour so the cookies stay tender.
How to Make Stained Glass Cookies Recipe
Mix the dough
-
Add softened butter and granulated sugar to a large mixing bowl. Beat with a hand mixer or stand mixer on medium speed until the mixture looks light and fluffy, about 2 to 3 minutes. Scrape down the bowl once so everything mixes evenly.
-
Add the egg, egg yolk, vanilla extract, and almond extract. Beat again until the mixture looks smooth and creamy. Scrape the bowl and mix briefly so no streaks remain.
-
In a separate bowl, whisk together flour, baking powder, and salt. Add the dry ingredients to the wet ingredients in two additions. Mix on low speed just until the dough comes together and no dry flour shows.
-
Use a spatula to bring the dough into a soft ball. If it feels very sticky, sprinkle in 1 to 2 extra tablespoons of flour and fold it in. You want a soft but workable dough that holds its shape.
Chill the dough
-
Divide the dough into two equal portions. Flatten each portion into a disc about 1 inch thick. Wrap each disc tightly in plastic wrap.
-
Place the dough in the fridge and chill at least 30 minutes and up to 24 hours. Chilling helps the dough roll cleanly and keeps the cookies from spreading too much.
Prep the candy glass
-
While the dough chills, place unwrapped hard candies in a sturdy plastic bag. Use a rolling pin or the bottom of a heavy pan to crush the candy into small pieces.
-
Sort the crushed candy by color into small bowls. This step keeps your stained glass cookies bright and pretty instead of brownish from mixed colors.
Roll and cut the cookies
-
Preheat your oven to 350°F (175°C). Line baking sheets with parchment paper or silicone baking mats.
-
Take one disc of dough out of the fridge and place it on a lightly floured surface. Roll the dough to about ¼ inch thickness. Rotate the dough occasionally and dust lightly with flour if it sticks.
-
Use a larger cookie cutter to cut shapes and transfer them to the prepared baking sheet, leaving about 1 ½ inches between cookies. Then use a smaller cutter to cut out the center of each cookie to create a window.
-
Gather the dough scraps, press them together, and chill them again if they feel soft. Repeat the rolling and cutting process with the remaining dough.
-
If you want to hang the cookies as ornaments, use a straw or skewer to poke a small hole near the top of each cookie, away from the candy area. Make the hole slightly bigger than you think you need, since it shrinks a bit in the oven.
Fill with candy and bake
-
Spoon crushed candy into the center cut-outs of each cookie. Fill each window almost to the top of the cut-out, but do not heap it above the cookie surface.
-
Bake the cookies for 8 to 11 minutes, depending on size. The edges should look set and just barely golden, and the candy should look fully melted and glossy.
-
Leave the cookies on the baking sheet until the candy centers cool and harden completely, about 10 to 15 minutes. Then carefully peel the cookies off the parchment and move them to a cooling rack to finish cooling.
Optional decorating and serving
-
After the cookies cool, outline the cookie edges with royal icing or a simple powdered sugar glaze if you want extra detail. Avoid piping on the candy centers, since icing does not stick well there.
-
Thread ribbon or twine through the ornament holes if you plan to hang them. Serve the stained glass cookies on a platter where light can hit the candy centers, and enjoy the sparkle.
What to Serve with it?
These stained glass cookies pair beautifully with hot chocolate, chai, or a big mug of vanilla-scented milk. Kids love them with cold milk and a side of fresh fruit like strawberries or clementines. You can also serve them on a dessert tray with classic chocolate chip cookies and snickerdoodles for a fun mix of textures and flavors. During holidays, set them near a window or under fairy lights so the candy centers catch the light while everyone snacks.
Storage Options
- Store cooled stained glass cookies in an airtight container at room temperature for 4 to 5 days, with parchment between layers to protect the candy centers.
- Keep them in the fridge for up to 1 week if your kitchen runs very warm, and let them sit at room temperature for 10 to 15 minutes before serving.
- Freeze baked cookies in a single layer until solid, then transfer to a freezer bag or container and freeze up to 2 months.
- Thaw frozen cookies at room temperature in the closed container so condensation forms on the container, not on the candy.
- Avoid reheating in the oven or microwave, since the candy centers may melt again or turn cloudy; serve them at room temperature for the best texture.
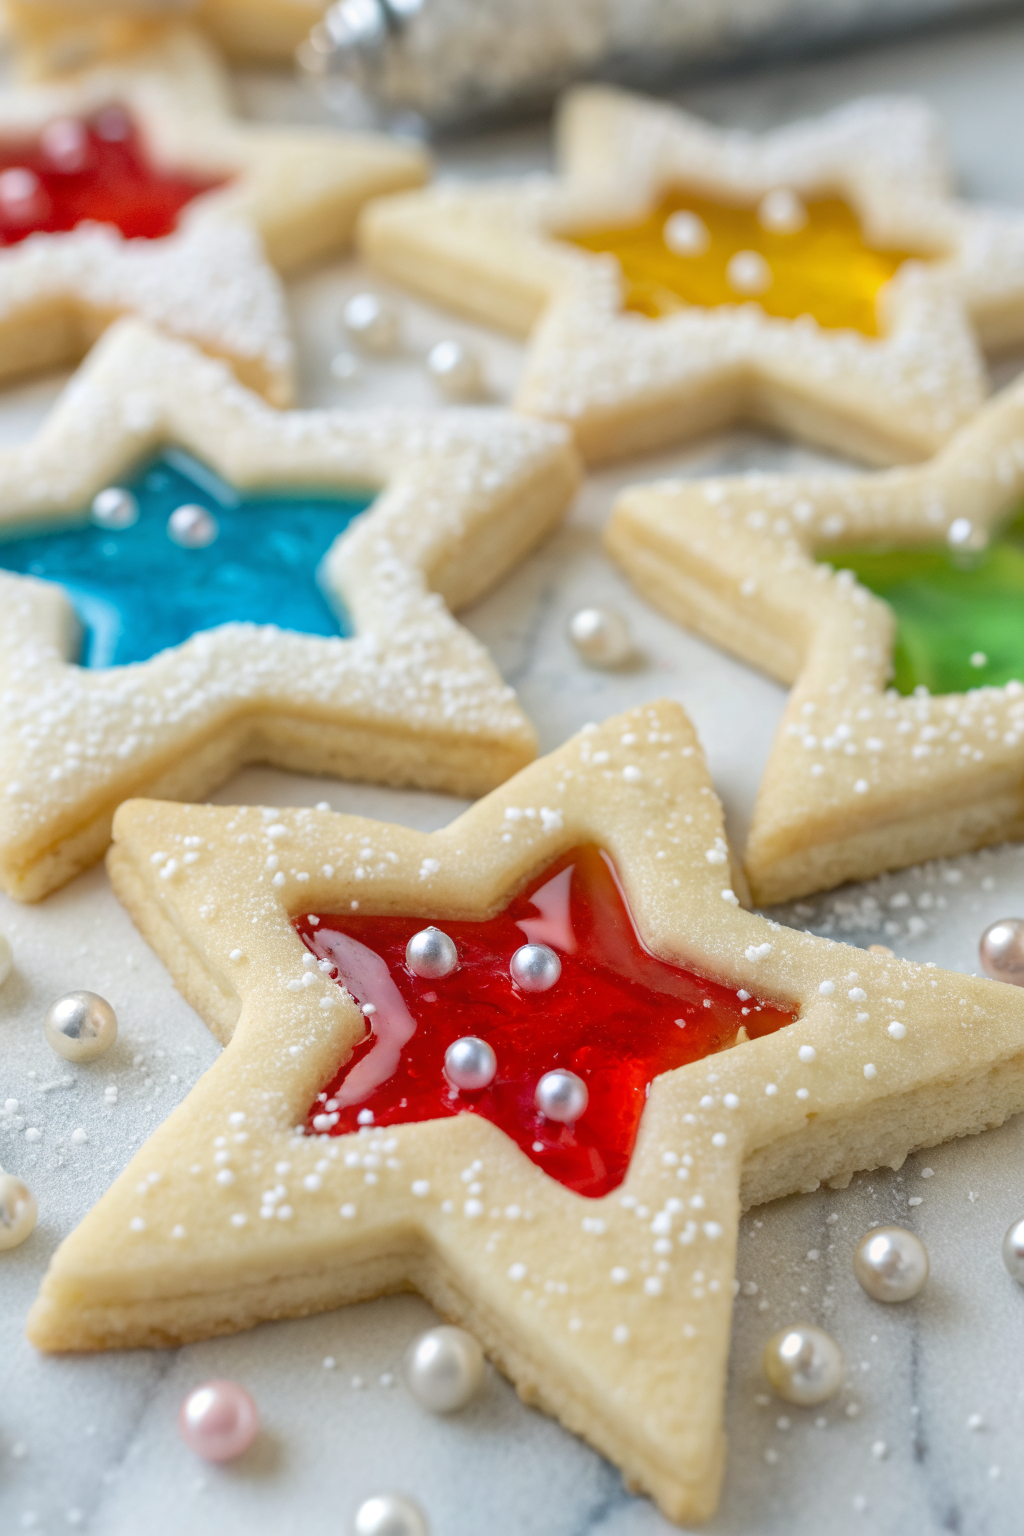
Stained Glass Cookies Recipe
Ingredients
Method
- In a large mixing bowl, beat the softened butter and granulated sugar with a hand mixer or stand mixer on medium speed until light and fluffy, about 2 to 3 minutes, scraping down the bowl once.
- Add the egg, egg yolk, vanilla extract, and almond extract (if using). Beat until smooth and creamy, scraping the bowl to eliminate any streaks.
- In a separate bowl, whisk together the flour, baking powder, and salt. Add the dry ingredients to the wet ingredients in two additions, mixing on low speed just until the dough comes together and no dry flour remains.
- Use a spatula to bring the dough into a soft ball. If the dough feels very sticky, fold in 1 to 2 tablespoons of extra flour until it is soft but workable and holds its shape.
- Divide the dough into two equal portions. Flatten each portion into a disc about 1 inch thick and wrap tightly in plastic wrap.
- Chill the dough in the refrigerator for at least 30 minutes and up to 24 hours so it rolls cleanly and the cookies keep their shape in the oven.
- While the dough chills, place the unwrapped hard candies in a sturdy plastic bag. Use a rolling pin or the bottom of a heavy pan to crush them into small, pea-sized pieces.
- Sort the crushed candy by color into small bowls to keep the stained glass centers bright and prevent the colors from turning muddy.
- Preheat the oven to 350°F (175°C). Line baking sheets with parchment paper or silicone baking mats.
- On a lightly floured surface, roll one disc of chilled dough to about 1/4 inch thickness, rotating the dough and dusting with a little flour as needed to prevent sticking.
- Use a larger cookie cutter to cut shapes and transfer them to the prepared baking sheet, leaving about 1 1/2 inches between cookies. Use a smaller cutter to cut out the centers of each cookie to create a window.
- Gather the dough scraps, press them together, and chill again if they become soft. Repeat the rolling and cutting process with the remaining dough.
- If you plan to hang the cookies as ornaments, use a straw or skewer to poke a small hole near the top of each cookie, away from the candy area. Make the hole slightly larger than needed, as it will shrink during baking.
- Spoon the crushed candy into the center cut-outs of each cookie, filling each window almost to the top of the cut-out but not heaping it above the cookie surface.
- Bake for 8 to 11 minutes, depending on cookie size, until the edges look set and just barely golden and the candy centers are fully melted and glossy.
- Let the cookies cool completely on the baking sheet until the candy centers harden, about 10 to 15 minutes. Carefully peel the cookies off the parchment and transfer to a cooling rack to finish cooling.
- Once the cookies are completely cool, outline the edges with royal icing or a simple powdered sugar glaze if desired, avoiding the candy centers so the icing adheres well.
- Thread ribbon or twine through the ornament holes if you plan to hang the cookies. Serve on a platter where light can shine through the candy centers for maximum sparkle.
Notes
Approximate per 1 cookie (about 36 cookies total): 120 calories; fat 6 g; saturated fat 3.5 g; carbohydrates 16 g; fiber 0 g; sugars 9 g; protein 2 g; sodium 55 mg. Values will vary based on exact cookie size, candy brand, and any decorations. Storage Notes
Store fully cooled stained glass cookies in an airtight container at room temperature for 4 to 5 days, layering with parchment to protect the candy centers. Refrigerate up to 1 week if your kitchen is very warm, bringing them to room temperature before serving. For longer storage, freeze in a single layer until solid, then transfer to a container and freeze for up to 2 months. Thaw at room temperature in a closed container so condensation forms on the container instead of the candy, and avoid reheating so the centers stay clear and crisp.