
Fruity Pebble Strawberries Recipe tastes like a crunchy, creamy, fruity candy shell wrapped around juicy fresh berries, and it comes together in about 25 minutes from start to finish. It works perfectly for kids’ parties, baby showers, after-school snacks, or those nights when you just want a fun dessert without turning on the oven. I tested this version on my own family movie night, and the plate disappeared faster than the popcorn.
Why Choose This Fruity Pebble Strawberries Recipe
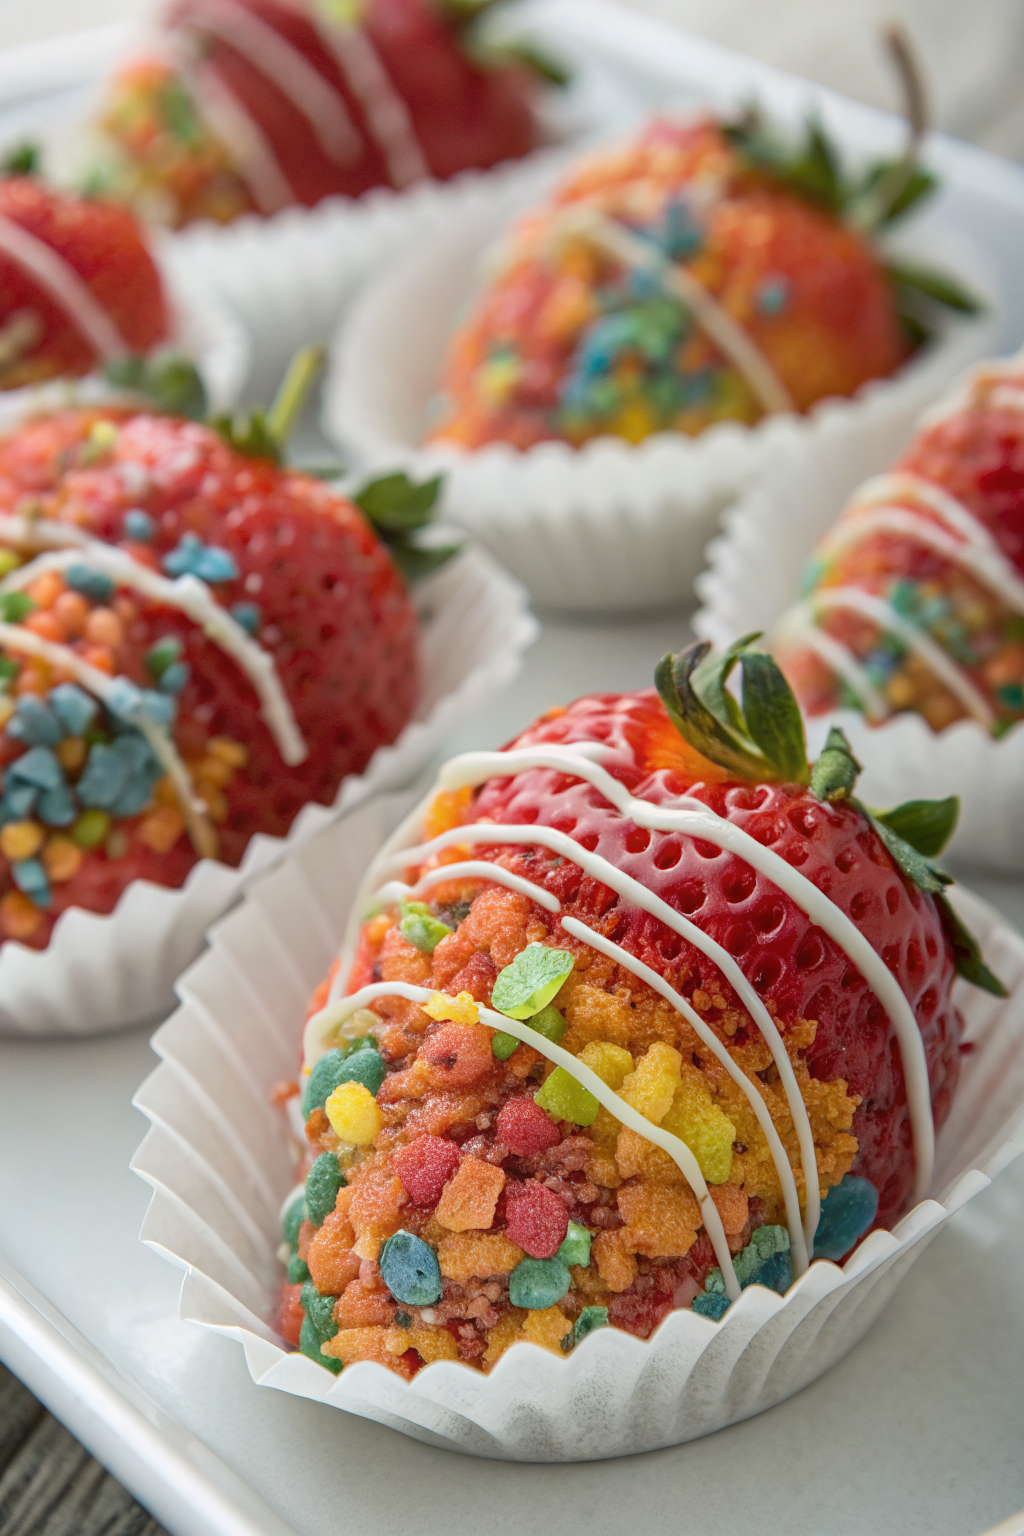
This Fruity Pebble Strawberries Recipe hits that sweet spot between nostalgic cereal treat and fresh fruit dessert. You get cold, juicy strawberries under a creamy vanilla candy coating with a colorful, crispy cereal crunch on top.
You can prep a big batch in under half an hour, and the recipe uses simple grocery store ingredients. Kids can help with dipping and rolling, which turns dessert into an easy little kitchen project.
“These Fruity Pebble Strawberries taste like a cereal milk dream on a stick, and they vanish every time I set them out.” ★★★★★
Ingredients You’ll Need
Strawberries
- 1 pound fresh strawberries
- Pick large, firm berries with bright green tops.
- Dry them very well so the coating sticks and does not slide off.
Coating
- 10 ounces vanilla candy melts or almond bark
- Use a brand that melts smoothly, such as Ghirardelli or Wilton.
- You can swap in white chocolate chips, but add 1 teaspoon neutral oil so they melt smoothly.
- 1 to 2 teaspoons coconut oil or vegetable oil
- Helps thin the coating so it glides over the berries.
Cereal Crunch
- 2 to 2½ cups Fruity Pebbles cereal
- Crush lightly with your hands for a mix of small pieces and a few bigger flakes.
- Store brand fruity rice cereal also works if you want a budget shortcut.
Optional Flavor Twists
- ½ teaspoon vanilla extract for extra vanilla flavor
- ¼ teaspoon almond extract for a bakery-style twist
- Pinch of fine sea salt to balance sweetness
Equipment
- Baking sheet
- Parchment paper or silicone baking mat
- Microwave safe bowl or small saucepan
- Spoon or small spatula
- Toothpicks or skewers (optional, for easier dipping)
- Small bowls for cereal coating
Tips & Tricks
- Dry strawberries completely so the coating clings and does not slide off.
- Keep strawberries cold in the fridge until dipping so the coating sets faster.
- Crush Fruity Pebbles gently so you keep some texture and do not turn them into dust.
- Work in small batches and keep unused berries in the fridge while you dip.
- Melt candy in short bursts and stir often so it stays smooth and does not scorch.
- Add a little oil at a time until the coating flows like thick syrup.
- Dip the strawberry, let excess drip off, then roll in cereal right away before it sets.
- Line the tray with parchment so the coated berries lift off cleanly.
- Chill the finished berries about 10 to 15 minutes so the shell firms up.
- Serve them the same day for the crunchiest cereal texture.
How to Make Fruity Pebble Strawberries Recipe
Step 1: Prep the Strawberries
Rinse the strawberries under cool water and pat them very dry with paper towels. Leave the green tops on so you can hold them easily. If you use skewers or toothpicks, insert them through the tops now.
Line a baking sheet with parchment paper or a silicone mat. Set the tray aside so you can place dipped berries on it quickly. Keep the strawberries in the fridge while you set up the coating.
Step 2: Prep the Fruity Pebbles Coating
Pour Fruity Pebbles into a shallow bowl. Use your hands to crush them slightly so you get a mix of small and medium pieces. You want enough cereal to coat all the berries, so keep a little extra nearby.
If you plan to add a pinch of salt, sprinkle it over the cereal and toss lightly. This tiny bit of salt keeps the cereal from tasting too sugary. Set the bowl near your lined tray.
Step 3: Melt the Candy Coating
Place the candy melts or chopped almond bark in a microwave safe bowl. Heat on 50 percent power for 30 seconds, then stir. Repeat in 20 second bursts, stirring each time, until mostly melted.
Stir in 1 teaspoon of oil and keep stirring until the mixture turns smooth and glossy. If it still looks too thick, add another ½ teaspoon oil and stir again. Mix in vanilla or almond extract if you use it.
Step 4: Dip the Strawberries
Take 4 to 5 strawberries out of the fridge so you work with a small batch. Hold a berry by the green top or skewer and dip it into the warm coating. Swirl gently and tilt the bowl so you cover the berry almost to the top.
Lift the strawberry and let extra coating drip back into the bowl. You want a thin, even shell so it does not clump. Move quickly to the cereal bowl while the coating still feels wet.
Step 5: Roll in Fruity Pebbles
Hold the freshly dipped strawberry over the cereal bowl. Spoon Fruity Pebbles over the berry or roll it gently in the cereal. Press lightly so the pieces stick without crushing the coating.
Place the coated strawberry on the lined baking sheet. Repeat with the remaining berries, working in small batches so the coating never sits too long. Stir the cereal occasionally so it coats evenly.
Step 6: Chill and Serve
Place the tray of Fruity Pebble Strawberries in the fridge. Chill for 10 to 15 minutes until the coating feels firm and the cereal sets in place. Do not chill much longer than a few hours if you want maximum crunch.
Serve the strawberries on a platter or tiered stand. Keep them cool until serving time, especially on warm days. Enjoy them within the same day for the best texture and flavor.
What to Serve with it?
Serve this Fruity Pebble Strawberries Recipe with a simple vanilla yogurt dip or a bowl of whipped cream for extra fun. Add a platter of sliced bananas, apple wedges, and grapes so guests can dip more fruit into leftover coating and cereal. These strawberries also pair nicely with chocolate chip cookies or rice cereal treats for a colorful dessert table.
For drinks, offer cold milk, flavored sparkling water, lemonade, or fruit punch. Kids love the bright colors, and adults secretly snack on them too.
Storage Options
- Store Fruity Pebble Strawberries in a single layer in an airtight container in the fridge for up to 24 hours.
- Place a sheet of parchment between layers if you need to stack them, but keep stacks shallow so you do not crush the cereal.
- Skip the freezer, since strawberries release water and the cereal turns soggy after thawing.
- Serve leftovers straight from the fridge, since reheating softens the coating and ruins the crunch.
Fruity Pebble Strawberries Recipe
Ingredients
Method
- Line a baking sheet with parchment paper or a silicone baking mat. Make sure strawberries are completely dry so the coating adheres well.
- Pour the Fruity Pebbles cereal into a shallow bowl or small plate and lightly crush with your hands or the back of a spoon so the pieces stick better to the chocolate.
- In a microwave-safe bowl, add the white chocolate or candy melts and coconut oil if using. Microwave in 20–30 second intervals, stirring between each, until smooth and fully melted.
- Hold each strawberry by the stem or using a toothpick and dip it into the melted chocolate, turning to coat evenly and letting the excess drip back into the bowl.
- Immediately roll or gently press the dipped strawberry into the Fruity Pebbles cereal until well coated.
- Place the coated strawberry on the prepared baking sheet. Repeat with remaining strawberries, chocolate, and cereal.
- Allow the strawberries to set at room temperature until the chocolate is firm, or refrigerate for 15–20 minutes to speed up the process.
- Serve the Fruity Pebble Strawberries the same day for the crunchiest texture, or store covered in the refrigerator for up to 1 day.
Notes
Approximate per 2-strawberry serving: 160 calories; fat 7 g; saturated fat 5 g; carbohydrates 24 g; fiber 1 g; sugars 18 g; protein 2 g; sodium 55 mg. Values will vary based on exact strawberry size, chocolate type, cereal brand, and portion size.