
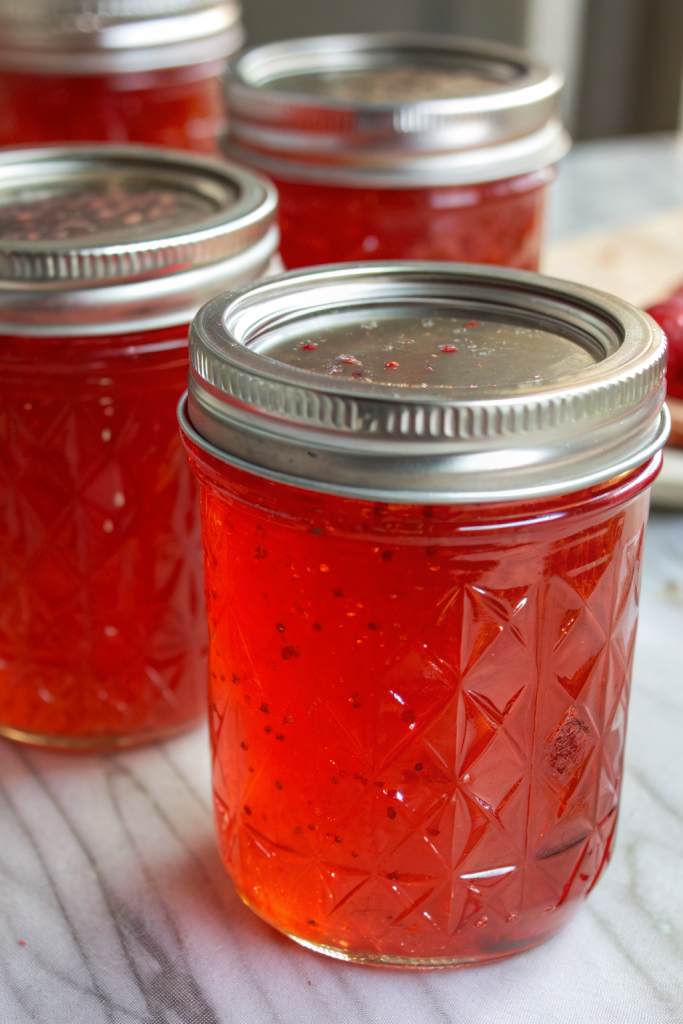
Candy Apple Jelly Recipe tastes like a caramel apple met a shiny red lollipop and decided to move into your toast. It works for busy home cooks who want a fun, kid-friendly spread in about 1 hour from start to finish. I grew up eating fairground candy apples, so this recipe hits all my nostalgic buttons in the best way.
Why Candy Apple Jelly Recipe Is Worth It
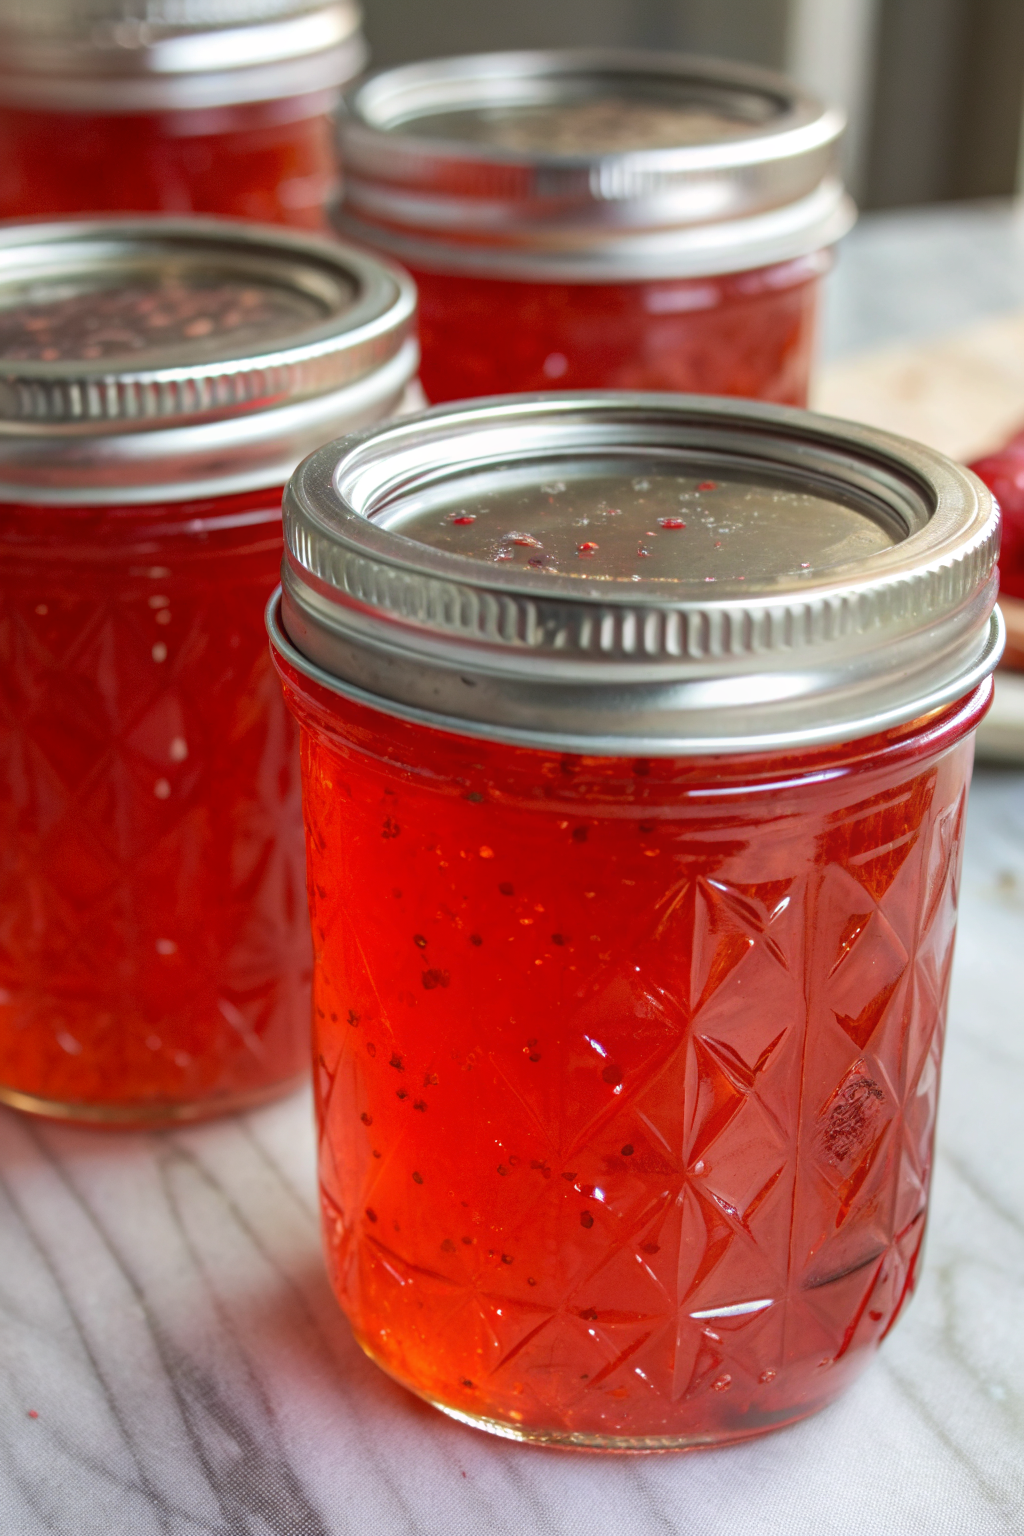
This jelly packs bright apple flavor with that classic cinnamon candy kick and a gorgeous ruby color. It spreads smoothly, sets firmly, and turns the simplest biscuit or slice of toast into a dessert-level snack.
You only need a few basic ingredients and some patience while the mixture comes to a boil. The recipe uses clear steps, so even nervous jelly makers can pull it off without stress.
“Tastes exactly like a county fair candy apple in a jar, and my kids lick the spoon every time ★★★★★”
Ingredients You Need
Core ingredients
- 4 cups apple juice, clear and unsweetened
- Use 100 percent juice, not apple drink.
- Choose a good brand like Martinelli’s or a store brand that lists only apples and water.
- 3 cups granulated sugar
- Regular white sugar works best for a clear, bright jelly.
- 1 box powdered fruit pectin (1.75 ounces)
- Use classic pectin, not low sugar, to keep the set firm.
- 1 cup cinnamon red hot candies
- These give the candy apple flavor and bright red color.
- If you cannot find them, use 1 teaspoon cinnamon extract and a few drops of red food coloring.
- 1 tablespoon lemon juice, bottled
- Bottled lemon juice keeps the acidity consistent for safe canning.
Optional flavor tweaks
- 1 teaspoon vanilla extract for a softer candy flavor
- 1 pinch fine sea salt to balance sweetness
Pantry shortcuts and swaps
- Use store bought apple juice instead of pressing apples.
- Use cinnamon extract plus red gel food coloring if your store does not stock red hot candies.
- Use low sugar pectin and reduce sugar to 2 cups if you prefer a less sweet jelly, but follow the pectin package directions.
Equipment list
- Large heavy pot, at least 6 quart capacity
- Long handled heatproof spoon or silicone spatula
- Candy thermometer or instant read thermometer
- Fine mesh skimmer or spoon for foam
- Ladle and canning funnel
- 6 to 7 half pint canning jars with lids and bands
- Large canning pot or deep stockpot with rack
- Clean kitchen towels and paper towels
Quick Tips & substitutions
- Use clear apple juice, not cider, to keep the jelly bright and jewel like.
- Measure sugar exactly, since pectin needs the right ratio to set.
- Stir constantly after the mixture reaches a full rolling boil to prevent scorching.
- Test for gel by placing a small spoonful on a chilled plate and checking if it wrinkles when you push it.
- Swap red hot candies with 1 teaspoon cinnamon extract and 4 to 6 drops red food coloring if needed.
- Use low sugar pectin if you reduce sugar, and follow the instructions on that specific brand.
- Skim foam near the end of cooking so the jelly looks clear in the jars.
- Warm the clean jars in hot water so they do not crack when you add hot jelly.
How to Make Candy Apple Jelly Recipe
Step 1: Prep jars and equipment
Wash jars, lids, and bands in hot soapy water and rinse well. Place jars upright in a canning pot or deep stockpot, cover with water, and heat until the water steams but does not boil. Keep jars hot while you cook the jelly, and keep lids in a small pan of hot, not boiling, water.
Set a small plate in the freezer so you can test the jelly later. Lay out a clean towel on the counter where you will place hot jars.
Step 2: Combine juice, pectin, and candies
Pour the apple juice into the large heavy pot. Sprinkle the powdered pectin over the juice and whisk until it dissolves with no visible lumps. Add the cinnamon red hot candies and lemon juice.
Place the pot over medium high heat and stir often as the candies start to melt. Continue to stir until the candies dissolve completely and the mixture looks uniform in color.
Step 3: Bring to a boil and add sugar
Increase the heat to high and bring the mixture to a full rolling boil that does not stop when you stir. Stir constantly so the bottom does not scorch. Once you see that strong boil, pour in all the sugar at once while you stir.
Keep stirring until the sugar dissolves and the mixture returns to a full rolling boil. This step sets you up for a good gel and clear texture.
Step 4: Cook to gel stage
Maintain a strong rolling boil and stir constantly. Clip a candy thermometer to the side of the pot if you use one, and keep the tip in the liquid, not touching the bottom. Cook until the jelly reaches about 220°F, which usually takes 5 to 8 minutes at sea level.
Use the chilled plate test if you prefer. Place a small spoonful of jelly on the cold plate, wait 30 seconds, then push the edge with your finger. If it wrinkles and holds shape, the jelly reached gel stage.
Step 5: Skim foam and adjust flavor
Turn off the heat. Skim any foam from the surface with a spoon so the jars look clear and pretty. Stir in vanilla and a pinch of salt if you use them.
Give the jelly a gentle stir to even out the color and texture. Work quickly so the mixture does not start to set in the pot.
Step 6: Fill the jars
Use the jar lifter to remove one hot jar from the canning pot and drain the water back into the pot. Place the jar on the clean towel. Use a ladle and canning funnel to fill the jar with hot jelly, leaving about 1 quarter inch headspace at the top.
Wipe the rim with a damp paper towel to remove any drips. Place a warm lid on the jar and screw on a band until it feels fingertip tight. Repeat with the remaining jars.
Step 7: Process the jars
Place the filled jars back into the canning pot on the rack. Make sure the water covers the jars by at least 1 inch, and add hot water if needed. Bring the pot to a steady boil over high heat.
Once the water boils, process the jars for 10 minutes at sea level. Adjust time based on altitude if you live higher up, usually by adding a few minutes. When time ends, turn off the heat and let the jars rest in the hot water for 5 minutes.
Step 8: Cool and check the seal
Lift the jars from the pot and place them upright on a towel, leaving space between them. Do not tighten the bands or tilt the jars. Let them cool undisturbed for 12 to 24 hours.
Check the seals by pressing the center of each lid. If it does not flex up and down, the jar sealed. Remove the bands, wipe the jars, label them, and store them in a cool, dark place.
Recipe Variations
-
Gluten free
- Use pure apple juice and pectin that lists no gluten containing additives.
- Most brands already meet this, but check labels if you have celiac concerns.
-
Vegan
- Use standard fruit pectin and granulated sugar, which already count as vegan in most brands.
- Avoid any pectin that includes gelatin.
-
Low sugar
- Use low sugar pectin and follow the package instructions for sugar amounts.
- Expect a slightly softer set and a brighter apple flavor.
-
Extra cinnamon kick
- Add 1 extra quarter cup red hot candies or another half teaspoon cinnamon extract.
-
Spiced fall version
- Add a pinch of ground nutmeg and ground cloves along with the cinnamon flavor.
-
No food coloring
- Skip red food coloring and use only the candies for a softer red shade.
Ways to Serve
- Spoon over warm biscuits, toast, or English muffins at breakfast.
- Swirl into plain yogurt or cottage cheese for a candy apple style snack.
- Use as a glaze on baked chicken thighs, then sprinkle with chopped apples.
- Spread on peanut butter sandwiches for a fun twist on PB and J.
- Add a spoonful over vanilla ice cream or frozen yogurt.
- Serve with sharp cheddar or cream cheese and crackers as a sweet snack board.
Storage Success
Store sealed jars of candy apple jelly in a cool, dark pantry for up to 1 year. Once you open a jar, keep it in the refrigerator and use it within 3 to 4 weeks for best flavor and texture. Always use a clean spoon, since crumbs or butter can shorten the shelf life.
If a jar does not seal, place it in the fridge right away and use it within 2 weeks. Discard any jelly that shows mold, strange odor, or off flavor, and trust your senses.
Candy Apple Jelly Recipe
Ingredients
Method
- Wash jars, lids, and bands in hot soapy water and rinse well. Place jars upright in a canning pot or deep stockpot, cover with water, and heat until the water steams but does not boil. Keep jars hot while you cook the jelly, and keep lids in a small pan of hot, not boiling, water. Set a small plate in the freezer for testing the jelly later and lay a clean towel on the counter for the hot jars.
- Pour the apple juice into a large heavy pot. Sprinkle the powdered pectin over the juice and whisk until it dissolves with no visible lumps. Add the cinnamon red hot candies and bottled lemon juice.
- Place the pot over medium-high heat and stir often as the candies start to melt. Continue to stir until the candies dissolve completely and the mixture looks uniform in color.
- Increase the heat to high and bring the mixture to a full rolling boil that does not stop when you stir. Stir constantly to prevent scorching. Once you reach a strong boil, pour in all of the granulated sugar at once while stirring.
- Stir until the sugar dissolves and the mixture returns to a full rolling boil. Maintain a strong rolling boil, stirring constantly, and cook until the jelly reaches about 220°F on a candy or instant-read thermometer, usually 5 to 8 minutes at sea level.
- Test for gel by placing a small spoonful of jelly on the chilled plate. Wait about 30 seconds, then push the edge with your finger. If it wrinkles and holds its shape, the jelly has reached gel stage.
- Turn off the heat. Skim any foam from the surface with a spoon so the jelly looks clear. Stir in the vanilla extract and a pinch of sea salt, if using, then give the jelly a gentle stir to even out the color and texture, working quickly so it does not begin to set in the pot.
- Use a jar lifter to remove one hot jar from the canning pot, draining the water back into the pot. Place the jar on the clean towel. Use a ladle and canning funnel to fill the jar with hot jelly, leaving about 1/4 inch headspace. Wipe the rim with a damp paper towel to remove any drips. Place a warm lid on the jar and screw on a band until fingertip tight. Repeat with the remaining jars.
- Place the filled jars back onto the rack in the canning pot. Make sure the water covers the jars by at least 1 inch, adding hot water if needed. Bring to a steady boil over high heat, then process the jars for 10 minutes at sea level, adjusting time as needed for higher altitudes. When the time is up, turn off the heat and let the jars rest in the hot water for 5 minutes.
- Lift the jars from the pot and place them upright on a towel, leaving space between them. Do not tighten the bands or tilt the jars. Let them cool undisturbed for 12 to 24 hours. Check the seals by pressing the center of each lid; if it does not flex up and down, the jar is sealed. Remove the bands, wipe the jars, label, and store in a cool, dark place. Refrigerate any unsealed jars and use within 2 weeks.
Notes
Approximate per 2-tablespoon serving (about 1/24 of batch): 90 calories; fat 0 g; saturated fat 0 g; carbohydrates 23 g; fiber 0 g; sugars 22 g; protein 0 g; sodium 0 mg. Values are estimates and will vary based on exact brands and portion size.