
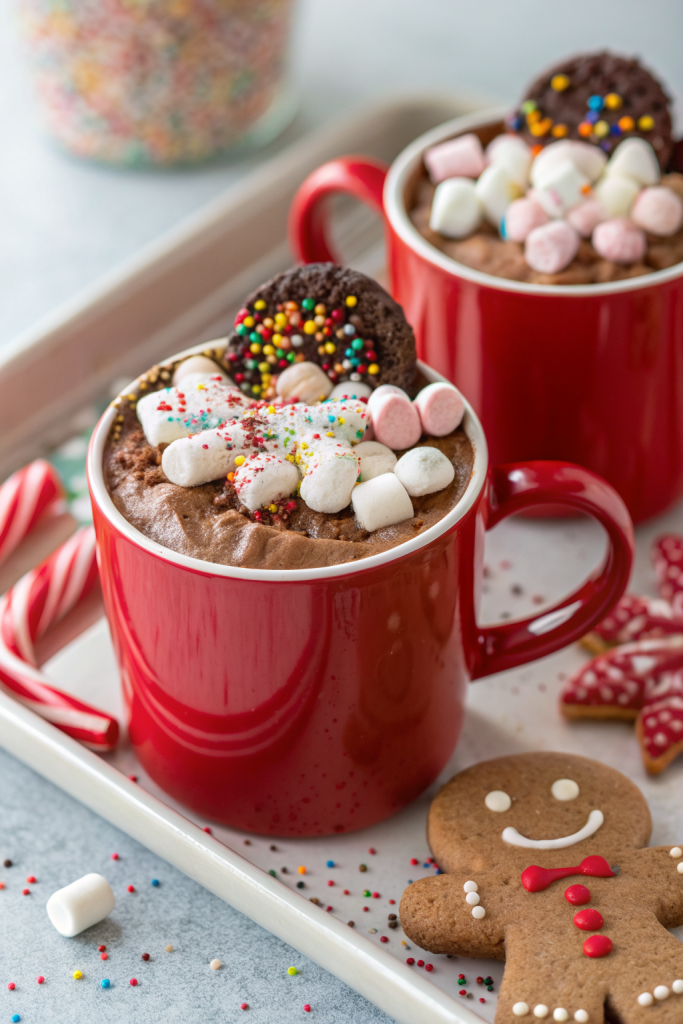
Christmas Sweet Trays Ideas bring together crunchy, chewy, chocolatey bites that taste like every holiday party you loved as a kid, all on one pretty platter. They work for busy hosts who want a showstopper dessert spread in about 60 to 90 minutes of hands-on time, depending on how many treats you include. I started making trays like this in my tiny apartment kitchen, and my neighbors still talk about the year I accidentally fed the whole building with “just a few sweets.”
Why Christmas Sweet Trays Ideas Is Worth It
Christmas Sweet Trays Ideas give you huge visual impact with surprisingly simple recipes. You mix store bought shortcuts with a few homemade favorites, so the tray looks impressive without you living in the kitchen.
Guests love the variety, which means picky eaters still find something they enjoy. You also control portions easily, since everything comes in bite size pieces that people can sample without committing to a giant slice of cake.
“This Christmas sweet tray disappeared faster than the presents under the tree, and everyone asked for the ‘recipe’ for the whole platter. ★★★★★”
Ingredients You Need
You can build Christmas Sweet Trays Ideas with a mix of no bake treats, quick bakes, and store bought helpers. Pick 4 to 8 items so the tray looks full but not chaotic.
Base sweets
-
Chocolate bark
- Dark or semi sweet chocolate chips (Ghirardelli or Guittard melt smoothly)
- White chocolate chips or melting wafers
- Toppings: crushed candy canes, chopped nuts, mini marshmallows, dried cranberries, pretzel pieces
-
Holiday cookies
- Sugar cookies or shortbread (homemade or a good bakery box)
- Gingerbread cookies or gingersnaps
- Chocolate crinkle cookies or brownie bites
-
No bake treats
- Pretzel rods or twists
- Caramel candies or soft caramels
- Mini marshmallows
- Rice cereal for cereal treats
- Peanut butter or sunflower seed butter
- Powdered sugar and cocoa powder
Accent sweets and fillers
- Peppermint candies and candy canes
- Chocolate covered pretzels (store bought works great)
- Holiday M&M style candies
- Chocolate truffles or boxed chocolates
- Fudge squares or store bought fudge pieces
- Fresh fruit for color: strawberries, clementines, red grapes
- Nuts: roasted almonds, pecans, pistachios, or cashews
Flavor boosters and pantry shortcuts
- Vanilla extract
- Peppermint extract
- Sea salt flakes
- Sprinkles in holiday colors
- Ready made frosting for quick cookie decorating
- Pre made refrigerated cookie dough if you want “homemade” cookies without mixing batter
Substitution notes
- Use gluten free pretzels, cookies, and cereal if you need a gluten free tray.
- Swap dairy chocolate for vegan chocolate chips if you serve dairy free guests.
- Replace peanut butter with sunflower seed butter or almond butter for nut sensitive households.
- Choose low sugar dark chocolate and unsweetened dried fruit if you want a less sweet tray.
Equipment list
- Large serving tray, wooden board, or baking sheet lined with parchment
- Small bowls or ramekins for tiny candies and nuts
- Microwave safe bowls for melting chocolate
- Spatula and small offset spatula
- Parchment paper or silicone mats
- Sharp knife for cutting bark and fudge
- Cooling rack if you bake cookies
- Piping bags or zip top bags for drizzling chocolate or frosting
Quick Tips & substitutions
- Use at least one chocolate treat, one cookie, one chewy candy, and one crunchy snack so the tray feels balanced.
- Stick to a color palette like red, white, and green so the tray looks intentional, not like a candy drawer explosion.
- Melt chocolate in the microwave in 20 second bursts and stir often to avoid scorching.
- Line every surface with parchment so cleanup stays easy and nothing sticks.
- Buy one or two bakery items if you feel short on time, then surround them with quick homemade treats.
- Use gluten free pretzels and cookies plus dairy free chocolate to cover most food sensitivities.
- Keep nuts in their own bowl so guests with allergies can avoid them easily.
- Slice larger items like brownies or fudge into tiny squares so people can sample more things.
- Add a few fresh fruit pieces right before serving so they stay bright and juicy.
- Prep most items a day ahead, then assemble the tray close to serving time.
How to Make Christmas Sweet Trays Ideas
Step 1: Plan your mix of treats
Decide how many people you want to serve and how many sweets you want on the tray. Aim for 4 to 6 pieces per person, with at least 4 different items for a small group and up to 8 for a big party. Choose a mix of store bought and homemade so you do not overload yourself.
Pick your “anchor” items first, like chocolate bark and cookies. Add smaller candies, nuts, and fruit as fillers that tuck into gaps and make the tray look full.
Step 2: Make quick chocolate bark
Line a baking sheet with parchment. Melt dark or semi sweet chocolate chips in a microwave safe bowl in 20 second bursts, stirring between each burst until smooth. Spread the chocolate into a thin, even layer on the parchment.
Drizzle melted white chocolate over the top in zigzags. Sprinkle with crushed candy canes, dried cranberries, pretzel bits, and a pinch of sea salt flakes. Chill in the fridge for 20 to 30 minutes, then slice or break into irregular pieces.
Step 3: Prep no bake bites
Make simple peanut butter or sunflower seed butter balls by mixing nut butter, a little honey or maple syrup, and crushed cereal or oats until the mixture feels firm. Roll into small balls and chill, then dip in melted chocolate and top with sprinkles. Set on parchment until the coating firms up.
Dip pretzel rods or twists into melted chocolate and coat them halfway. Add crushed candy cane or sprinkles while the chocolate still feels soft. Chill briefly so they set.
Step 4: Bake or source cookies
If you bake, mix up a batch of sugar cookies or gingerbread cookies and cut them into small shapes. Bake until the edges look lightly golden and the centers feel set. Cool completely before you decorate or add them to the tray.
If you use store bought cookies, choose a mix of textures like crisp shortbread and soft chocolate cookies. You can drizzle them with a little melted chocolate or frosting to give them a homemade touch.
Step 5: Prep fresh elements and small candies
Wash and dry any fruit you plan to use. Keep strawberries and grapes completely dry so they do not bleed onto other sweets. Peel clementines and separate them into segments if you use them.
Pour small candies, nuts, and chocolate pieces into tiny bowls or ramekins. This step keeps the tray tidy and makes refills easy. Keep a few extra candies in a container so you can top off the bowls during the party.
Step 6: Choose and prep your tray or board
Pick a large tray, wooden board, or even a rimmed baking sheet. Line it with parchment or a sheet of food safe paper if the surface stains easily. Set any small bowls on the tray first so you know how much space they take.
Place the biggest items near the center or in two opposite corners to anchor the design. Keep a little space between wet items like fruit and dry items like cookies.
Step 7: Arrange the anchor treats
Start with your largest sweets, like cookies, bark pieces, and brownies or fudge squares. Fan cookies in overlapping rows so they look abundant. Stack bark pieces in loose piles rather than laying them flat in a single layer.
Place brownies or fudge in neat rows or small stacks. Keep similar colors apart so the tray looks colorful and varied. Think of it like a dessert puzzle that you solve with snacks.
Step 8: Fill gaps with smaller treats
Tuck chocolate covered pretzels, truffles, and peanut butter balls into open spaces. Add small clusters of candies between larger items to break up the shapes. Use nuts to fill tiny gaps where nothing else fits.
Add fruit in small groups rather than scattering it everywhere. Keep fruit away from anything that might soften or absorb moisture quickly, like meringues or very crisp cookies.
Step 9: Add final details and chill if needed
Step back and check for any empty spots or color gaps. Add a few extra sprinkles of candies or an extra cookie or two where the tray looks thin. Wipe any stray chocolate smears from the tray edges.
Chill the tray lightly if your kitchen feels warm and the chocolate items seem soft. Pull the tray out about 15 to 20 minutes before serving so the chocolate does not feel rock hard and the flavors shine.
Recipe Variations
- Gluten free: Use gluten free pretzels, cookies, and cereal; double check chocolate labels for gluten free certification.
- Vegan: Choose dairy free chocolate, vegan marshmallows, and plant based butter in any baked goods; use maple syrup or agave instead of honey.
- Low carb: Focus on dark chocolate with higher cocoa content, nuts, seeds, and fresh berries; skip most candies and sugary cookies.
- Nut free: Skip nuts and nut butters; use sunflower seed butter or cookie butter for truffle style bites and keep labels clear for guests.
- Kid focused: Add more colorful candies, mini sandwich cookies, and fun shapes like stars and trees; keep flavors mild and not too minty.
- Grown up flavors: Add espresso powder to chocolate bark, use sea salt caramel pieces, and include more dark chocolate and roasted nuts.
Ways to Serve
- Set the Christmas sweet tray in the center of the dessert table and place small plates and napkins nearby.
- Pair the tray with hot chocolate, coffee, tea, or warm apple cider for a cozy dessert station.
- Build mini individual sweet trays on small plates for kids and older guests who prefer their own servings.
- Bring a wrapped tray as a hostess gift and leave a note with a list of treats for allergy awareness.
- Use leftover pieces as lunchbox treats or after school snacks during the holiday week.
Storage Success
Store most Christmas Sweet Trays Ideas components in airtight containers at cool room temperature for 3 to 5 days. Keep cookies, bark, and chocolate covered treats separate from fruit so moisture does not soften the crunchy items. Add fresh fruit to the tray right before serving and refrigerate any fruit leftovers in a separate container.
If your kitchen runs warm, store chocolate items in the fridge and let them sit at room temperature for 10 to 15 minutes before serving. Freeze extra cookies and bark in freezer bags for up to 2 months, then thaw them on the counter while you brew coffee.