
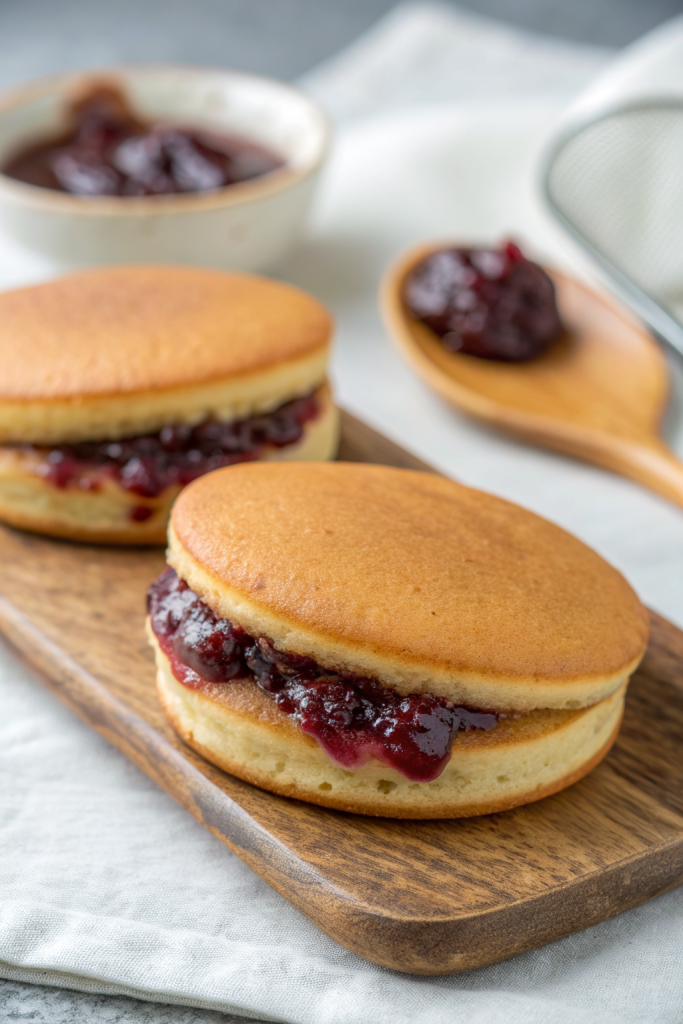
Dorayaki Japanese Red Bean Pancakes Recipe tastes like fluffy honey-kissed pancakes hugging a sweet, velvety red bean filling, with just enough chew to keep every bite interesting. It works perfectly for anime fans, Japanese dessert lovers, and busy home cooks who want a fun treat in about 45 minutes. I still remember burning my very first batch in a tiny apartment kitchen and eating them anyway because they smelled too good.
Why Choose This Dorayaki Japanese Red Bean Pancakes Recipe
This version keeps the batter soft, bouncy, and evenly golden, just like the ones from Japanese convenience stores. You get clear steps, simple ingredients, and realistic timing so you can pull it off even on a weeknight.
I also include options for canned anko, homemade anko, and even non-traditional fillings if you cook for picky eaters. You can double the recipe easily, which works great for snacks, lunchboxes, or a Doraemon themed movie night.
“These dorayaki taste like something straight from a Tokyo bakery, but my kitchen stayed calm and my kids asked for seconds.” ★★★★★
Ingredients You’ll Need
Batter ingredients
- 2 large eggs, room temperature
- ½ cup (100 g) granulated sugar
- 1 tablespoon honey (gives flavor and color; I like clover or acacia)
- 1 teaspoon vanilla extract (optional but tasty)
- 1 cup (120 g) all purpose flour, spooned and leveled
- 1 teaspoon baking powder
- 2 tablespoons water, plus 1 to 2 extra teaspoons as needed for consistency
- Small pinch of fine salt
You can use cake flour for a slightly softer texture, but all purpose flour works great and usually sits in most pantries already. Use fresh baking powder so the pancakes rise nicely and stay fluffy.
Filling ingredients
- 1 to 1¼ cups sweet red bean paste (anko)
- Tsubuan (chunky) or koshian (smooth) both work
- Use canned anko from brands like Shirakiku, Morinaga, or Hime for a shortcut
- Optional: 1 to 2 teaspoons sugar or honey to adjust sweetness if your anko tastes mild
- Optional twist: a tiny pinch of salt in the anko to balance sweetness
If you cannot find anko, you can cook canned red beans with sugar and mash them, but the texture will differ slightly. Some people also fill dorayaki with chocolate spread or custard, though red bean gives the classic flavor.
Oil and cooking
- Neutral oil with high smoke point, such as canola, grapeseed, or vegetable oil
- A little butter for flavor if you like, but use it sparingly so the surface stays smooth
Use a folded paper towel to lightly oil the pan so the pancakes stay evenly golden and not greasy.
Equipment list
- Medium mixing bowl
- Small bowl for sifting or whisking dry ingredients
- Whisk
- Fine mesh sieve (optional but helpful for lump free batter)
- Nonstick skillet or griddle
- Small ladle or tablespoon for portioning batter
- Silicone spatula or thin spatula
- Cooling rack or large plate
- Plastic wrap or clean kitchen towel
Tips & Tricks
- Whisk eggs and sugar until the mixture looks pale and slightly thick so the pancakes turn fluffy.
- Sift or whisk flour and baking powder together to avoid lumps and uneven rising.
- Let the batter rest 10 minutes so the flour hydrates and bubbles settle for smoother surfaces.
- Adjust batter with tiny amounts of water until it flows slowly like thick pancake batter, not runny.
- Preheat the pan on low to medium low heat so the first pancake cooks evenly and does not scorch.
- Lightly oil the pan, then wipe almost all the oil off with a paper towel to keep the surface smooth.
- Cook one test pancake to check color and timing before you cook the full batch.
- Keep pancakes small, about 3 inches wide, so they stay cute and easy to sandwich.
- Spread the red bean paste almost to the edge so each bite gets filling, but do not overfill or it will squeeze out.
- Cover finished dorayaki with plastic wrap while still slightly warm so they stay soft and moist.
How to Make Dorayaki Japanese Red Bean Pancakes Recipe
Step 1: Mix the wet ingredients
Crack the eggs into a medium bowl and add the sugar. Whisk until the mixture looks pale and slightly thick, about 1 to 2 minutes by hand. Add honey and vanilla and whisk again until smooth.
Step 2: Add the dry ingredients
In a separate small bowl, whisk together flour, baking powder, and salt. Add the dry mixture to the egg mixture in two additions while you whisk gently. Stop whisking as soon as no dry streaks remain so the batter stays tender.
Step 3: Adjust consistency and rest the batter
Add 2 tablespoons of water and whisk until the batter looks smooth and slightly thick. Lift the whisk and check that the batter falls in a slow ribbon that disappears back into the bowl after a few seconds. Add an extra teaspoon or two of water if it looks too stiff, then let the batter rest for about 10 minutes on the counter.
Step 4: Prep the filling
While the batter rests, place the red bean paste in a small bowl. Taste it and stir in a little sugar, honey, or a tiny pinch of salt if you want to adjust the flavor. Divide the paste into 10 to 12 small portions, roughly 1 tablespoon each, so you can fill the pancakes quickly.
Step 5: Heat and oil the pan
Set a nonstick skillet over low to medium low heat and let it warm for a couple of minutes. Add a few drops of neutral oil and wipe it all over the surface with a folded paper towel. Leave only a thin film so the pancakes cook evenly and form a smooth, golden surface.
Step 6: Cook the first side
Scoop about 2 tablespoons of batter for each pancake and pour it gently onto the pan from a low height. Let the batter spread into a neat circle about 3 inches wide. Cook until small bubbles appear on the surface and the edges look slightly set, about 1½ to 2 minutes.
Step 7: Flip and finish cooking
Slide a thin spatula under the pancake and flip it in one quick motion. Cook the second side for about 30 to 45 seconds until it turns light golden brown. Transfer the pancake to a plate or cooling rack and cover loosely with a clean towel so it stays soft.
Step 8: Repeat and keep sizes even
Adjust the heat if the pancakes brown too quickly or too slowly. Cook the rest of the batter in the same way, oiling and wiping the pan lightly as needed. Try to keep all pancakes the same size so they match nicely when you sandwich them.
Step 9: Fill the dorayaki
Take one pancake and place it darker side up so the smooth side faces out when you close it. Spoon one portion of red bean paste into the center and spread it gently, leaving a small border around the edge. Place a second pancake on top, lighter side out, and press gently around the edges to seal and round the shape.
Step 10: Rest and serve
Wrap each filled dorayaki in plastic wrap or place them under a slightly warm, clean towel. Let them sit for 10 to 15 minutes so the moisture softens the pancakes and the filling settles. Serve warm or at room temperature and enjoy the soft, cakey texture with the sweet red bean center.
What to Serve with it?
Dorayaki Japanese Red Bean Pancakes pair beautifully with hot green tea, matcha latte, or roasted barley tea for a cozy snack. Kids usually love them with a cold glass of milk or a mild soy milk. You can also serve them with fresh fruit like sliced strawberries, mandarin segments, or kiwi for a little brightness. If you pack them in a lunchbox, add some cut fruit and a small container of yogurt to round out the meal.
Storage Options
- Keep leftover dorayaki in an airtight container at room temperature for up to 1 day if your kitchen stays cool and dry.
- Store them in the fridge for 3 to 4 days, wrapped individually in plastic wrap so they do not dry out.
- Freeze wrapped dorayaki in a freezer bag for up to 1 month and press out extra air to prevent freezer burn.
- Reheat from room temperature or fridge by microwaving for 10 to 15 seconds, or from frozen for 20 to 30 seconds, just until soft and slightly warm.
Dorayaki Japanese Red Bean Pancakes Recipe
Ingredients
Method
- In a medium bowl, whisk the eggs and sugar until the mixture looks pale and slightly thick, 1 to 2 minutes. Whisk in the honey and vanilla until smooth.
- In a small bowl, whisk together the flour, baking powder, and salt. Add the dry ingredients to the egg mixture in two additions, whisking gently just until no dry streaks remain.
- Add 2 tablespoons of water and whisk until the batter is smooth and slightly thick. The batter should fall in a slow ribbon that disappears after a few seconds. Add 1 to 2 teaspoons more water if needed, then let the batter rest for about 10 minutes.
- While the batter rests, place the sweet red bean paste in a small bowl. Taste and adjust with sugar, honey, or a tiny pinch of salt if desired. Divide into 10 to 12 small portions, about 1 tablespoon each.
- Heat a nonstick skillet over low to medium-low heat for a few minutes. Add a few drops of neutral oil and wipe the pan with a folded paper towel, leaving only a thin film of oil.
- Scoop about 2 tablespoons of batter per pancake and pour gently onto the pan from a low height, forming 3-inch circles. Cook until small bubbles appear and the edges look slightly set, about 1 1/2 to 2 minutes.
- Slide a thin spatula under each pancake and flip. Cook the second side for 30 to 45 seconds, until light golden brown. Transfer to a plate or cooling rack and cover loosely with a clean towel to keep them soft.
- Adjust the heat as needed so the pancakes brown evenly without burning. Continue cooking the remaining batter, lightly oiling and wiping the pan between batches if necessary. Try to keep all pancakes the same size.
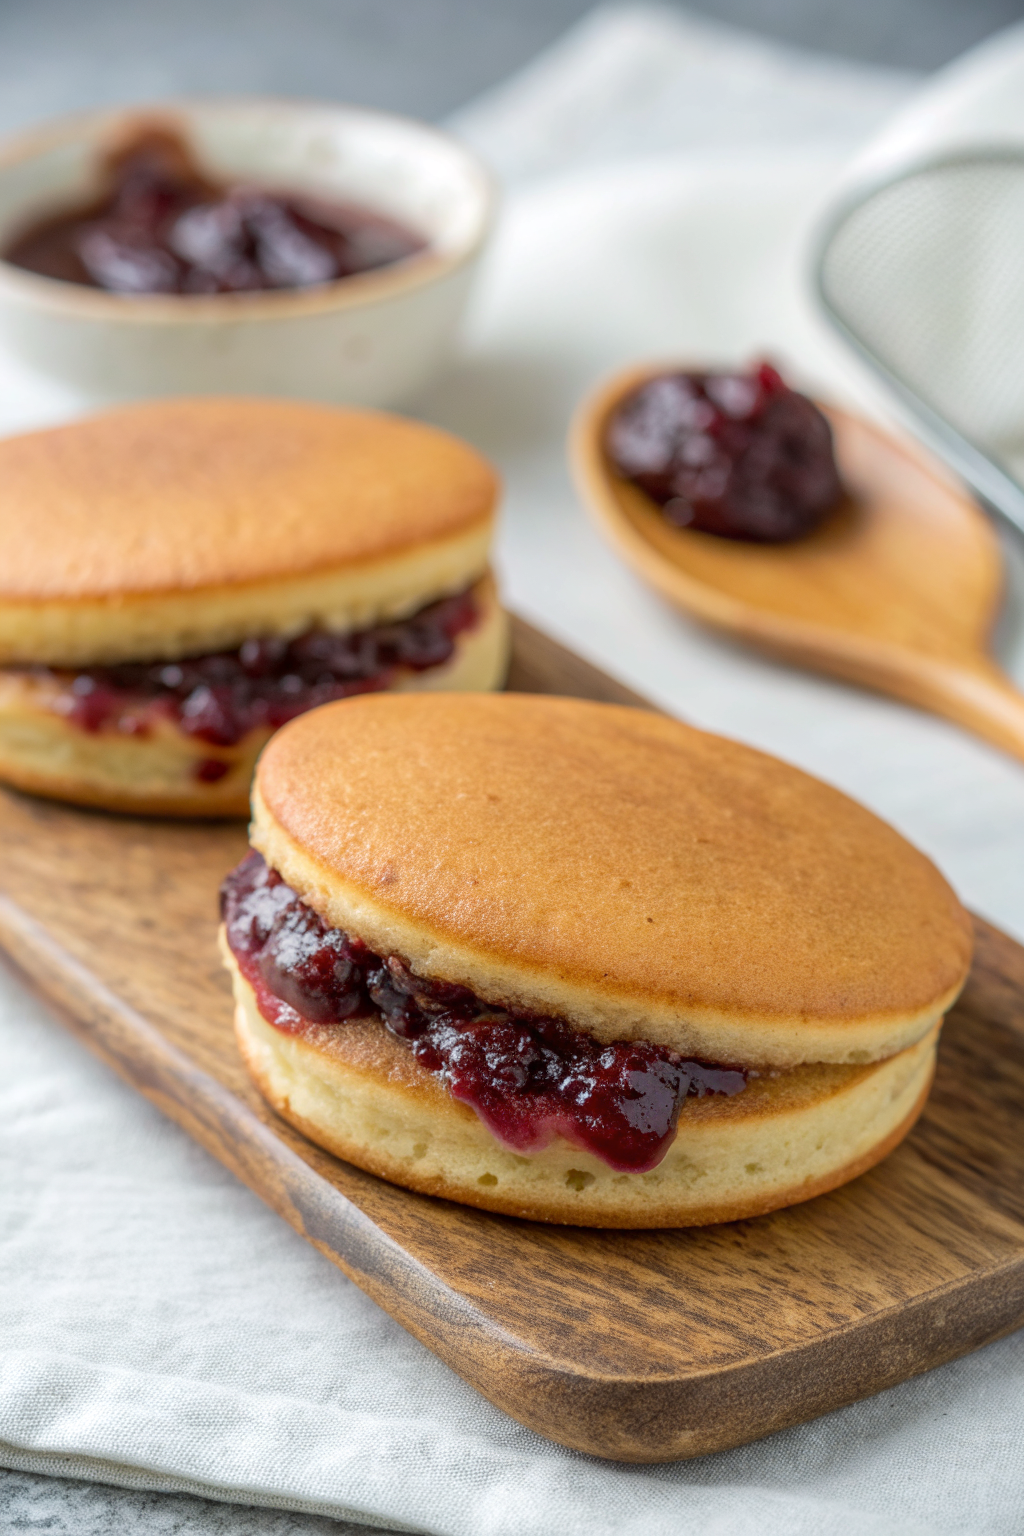
- To assemble, place one pancake darker side up. Spoon a portion of red bean paste into the center and spread gently, leaving a small border around the edge. Top with a second pancake, lighter side out, and press gently around the edges to seal and round the shape.
- Wrap each dorayaki in plastic wrap or cover with a slightly warm towel and let rest for 10 to 15 minutes so they soften and the filling settles. Serve warm or at room temperature.
Notes
Approximate per filled dorayaki (1 of 10): 190–210 calories; fat 3 g; saturated fat 1 g; carbohydrates 38 g; fiber 1–2 g; sugars 23 g; protein 5 g; sodium 70 mg. Values will vary based on type of anko, exact pancake size, and added sweeteners. Storage: Keep in an airtight container at room temperature up to 1 day if cool, or refrigerate 3 to 4 days wrapped individually. For longer storage, freeze up to 1 month and gently reheat in the microwave until just soft and slightly warm.