
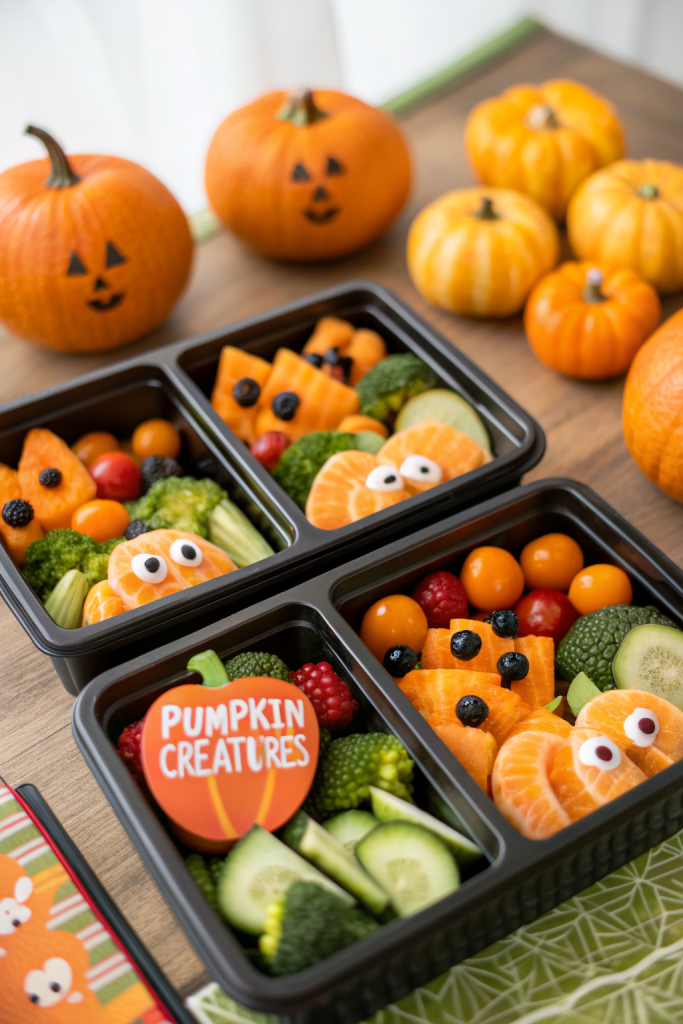
Halloween Fruit and Veggie Tray Idea tastes crisp, juicy, and a little spooky in the best way, perfect for snackers who want something festive without a sugar crash, and it comes together in about 30 to 40 minutes. This tray works for family parties, school events, office potlucks, or any Halloween gathering where you want color and fun on the table. I tested this first with my own kids, and they still talk about the “banana ghosts” like they met a celebrity.
Why Make This Halloween Fruit and Veggie Tray Idea at Home
You control the ingredients, so you load the tray with fresh produce your crew actually eats instead of a random store platter that no one touches. You also shape it into pumpkins, ghosts, and monsters, which turns basic fruit and veggies into something kids run toward instead of away from.
You save money when you buy produce in season and use pantry shortcuts like mini chocolate chips and hummus you already have. You also skip mystery dips and extra sugar, while still giving everyone that Halloween party feeling.
“This Halloween Fruit and Veggie Tray Idea disappeared before the candy bowl even opened, and everyone asked who made the ‘cute veggie pumpkin’ ★★★★★”
Ingredients You Need
You can mix and match produce based on what you find, but this list gives you a solid, colorful tray.
Fruit options
- Clementines or tangerines
- Peel them and keep them whole for mini “pumpkins.”
- Celery sticks
- Cut tiny “stems” for the clementine pumpkins.
- Bananas
- Slice in half for banana ghosts. Slightly firm bananas hold their shape best.
- Mini chocolate chips
- Use these for ghost faces. Any store brand works.
- Regular chocolate chips or raisins
- Use for bigger eyes or mouths on ghosts or monster faces.
- Green grapes
- Build grape “caterpillars” or monster hair.
- Red grapes or strawberries
- Add color contrast and a sweet bite.
- Apple slices (Honeycrisp, Gala, or Fuji)
- Toss in lemon juice to slow browning.
- Kiwi or green apple
- Add more green for variety and monster faces.
Veggie options
- Baby carrots
- Shape a big carrot pumpkin or use as monster “teeth.”
- Cucumber slices
- Use as eyes, scales, or a border.
- Cherry or grape tomatoes
- Add bright red “eyeballs” or fill gaps.
- Broccoli florets
- Great for monster hair or a green border.
- Cauliflower florets
- Use for ghost bodies or white contrast.
- Bell peppers (orange, green, red, yellow)
- Slice into strips for pumpkin outlines and monster mouths.
- Sugar snap peas or green beans
- Use as stems, borders, or monster eyebrows.
- Black olives
- Slice for pupils, creepy eyes, or little spiders.
Dips and pantry shortcuts
- Hummus
- Use plain or flavored; store bought keeps this easy.
- Ranch dip or Greek yogurt ranch
- Stir a ranch packet into Greek yogurt for a lighter dip.
- Peanut butter or almond butter
- Serve with apples and bananas if no nut allergies.
- Caramel dip or date caramel
- Optional sweet dip for fruit.
- Chocolate chips, mini chocolate chips, raisins
- Use as edible decorations for faces and details.
- Pretzel sticks
- Use as broomsticks or skeleton arms.
Equipment
- Large platter, cutting board, or sheet pan
- A rimmed half sheet pan works great and travels well.
- Small bowls or ramekins
- Hold dips and anchor the design.
- Sharp knife and small paring knife
- Shape peppers and cut details.
- Cutting board
- Paper towels
- Pat fruit and veggies dry so they do not water down the tray.
- Small spoon or toothpicks
- Place tiny chocolate chips and olive pieces for faces.
Tips & Mistakes
- Cut wet fruits like oranges and kiwi last so they do not leak all over the tray.
- Pat produce dry with paper towels so dips do not slide around and faces stay put.
- Toss apple slices in lemon juice or orange juice so they stay fresh and do not brown.
- Keep shapes simple; use big blocks of color instead of tiny fussy details that fall apart.
- Place dips on the tray first so you build the design around them instead of squeezing them in at the end.
- Use parchment on a sheet pan if you plan to travel so cleanup stays easy.
- Avoid super ripe bananas because they turn mushy and the ghost faces slide off.
- Keep strong smelling veggies like raw onion off the tray so they do not take over the fruit.
- Chill everything before assembly so the tray stays fresh on the table longer.
- Keep toothpicks away from very young kids and use pretzel sticks instead for eyes or arms.
How to Make Halloween Fruit and Veggie Tray Idea
Step 1: Plan your design
Decide on one main shape so the tray looks clear: a big veggie pumpkin, a skull, or a monster face. Sketch a quick layout on paper if that helps. Plan where dips go first, then where you want orange, green, and white sections.
Step 2: Wash, dry, and prep produce
Rinse all fruit and veggies under cool water and dry them well. Peel clementines, cut celery into small “stems,” and slice cucumbers, peppers, and apples. Cut broccoli and cauliflower into bite size florets so people can grab them easily.
Step 3: Make the banana ghosts
Peel bananas and cut them in half crosswise. Stand each half upright on the cut side or lay them flat, depending on your tray space. Press mini chocolate chips into the banana for eyes and a mouth, with the pointy side facing in so they stick.
Step 4: Shape the veggie pumpkin
Place a small bowl of hummus or ranch in the center bottom of the tray as the “stem area.” Arrange baby carrots in a big oval or circle around the bowl to form the pumpkin body. Use green bell pepper strips or snap peas at the top as the stem, then add black olive slices or cucumber pieces for eyes and a jagged mouth.
Step 5: Add fruit monsters and creepy details
Build a line of green grapes on toothpicks or skewers for caterpillars and use mini chocolate chips or tiny olive bits for eyes. Lay clementine pumpkins around the edges and tuck a small celery piece into the top of each one. Use strawberries, kiwi, and apple slices to fill gaps and add bright color.
Step 6: Fill in with broccoli, cauliflower, and tomatoes
Use broccoli and cauliflower florets to frame the tray or form monster hair around the veggie pumpkin. Scatter cherry tomatoes in small clusters so they look like eyes or little “boils” on a monster. Keep colors grouped so the tray looks bold and clear from across the room.
Step 7: Add dips and final touches
Place extra bowls of dip in open corners or near the fruit side. Add pretzel sticks as broomsticks, skeleton arms, or just crunchy fillers near the dips. Adjust any faces that shifted, then chill the whole tray until party time.
Variations I've Tried
I shaped the tray into a big skull with cauliflower as the face, black olives as eye sockets, and red pepper strips as teeth. Kids loved that one because it looked spooky but still friendly.
I also tried a “haunted forest” version with broccoli trees, grape “bats” on toothpicks, and banana ghosts peeking out between the trees. Another fun version used only fruit for a classroom party, with a giant orange pumpkin made from clementines and a border of green grapes and kiwi.
How to Serve Halloween Fruit and Veggie Tray Idea
Serve this Halloween Fruit and Veggie Tray Idea chilled, with small tongs or toothpicks so people can grab pieces easily. Pair it with kid friendly drinks like apple cider, sparkling water, or orange juice with floating grape “eyeballs.” Set extra dip bowls nearby and label them so guests know which ones hold hummus, ranch, or nut based dips. Place the tray near the candy so kids see that bright, fun produce first.
How to store
- Store leftover fruit and veggies in separate airtight containers in the fridge for 2 to 3 days.
- Keep dips covered in the fridge for up to 4 days, and stir before serving again.
- Skip the freezer for this tray, since fresh fruit and raw veggies turn mushy after freezing.
- Serve leftovers cold straight from the fridge, or bring veggies to room temp for 10 to 15 minutes so the flavors taste brighter.
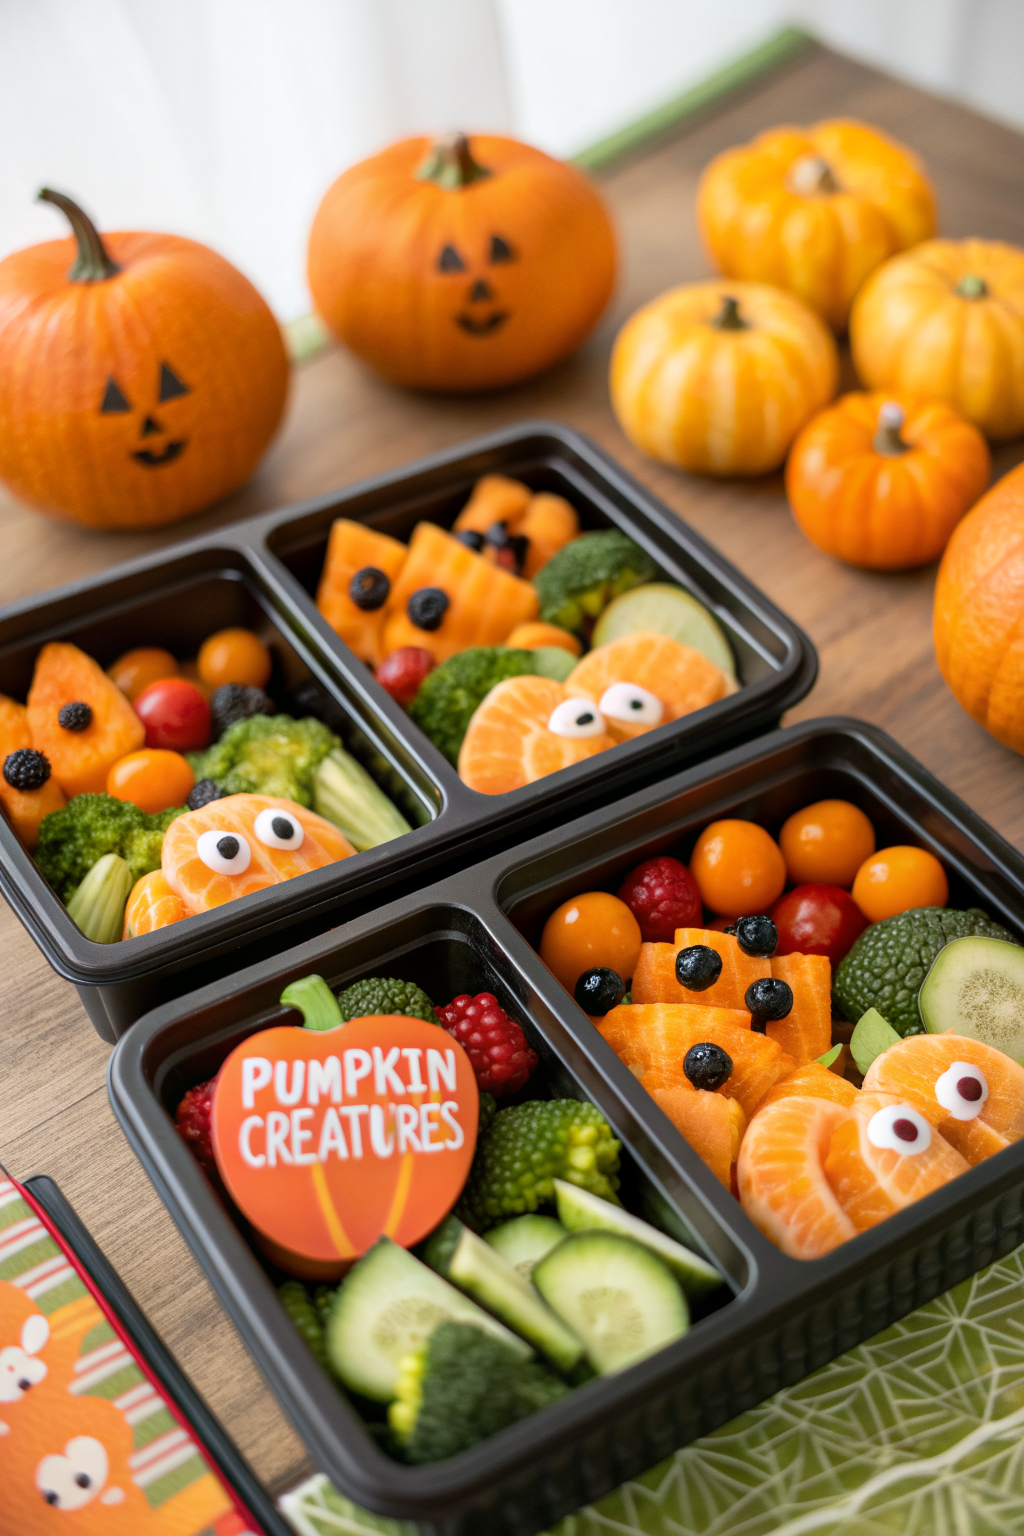
Halloween Fruit and Veggie Tray Idea
Ingredients
Method
- Plan your design by choosing one main shape, such as a large veggie pumpkin, skull, or monster face, and decide where dips and main color blocks (orange, green, white) will go on the tray.
- Wash and thoroughly dry all fruit and vegetables. Peel the clementines, cut celery stems, slice cucumbers, peppers, and apples, and break broccoli and cauliflower into bite-size florets.
- Make the banana ghosts by peeling bananas, cutting them in half, and either standing them upright or laying them flat. Press mini chocolate chips into each piece to form eyes and a mouth.
- Shape a veggie pumpkin by placing a bowl of hummus or ranch at the lower center of the tray, then arranging baby carrots in a large oval or circle around it. Add green bell pepper strips or snap peas as the stem and use black olives or cucumber pieces for the eyes and mouth.
- Add fruit monsters and details using grape caterpillars on toothpicks or skewers, clementine pumpkins with celery stems, and blueberries, strawberries, kiwi, and apples to fill in gaps and create monster features.
- Frame the design with broccoli and cauliflower florets and scatter cherry tomatoes in clusters so they look like eyes or small bumps on a monster face.
- Place additional bowls of dip around open areas, add pretzel sticks as broomsticks or arms, adjust any faces that have shifted, and chill the tray until ready to serve.
Notes
Approximate per serving (1/12 of tray, including some dip): 120 calories; fat 4 g; saturated fat 0.5 g; carbohydrates 21 g; fiber 4 g; sugars 13 g; protein 3 g; sodium 180 mg. Values will vary based on exact produce mix, dips used, and portion size.