
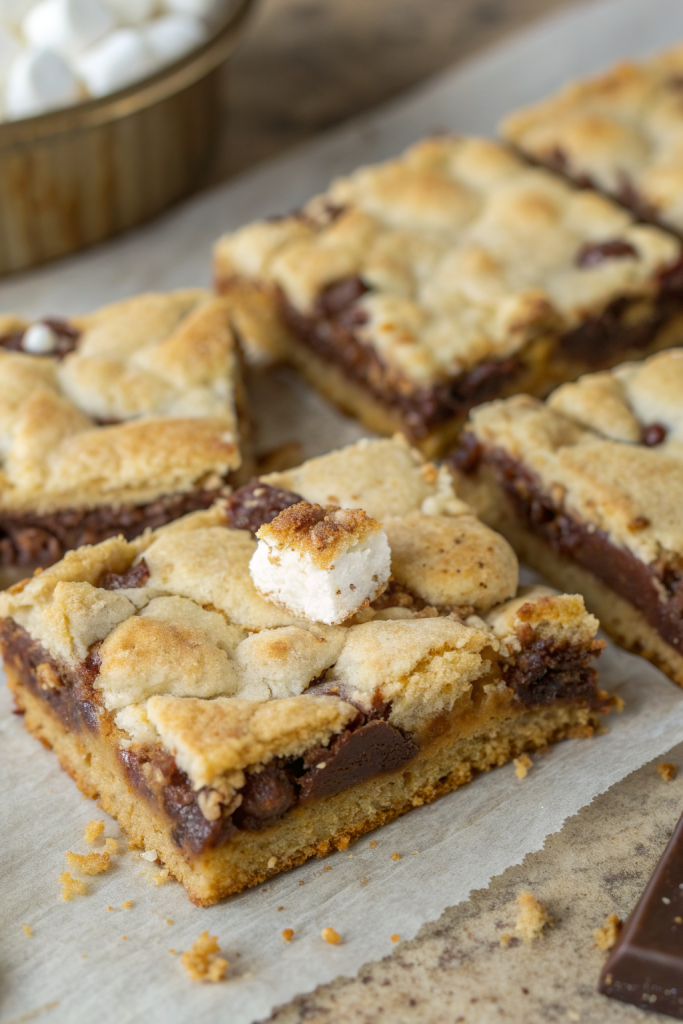
Layered S’mores Bars Recipe tastes like a campfire party in a pan, with gooey marshmallow, melty chocolate, and a buttery graham crust in every bite. It works perfectly for busy families, bake sales, potlucks, or anyone who wants a big-batch dessert in about 45 minutes total. I first baked these on a Tuesday night when I absolutely did not need dessert, and I have made them way too often since.
Why Choose This Layered S’mores Bars Recipe
This Layered S’mores Bars Recipe packs all the classic s’mores flavor into neat, shareable squares that travel well and slice cleanly. You skip the smoke, the bugs, and the unevenly toasted marshmallows, but you keep the gooey center and crunchy edges.
You mix everything in one pan and one bowl, so cleanup stays easy. The recipe uses simple pantry ingredients and gives you options for different chocolates and marshmallows, so you can tweak it for kids, chocolate fanatics, or that one friend who loves dark chocolate more than life.
“These layered s’mores bars taste like a bakery treat but come together with pantry ingredients in under an hour, and my family now requests them weekly. ★★★★★”
Ingredients You’ll Need
Graham cracker crust layer
- 2 cups graham cracker crumbs
- About 14 full sheets; use honey grahams for classic flavor or cinnamon grahams for a cozy twist.
- You can use gluten free graham crackers if needed.
- 10 tablespoons unsalted butter, melted
- Use salted butter and reduce the added salt slightly if that is what you have.
- 1/4 cup granulated sugar
- 1/4 teaspoon fine sea salt
Chocolate layer
- 2 cups chocolate chips or chopped chocolate
- Use semi sweet chips for a classic taste.
- Mix milk chocolate and dark chocolate for a richer bar.
- I like Ghirardelli or Guittard for smooth melting, but store brands work fine.
Marshmallow layer
- 3 cups mini marshmallows
- Mini marshmallows melt more evenly than large ones.
- Use vegan marshmallows if you need a gelatin free option.
Extra topping layer
- 1/2 cup chocolate chips, for sprinkling on top
- 1 cup mini marshmallows, for extra toasty top
- 2 graham cracker sheets, roughly broken, for crunch on top
Optional mix in ideas
- 1/2 cup chopped nuts, such as pecans or walnuts, for crunch
- 1/3 cup peanut butter chips or butterscotch chips
- 1/4 teaspoon ground cinnamon in the crust for a warm flavor
Equipment list
- 9 x 13 inch baking pan
- Line it with parchment and leave an overhang so you can lift the bars out easily.
- Mixing bowl
- Measuring cups and spoons
- Rubber spatula
- Small saucepan or microwave safe bowl for melting butter
- Knife or bench scraper for slicing bars
- Wire rack for cooling
Tips & Tricks
- Line the pan with parchment so the bars release cleanly and you avoid stuck marshmallow edges.
- Press the graham crust firmly with the bottom of a measuring cup so it bakes into a sturdy base that holds the layers.
- Chill the crust briefly while you prep the chocolate and marshmallows so it sets a bit and stays crisp.
- Use mini marshmallows instead of large ones so they melt and toast more evenly.
- Sprinkle a few extra chocolate chips on top after baking while the marshmallows stay hot so they soften without burning.
- Let the bars cool completely before slicing so the layers set and you get clean squares instead of a delicious mess.
- Lightly oil your knife or run it under warm water, then dry it, to cut through the sticky marshmallow layer.
- Bake on the middle rack so the marshmallows toast without scorching on top.
- Watch closely during the last few minutes because marshmallows shift from golden to too dark very quickly.
- Add a pinch of flaky salt on top after baking if you like a sweet salty contrast.
How to Make Layered S’mores Bars Recipe
Step 1: Prep the pan and oven
Preheat your oven to 350°F (175°C). Line a 9 x 13 inch baking pan with parchment paper, leaving a little overhang on the long sides as handles. Lightly grease the parchment so the marshmallow layer does not cling.
Step 2: Mix the graham cracker crust
Stir the graham cracker crumbs, sugar, and salt in a mixing bowl until they blend evenly. Pour in the melted butter and mix until the crumbs feel like wet sand and hold together when you squeeze a handful. If the mixture looks dry and crumbly, add 1 more tablespoon of melted butter.
Step 3: Press and bake the crust
Pour the crumb mixture into the lined pan. Press it firmly into an even layer with your hands, then use the bottom of a measuring cup to really pack it down. Bake the crust for 8 to 10 minutes, until it looks lightly golden and smells toasty.
Step 4: Layer the chocolate
Remove the crust from the oven and keep the oven on. Immediately scatter the 2 cups of chocolate chips or chopped chocolate evenly over the hot crust. Wait a minute or two so the chocolate softens from the heat, then spread it gently with a spatula into a smooth layer.
Step 5: Add the marshmallow layer
Sprinkle the 3 cups of mini marshmallows evenly over the melted chocolate. Try to cover the chocolate as fully as possible without big gaps. If you use any optional nuts or chips, sprinkle them under or over the marshmallows at this stage.
Step 6: Add extra toppings
Scatter the remaining 1 cup of mini marshmallows over the top for a bouncy, toasty finish. Sprinkle the 1/2 cup of chocolate chips over that layer. Add the broken graham cracker pieces on top so they toast slightly and give the bars that classic s’mores look.
Step 7: Bake until toasty
Return the pan to the oven and bake for 10 to 14 minutes. Watch closely after the 8 minute mark and pull the bars when the marshmallows puff and turn golden brown with a few deeper spots. If your oven runs hot, rotate the pan halfway through so the top browns evenly.
Step 8: Cool and slice
Place the pan on a wire rack and let the bars cool at room temperature for at least 1 to 2 hours. If you want extra clean slices, chill the pan in the fridge for 30 to 45 minutes after it reaches room temperature. Lift the slab out by the parchment, place it on a cutting board, and slice into squares or rectangles with a sharp, lightly oiled knife.
Step 9: Serve and enjoy
Serve the layered s’mores bars slightly cool or at room temperature so the chocolate feels soft but not runny. If you like a gooier texture, warm individual bars in the microwave for about 5 to 10 seconds. Share them at parties, tuck them into lunchboxes, or keep them on the counter and watch them disappear.
What to Serve with it?
Layered s’mores bars pair beautifully with cold milk, chocolate milk, or a simple iced coffee. Kids love them with hot cocoa or a vanilla steamer, especially when the weather feels chilly. You can plate them with fresh berries or sliced strawberries to cut through the sweetness a bit. Add a scoop of vanilla or chocolate ice cream on the side if you want a full dessert plate that feels like a bakery treat.
Storage Options
- Store cooled bars in an airtight container at room temperature for 2 to 3 days; keep parchment or wax paper between layers so they do not stick.
- Refrigerate the bars for up to 5 days if your kitchen runs warm; let them sit at room temperature for 15 minutes before serving so the chocolate softens.
- Freeze individual bars, wrapped tightly in plastic and then placed in a freezer bag, for up to 2 months.
- Reheat a bar from room temperature in the microwave for 5 to 10 seconds or from frozen for about 15 to 20 seconds until the marshmallow softens and the chocolate turns slightly melty again.
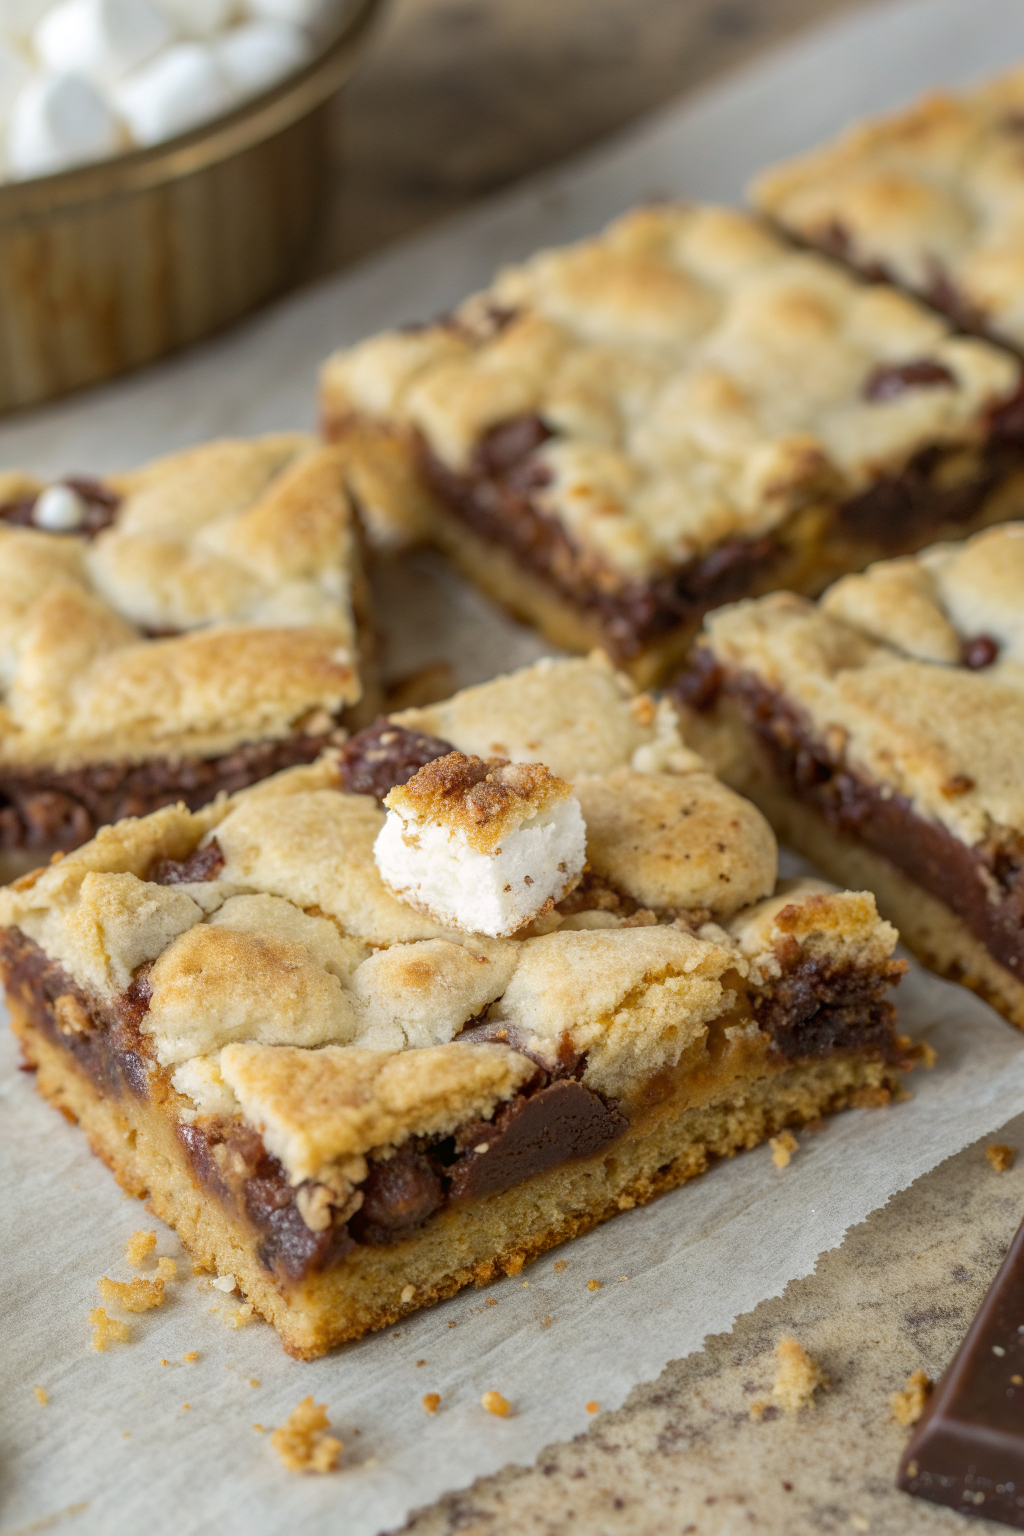
Layered S’mores Bars Recipe
Ingredients
Method
- Preheat the oven to 350°F (175°C). Line a 9 x 13 inch baking pan with parchment paper, leaving an overhang on the long sides as handles. Lightly grease the parchment so the marshmallow layer does not cling.
- In a mixing bowl, stir together the graham cracker crumbs, granulated sugar, and fine sea salt until evenly combined. Pour in the melted butter and mix until the crumbs feel like wet sand and hold together when squeezed. If the mixture looks dry and crumbly, add 1 more tablespoon of melted butter.
- Pour the crumb mixture into the prepared pan. Press it firmly into an even layer with your hands, then use the bottom of a measuring cup to really pack it down. Bake the crust for 8 to 10 minutes, until lightly golden and smelling toasty.
- Remove the crust from the oven but leave the oven on. Immediately scatter the 2 cups of chocolate chips or chopped chocolate evenly over the hot crust. Let sit for a minute or two to soften, then gently spread into a smooth layer with a spatula.
- Sprinkle the 3 cups of mini marshmallows evenly over the melted chocolate, covering it as fully as possible. If using any optional nuts or chips, sprinkle them under or over the marshmallows at this stage.
- Scatter the remaining 1 cup of mini marshmallows over the top. Sprinkle the 1/2 cup of chocolate chips over that layer, then add the broken graham cracker pieces on top for extra crunch and classic s’mores look.
- Return the pan to the oven and bake for 10 to 14 minutes. Watch closely after about 8 minutes and remove the pan when the marshmallows are puffed and golden brown with a few deeper spots. Rotate the pan halfway through baking if needed for even browning.
- Place the pan on a wire rack and let the bars cool at room temperature for at least 1 to 2 hours. For extra clean slices, chill the pan in the refrigerator for 30 to 45 minutes after it reaches room temperature.
- Use the parchment overhang to lift the slab out onto a cutting board. Slice into squares or rectangles with a sharp, lightly oiled knife, wiping the blade as needed between cuts.
- Serve the layered s’mores bars slightly cool or at room temperature so the chocolate is soft but not runny. Warm individual bars in the microwave for 5 to 10 seconds if you prefer a gooier texture.
Notes
Approximate per bar (24 bars): 230 calories; fat 11 g; saturated fat 6 g; carbohydrates 32 g; fiber 1 g; sugars 23 g; protein 2 g; sodium 120 mg. Values will vary based on exact brands, optional mix-ins, and portion size.