
Snow Ice Cream Recipe tastes like the fluffiest vanilla soft serve met fresh snow and decided to become childhood in a bowl, and you can whip it up in about 10 minutes flat. This recipe works for anyone who has clean, fresh snow outside and a craving for a fast, fun dessert that uses basic pantry staples. I grew up in the Midwest and still turn into an overexcited kid every time the forecast calls for enough snow to make a batch.
Why Snow Ice Cream Recipe Is Worth It
Snow ice cream uses ingredients you probably already keep on hand and turns a snowy day into a mini kitchen party. Kids love it, adults pretend they only make it for the kids, and everyone ends up standing at the window hoping the snow keeps falling.
You control the sweetness, flavor, and texture, so the recipe fits your taste instead of the other way around. Cleanup stays easy, the process feels low pressure, and the whole thing tastes like a cross between soft serve and a snow cone with better personality.
“Tastes like childhood snow days and vanilla soft serve had a cozy winter reunion in my bowl. ★★★★★”
Ingredients You Need
Fresh snow
- About 8 to 10 cups clean, fluffy fresh snow
- Scoop from untouched areas away from roads, walkways, and anything treated with salt or chemicals.
- Freshly fallen snow works best because it stays light and airy.
Base mixture
- 1 cup whole milk or half-and-half
- 1 cup heavy cream or more whole milk if you prefer lighter texture
- 1 teaspoon pure vanilla extract (use real vanilla for best flavor; imitation works in a pinch)
- 1/2 to 3/4 cup granulated sugar, to taste
- Pinch of fine sea salt to balance sweetness
Optional flavor boosters
- 1 to 2 tablespoons cocoa powder for chocolate snow ice cream
- 1/4 teaspoon almond extract for a bakery-style twist
- 1/4 teaspoon peppermint extract for a winter mint version
- Sprinkles, mini chocolate chips, crushed cookies, or fruit for toppings
Pantry shortcuts and notes
- Use sweetened condensed milk instead of sugar and part of the milk for a richer, almost caramel flavor.
- Use flavored coffee creamer in place of some milk for quick flavored versions.
- Use plant-based milk and coconut cream for a dairy-free version.
Equipment list
- Large mixing bowl (chill it in the freezer 10 minutes if possible)
- Measuring cups and spoons
- Large spoon or silicone spatula
- Ladle or ice cream scoop
- Cups or bowls for serving
Quick Tips & substitutions
- Chill the milk and cream so the snow does not melt too fast.
- Mix the liquid base first indoors, then bring it outside to meet the snow.
- Add snow gradually until the mixture looks like soft serve, not slush.
- Use less sugar at first, then taste and adjust so it never turns cloying.
- Swap dairy milk for almond, oat, or soy milk and use coconut cream for a vegan version.
- Use powdered sugar instead of granulated sugar if you want a smoother texture.
- Add cocoa powder to the liquid base before you add snow so it mixes evenly.
- Serve the snow ice cream right away because it hardens and loses fluff in the freezer.
How to Make Snow Ice Cream Recipe
Step 1: Mix the sweet base
Pour the milk, cream, vanilla, sugar, and salt into a large chilled bowl. Whisk until the sugar dissolves and the mixture tastes slightly sweeter than you want the final ice cream. Adjust vanilla or sugar to taste, and stir in any extracts or cocoa powder at this stage.
Step 2: Gather the snow
Head outside with a clean bowl and scoop 8 to 10 cups of fresh, fluffy snow from a clean area. Avoid snow near streets, driveways, or anything that looks discolored or packed. Bring the snow inside quickly so it stays light and cold.
Step 3: Combine and adjust texture
Add 4 cups of snow to the sweet base and stir gently with a spatula. Keep adding snow 1 cup at a time while you stir until the mixture thickens and looks like soft serve or a thick milkshake. Stop when the texture holds soft peaks and does not look watery or icy.
Step 4: Taste and tweak
Taste a spoonful and adjust sweetness with a little more sugar if needed. If the mixture feels too loose, fold in more snow a bit at a time. If it feels too stiff and dry, splash in a tablespoon of milk and stir again.
Step 5: Serve right away
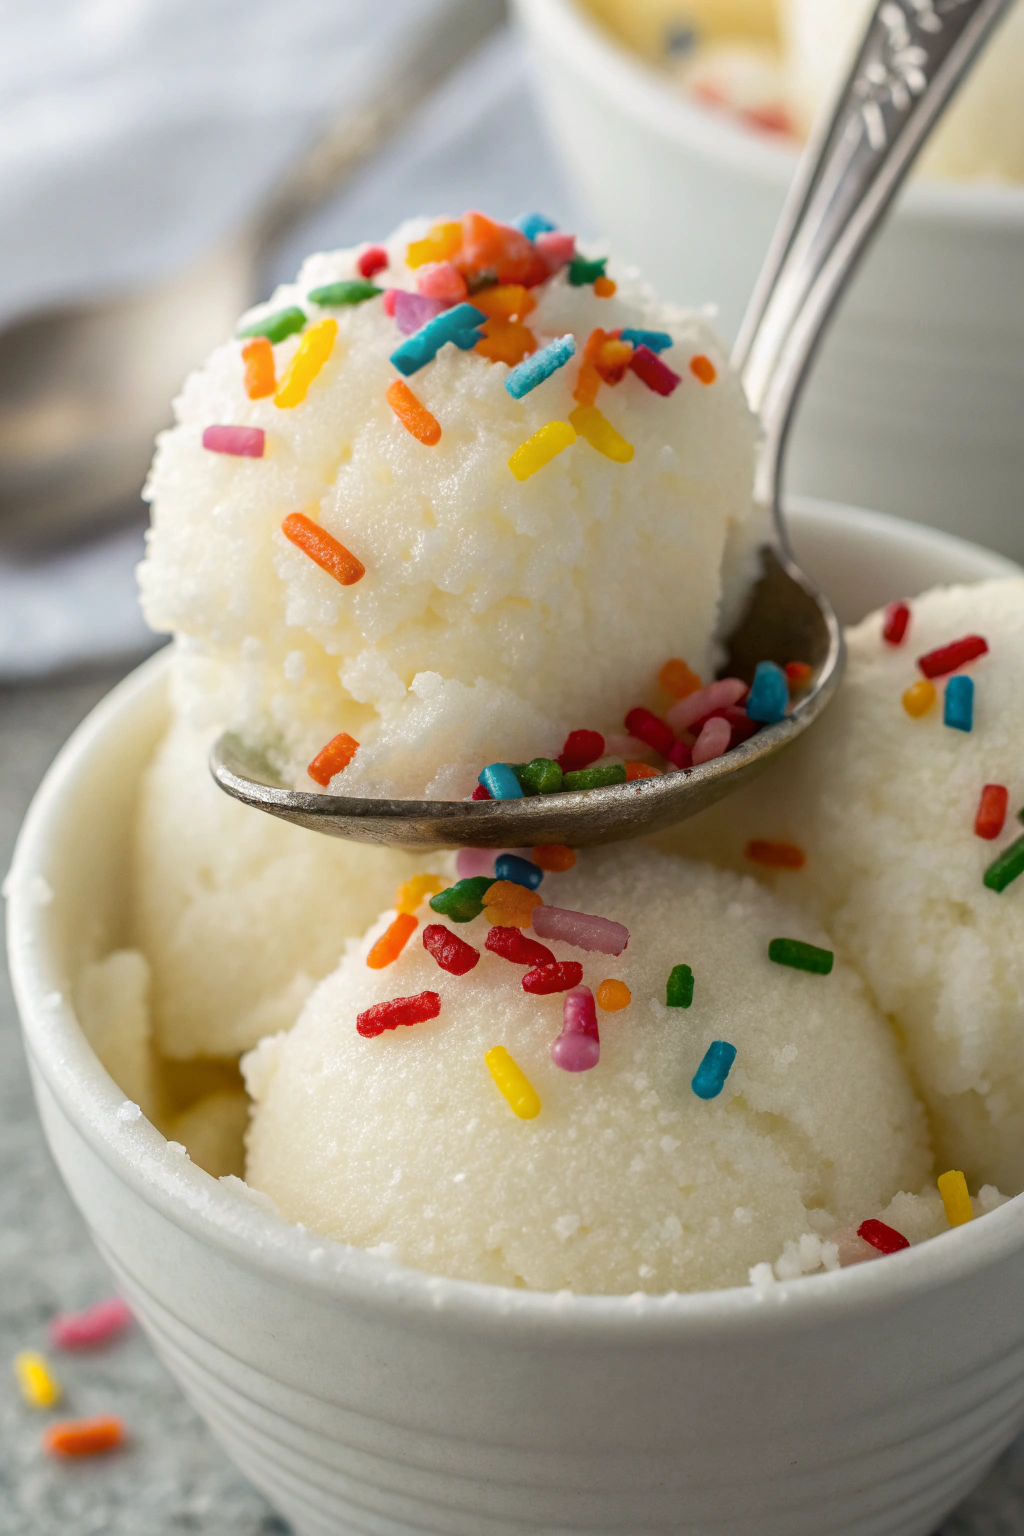
Scoop the snow ice cream into bowls or cups. Top with sprinkles, chocolate chips, crushed cookies, or fruit. Serve immediately while it still tastes fluffy and cold.
Recipe Variations
- Gluten free
- Use gluten free toppings such as plain chocolate chips, gluten free sprinkles, or crushed gluten free cookies.
- Check labels on extracts and cocoa powder to confirm they stay gluten free.
- Vegan
- Use full fat coconut milk or coconut cream plus almond or oat milk.
- Sweeten with organic sugar or maple syrup and use dairy free chocolate chips.
- Low carb / lower sugar
- Use a granulated sugar substitute that dissolves well, such as allulose or a monk fruit blend.
- Skip toppings with added sugar and use nuts or unsweetened coconut flakes.
- Flavor add-ins
- Stir in mini chocolate chips, crushed sandwich cookies, or chopped candy.
- Swirl in a spoonful of peanut butter, chocolate syrup, or strawberry jam.
- Add a pinch of cinnamon or nutmeg for a cozy winter spice version.
Ways to Serve
- Spoon into small cups and top with rainbow sprinkles for kids.
- Serve in chilled glass jars with chocolate chips and a drizzle of chocolate syrup.
- Add fresh berries or sliced bananas on top for a fruit-forward bowl.
- Pair with warm brownies or cookies so you get hot and cold in each bite.
- Serve in waffle bowls for a fun, crunchy contrast.
Storage Success
Snow ice cream tastes best right after you mix it, but you can stash leftovers in a shallow, freezer safe container. Press plastic wrap directly on the surface to limit ice crystals, then cover with a lid. When you want to eat it again, let the container sit at room temperature for 5 to 10 minutes and stir to soften the texture. The flavor still tastes good, but the texture turns more like granita after a few hours, so treat it as a short term treat, not a long term freezer project.
Snow Ice Cream Recipe
Ingredients
Method
- In a medium bowl or large measuring cup, whisk together the milk, sugar, vanilla extract, and salt until the sugar is mostly dissolved.
- Place the fresh snow in a large mixing bowl. Pour the sweetened milk mixture evenly over the snow.
- Gently fold the mixture with a spatula or large spoon until the snow is evenly moistened and forms a soft, scoopable consistency similar to soft‑serve ice cream. Avoid overmixing so it stays light and fluffy.
- Taste and adjust sweetness or vanilla if desired by sprinkling a little more sugar or adding a few extra drops of vanilla and folding again.
- Scoop immediately into bowls, add sprinkles or chocolate chips if using, and serve right away before it melts.
Notes
Approximate per serving (1 of 4): 170 calories; fat 4 g; saturated fat 2.5 g; carbohydrates 31 g; fiber 0 g; sugars 29 g; protein 4 g; sodium 90 mg. Values will vary based on exact ingredients, toppings, and portion size.