
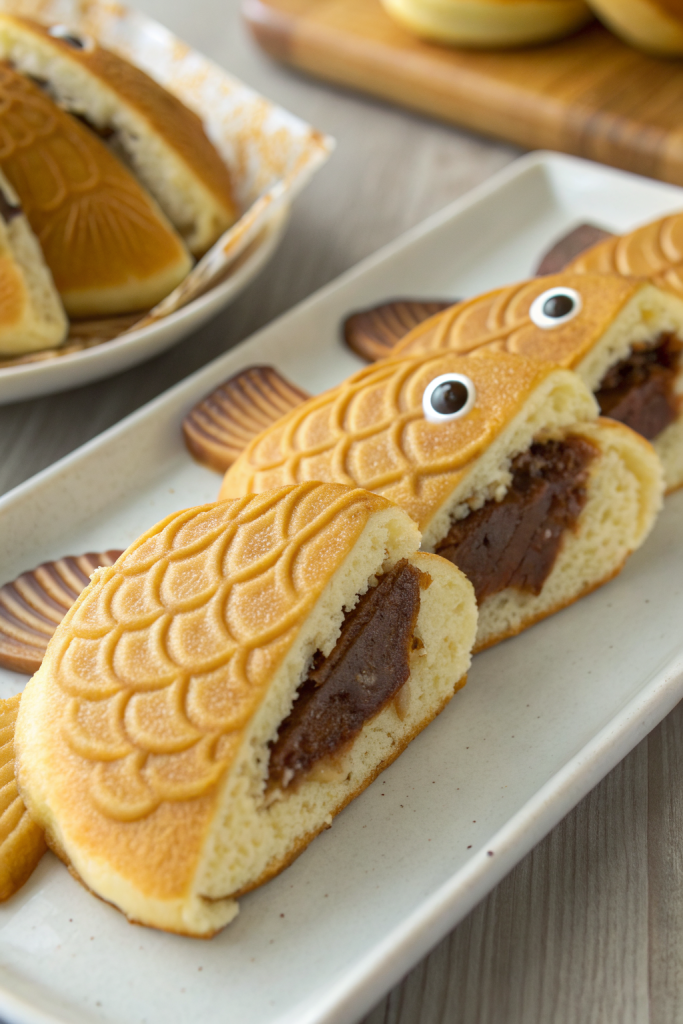
Taiyaki Japanese Fish Dessert Recipe tastes like a warm waffle cone hugging creamy custard or sweet red bean, and it works perfectly for anyone who loves fun, cute desserts that come together in about 45 minutes. This recipe suits beginners and baking nerds alike, since the batter mixes easily and the fillings stay flexible. I still remember burning my fingers on my first batch, but I kept eating them anyway because they tasted that good.
Why Make This Taiyaki Japanese Fish Dessert Recipe at Home
Homemade taiyaki tastes fresher than anything you buy at a stand, with crisp edges and a soft, fluffy center that you control. You also choose your favorite fillings, from classic anko to Nutella, custard, or even matcha cream.
You also save money and skip the hunt for a specialty shop. Once you own a taiyaki pan, you turn simple pantry staples into a fun dessert for kids, date nights, or solo snack time.
This Taiyaki Japanese Fish Dessert Recipe gives crisp, golden fish with gooey filling inside and tastes just like a Tokyo street stall ★★★★★
Ingredients You Need
Batter ingredients
- 1 cup all purpose flour
- 1 tablespoon cornstarch
- 1 teaspoon baking powder
- 2 tablespoons sugar
- 1 pinch fine sea salt
- 1 large egg, room temperature
- 3/4 cup milk, room temperature
- Use whole milk for richer taiyaki or oat milk for dairy free.
- 1 tablespoon neutral oil
- Use canola, grapeseed, or light vegetable oil.
- 1/2 teaspoon vanilla extract
- Optional: 1 to 2 teaspoons honey for a slightly sweeter, more fragrant batter
Classic sweet red bean filling
- 3/4 cup sweetened red bean paste (anko)
- Use tsubuan (chunky) for texture or koshian (smooth) for a silky center.
- Canned or pouch brands from Japanese or Korean markets work great and save time.
Custard filling option
- 1 cup pastry cream or thick vanilla pudding
- Use instant vanilla pudding as a shortcut and chill it until thick.
Other filling ideas
You can also use these inside your Taiyaki Japanese Fish Dessert Recipe:
- Chocolate hazelnut spread
- Peanut butter mixed with a little honey
- Sweetened cream cheese
- Matcha pastry cream
- Fruit jam that sets thick and does not run
Equipment
- Taiyaki pan (stovetop cast aluminum or cast iron)
- Nonstick pans keep life easier and cleanup faster.
- Small bowl and whisk
- Medium mixing bowl
- Measuring cups and spoons
- Small ladle or spouted cup for pouring batter
- Small spoon for filling
- Silicone brush or folded paper towel for oiling the pan
- Cooling rack
Tips & Mistakes
- Preheat the taiyaki pan fully so the batter puffs and browns instead of turning pale and dense.
- Lightly oil the pan; heavy oil makes greasy, soggy taiyaki.
- Keep fillings thick; runny fillings leak and burn, so chill custard or pudding first.
- Do not overfill; use about 1 tablespoon of filling per fish and keep it in the center.
- Pour a thin base layer of batter, then filling, then a small top layer so the halves seal.
- Keep heat at medium low; high heat burns the outside before the inside cooks.
- Flip the pan gently and only once; constant flipping tears the fish shape.
- Let taiyaki rest 1 to 2 minutes on a rack so the crust sets and stays crisp.
- Wipe the pan between batches if filling leaks, or the next batch sticks.
- Use fresh baking powder; old baking powder gives flat, chewy taiyaki.
How to Make Taiyaki Japanese Fish Dessert Recipe
Mix the batter
- Add flour, cornstarch, baking powder, sugar, and salt to a medium bowl and whisk until no lumps remain.
- In a separate small bowl, whisk egg, milk, oil, vanilla, and honey if you use it.
- Pour the wet ingredients into the dry ingredients and whisk until smooth, but stop once the flour disappears so you keep the batter light.
- Let the batter rest 10 minutes while you heat the taiyaki pan so the gluten relaxes and bubbles form.
Prep the fillings and pan
- Scoop your chosen filling into a small bowl and stir it to loosen slightly so it spreads easily.
- If you use custard or pudding, keep it thick and cold so it holds its shape inside the batter.
- Place the taiyaki pan on the stove over medium heat and let it heat for 2 to 3 minutes.
- Lightly brush the fish molds with oil and then wipe off any big pools with a paper towel.
Cook the first side
- Reduce the heat to medium low once the pan feels hot when you hover your hand a few inches above.
- Pour a thin layer of batter into each fish mold, about one third full, and tilt the pan slightly so the batter reaches the tail and nose.
- Add about 1 tablespoon of filling to the center of each fish, keeping it away from the edges.
- Spoon a little more batter on top of the filling until it almost reaches the rim of the mold.
Seal and flip
- Close the taiyaki pan gently so the top plate meets the batter and seals the fish.
- Cook the first side for about 2 to 3 minutes, depending on your stove and pan material.
- Lift the pan and flip it over in one smooth motion so the other side faces the heat.
- Cook the second side for another 2 to 3 minutes until the taiyaki turns golden brown and feels slightly firm when you press the mold.
Check and finish
- Open the pan carefully and peek at one fish; if it looks pale, close the pan and cook 30 to 60 seconds more per side.
- When the taiyaki looks golden with crisp edges, use chopsticks or a small spatula to lift each fish out onto a cooling rack.
- Let them cool for 1 to 2 minutes so the outside stays crisp while the filling settles.
- Repeat with the remaining batter and filling, oiling the molds lightly between batches.
Variations I've Tried
I like matcha taiyaki, so I add 1 teaspoon matcha powder to the dry ingredients and whisk well before adding the wet ingredients. The green color looks fun and pairs nicely with sweet red bean or vanilla custard.
Chocolate taiyaki also tastes great; I add 1 tablespoon cocoa powder and 1 extra teaspoon sugar to the batter, then fill the fish with chocolate hazelnut spread. Kids go quiet when they eat those, which counts as a win in my kitchen.
For a breakfast style version, I use less sugar in the batter and fill the taiyaki with thick fruit jam or sweetened cream cheese. That version works nicely with a cup of hot green tea or coffee.
How to Serve Taiyaki Japanese Fish Dessert Recipe
Serve taiyaki warm so the outside stays crisp and the inside feels soft and gooey. I like to dust them with a little powdered sugar or drizzle a thin line of chocolate or caramel sauce. You can also plate them with sliced fresh fruit and a scoop of vanilla or matcha ice cream. Kids enjoy them plain as a handheld snack, and adults usually ask for seconds.
How to store
- Room temperature: Keep leftover taiyaki in an airtight container at room temperature for up to 1 day if your filling does not spoil easily, like sweet red bean paste.
- Fridge: Store taiyaki in a sealed container in the refrigerator for up to 3 days; place parchment between layers so they do not stick.
- Freezer: Freeze cooled taiyaki on a tray until firm, then move them to a freezer bag and keep them up to 1 month; squeeze out extra air to reduce freezer burn.
- Reheating: Reheat taiyaki in a toaster oven or oven at 350°F for 5 to 8 minutes until hot and crisp again; you can also use an air fryer at 320°F for 3 to 5 minutes.
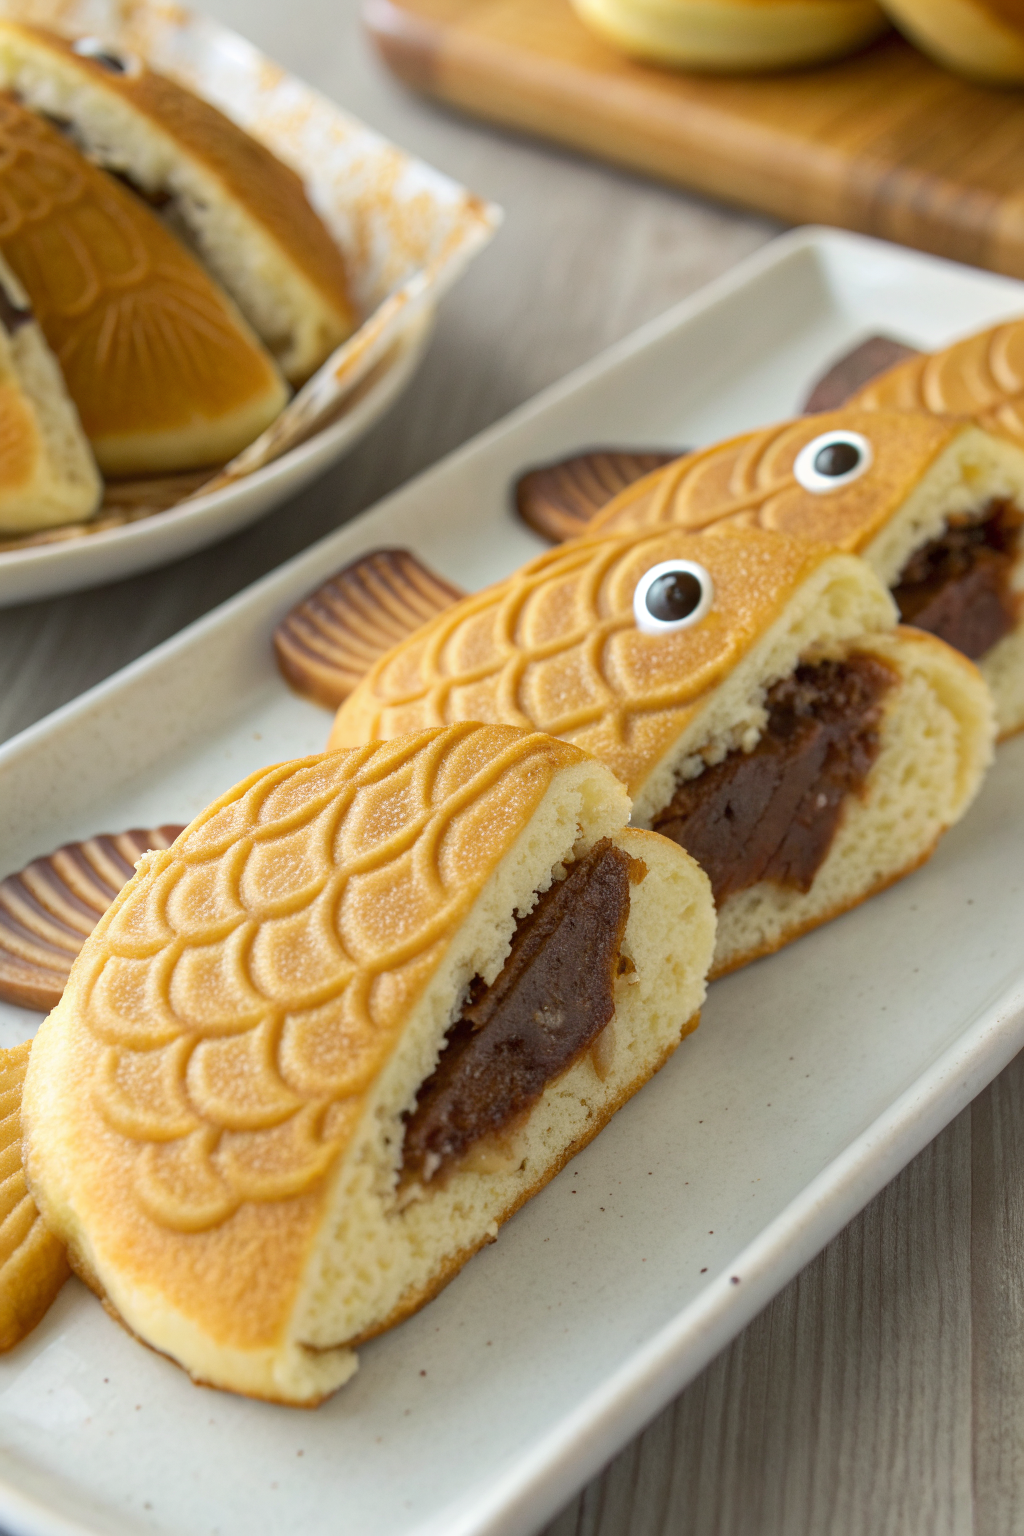
Taiyaki Japanese Fish Dessert Recipe
Ingredients
Method
- In a medium bowl, whisk together the flour, cornstarch, baking powder, sugar, and salt until no lumps remain.
- In a separate small bowl, whisk the egg, milk, neutral oil, vanilla extract, and honey (if using) until smooth.
- Pour the wet ingredients into the dry ingredients and whisk just until the flour disappears and the batter is smooth, without overmixing.
- Let the batter rest for about 10 minutes while you heat the taiyaki pan so the gluten relaxes and small bubbles form.
- Place your chosen filling in a small bowl and stir to loosen slightly so it spreads easily.
- Keep custard or pudding thick and cold so it holds its shape inside the batter.
- Set the taiyaki pan over medium heat and preheat for 2 to 3 minutes.
- Lightly brush the fish molds with oil, then wipe away any excess so no large pools remain.
- Reduce the heat to medium low once the pan feels hot when you hold your hand a few inches above it.
- Pour a thin layer of batter into each fish mold, filling it about one third full, and tilt the pan so the batter reaches the nose and tail.
- Add about 1 tablespoon of filling to the center of each fish, keeping it away from the edges to prevent leaks.
- Spoon a little more batter over the filling until it almost reaches the rim of each mold.
- Close the taiyaki pan gently so the top plate meets the batter and seals the fish shapes.
- Cook the first side for about 2 to 3 minutes, depending on your stove and pan.
- Lift the closed pan and flip it over in one smooth motion so the other side faces the heat.
- Cook the second side for another 2 to 3 minutes, until the taiyaki turn golden brown and feel slightly firm when you press the mold.
- Open the pan carefully and peek at one fish; if it looks pale, close the pan and cook for 30 to 60 seconds more per side as needed.
- When the taiyaki are golden with crisp edges, use chopsticks or a small spatula to lift each fish onto a cooling rack.
- Let them cool for 1 to 2 minutes so the exterior stays crisp while the filling settles.
- Repeat with the remaining batter and filling, lightly oiling the molds between batches as needed.
Notes
- Preheat the taiyaki pan fully so the batter puffs and browns instead of turning pale and dense.
- Lightly oil the pan; too much oil can make the taiyaki greasy and soggy.
- Keep fillings thick and well chilled so they do not leak or burn.
- Do not overfill; use about 1 tablespoon of filling per fish and keep it centered.
- Pour a thin base layer of batter, then filling, then a small top layer so the halves seal.
- Cook over medium low heat so the outside does not burn before the inside cooks.
- Flip the pan gently and only once to protect the fish shape.
- Let finished taiyaki rest briefly on a cooling rack so the crust sets. How to Serve
Serve taiyaki warm with a crisp outside and gooey center. Dust with powdered sugar, drizzle with chocolate or caramel sauce, or plate with fresh fruit and a scoop of vanilla or matcha ice cream. Storage
- Room temperature: Store in an airtight container for up to 1 day if using a stable filling like sweet red bean paste.
- Fridge: Refrigerate in a sealed container for up to 3 days, with parchment between layers.
- Freezer: Freeze in a single layer until firm, then transfer to a freezer bag for up to 1 month.
- Reheating: Reheat in a toaster oven or oven at 350°F for 5 to 8 minutes, or in an air fryer at 320°F for 3 to 5 minutes, until hot and crisp. Nutrition Information
Approximate per 1 taiyaki (1 of 8), made with sweet red bean filling and whole milk: 185 calories; fat 6 g; saturated fat 1.5 g; carbohydrates 29 g; fiber 1 g; sugars 11 g; protein 5 g; sodium 140 mg. Values will vary based on fillings, brands, and portion size.