
Vegan Love Letter Pastries Recipe tastes like a flaky, buttery bakery treat wrapped around sweet-tart jam and creamy filling, with just enough crisp edges to make your heart skip. It suits romantic date nights, Valentine’s Day, anniversaries, or any cozy evening when you want a special dessert in about 1 hour from start to finish. I tested these for a stay-at-home movie night with my partner and ended up eating two before the opening credits rolled.
Why You Should Try This Vegan Love Letter Pastries Recipe
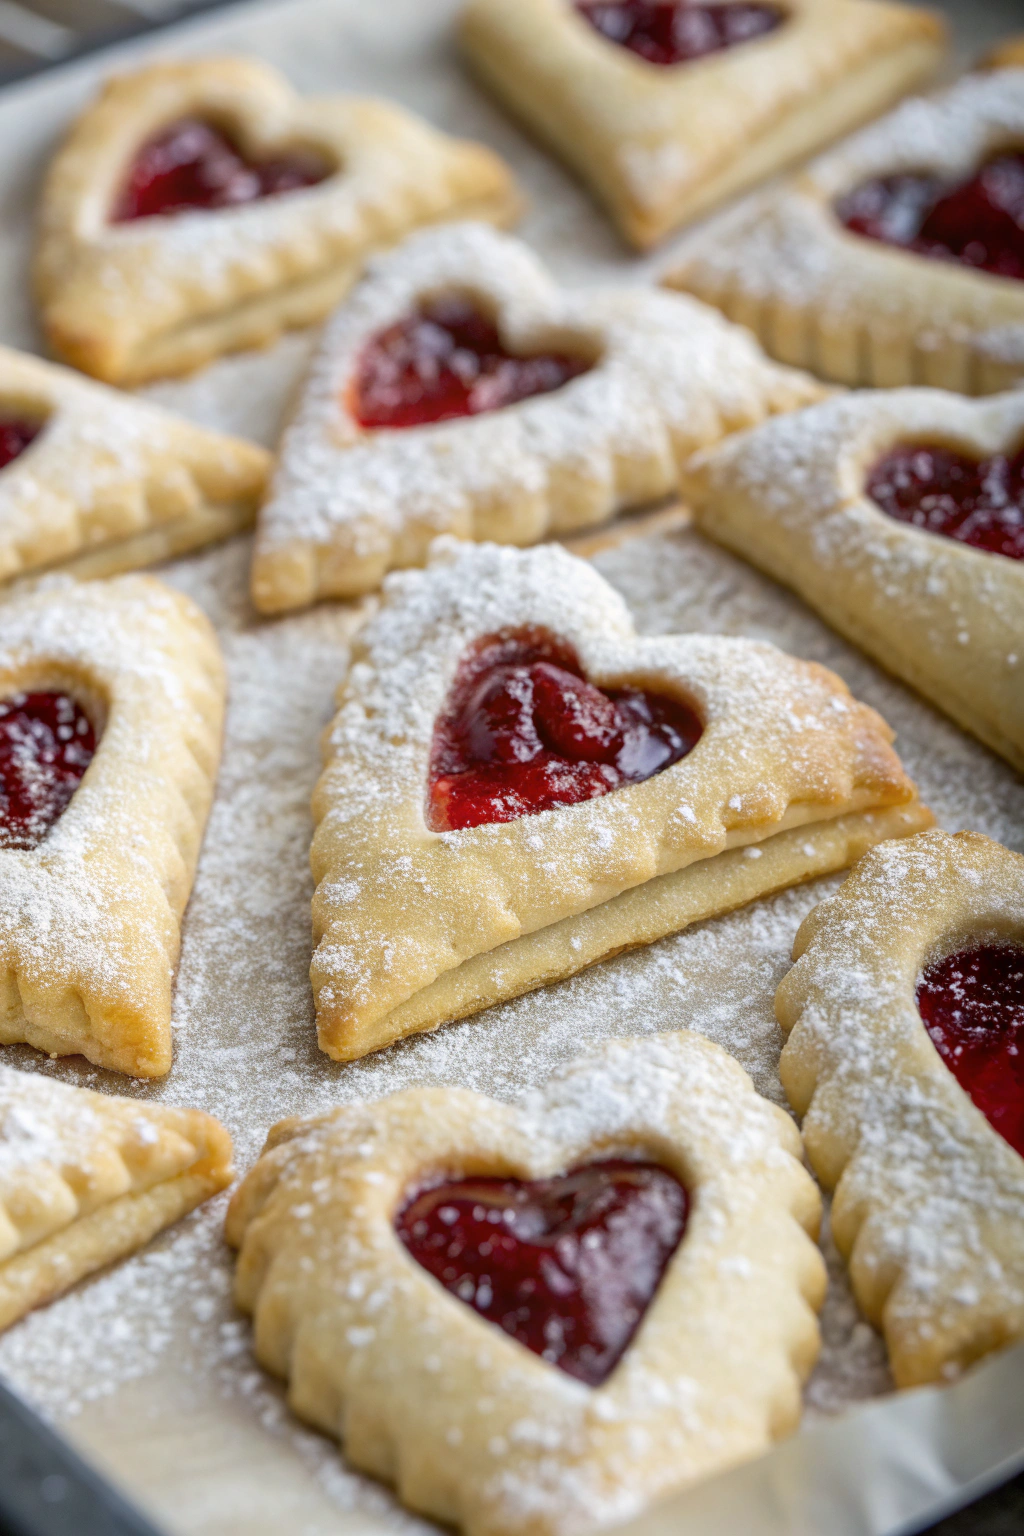
These Vegan Love Letter Pastries look adorable, taste bakery-level, and still come together with simple supermarket ingredients. You get crisp puff pastry, creamy vanilla filling, and bright jam in every bite, so each pastry feels like a tiny dessert box.
The recipe works well for beginners because the pastry uses store-bought vegan puff pastry and a quick stovetop filling. You can customize the jam flavor or keep it classic, which makes this a fun dessert for kids and adults.
“I made these Vegan Love Letter Pastries for a small at-home date night, and my partner thought I bought them from a fancy bakery. The pastry turned out flaky, the filling stayed creamy, and the jam bubbled just enough to feel special. I already have a second batch in the freezer for next weekend.”
Ingredients You’ll Need
Puff pastry and structure
- 1 sheet vegan puff pastry, thawed but still cold
- Look for brands that list vegetable oil or vegan butter instead of butter.
- Many grocery store brands accidentally stay vegan, so check the label.
- All-purpose flour, for dusting the counter
- 1 tablespoon plant milk, for brushing the pastry
- 1 tablespoon maple syrup or agave, for brushing and shine
Creamy vanilla filling
- 1 cup canned full-fat coconut milk or barista-style oat cream
- Coconut milk gives a richer, thicker texture.
- 3 tablespoons organic sugar
- 1 tablespoon cornstarch or arrowroot starch
- 1 teaspoon vanilla extract
- Pinch of fine sea salt
Jam filling
- 6 to 8 teaspoons thick fruit jam or preserves
- Strawberry, raspberry, or cherry work especially well.
- Use a thick jam so it does not run out of the pastry.
- Optional: 1 teaspoon lemon zest to stir into the jam for extra brightness
Finishing touches
- 2 to 3 tablespoons powdered sugar, for dusting
- Optional: finely chopped pistachios or freeze-dried raspberries for garnish
- Optional: a few small fresh berries for serving
Pantry shortcuts and substitutions
- Use store-bought vegan custard or vanilla pudding instead of the homemade filling if you want a faster version.
- Swap coconut milk with soy cream or cashew cream if you avoid coconut.
- Use any thick jam, fruit spread, or even a spoonful of vegan chocolate spread for a richer version.
Equipment list
- Baking sheet
- Parchment paper or silicone baking mat
- Rolling pin
- Small saucepan
- Whisk
- Small bowl and spoon
- Pastry brush
- Sharp knife or pizza cutter
- Cooling rack
Tips & Tricks
- Keep the puff pastry cold so it puffs nicely and stays flaky.
- Chill the filling until it thickens so it does not ooze out of the pastry.
- Cut the pastry into even squares so the “envelopes” bake at the same rate.
- Seal the corners with a bit of plant milk so the love letter shape holds in the oven.
- Use a thick jam and avoid overfilling to prevent leaks.
- Bake on parchment paper so cleanup stays easy and any jam drips do not stick.
- Let the pastries cool slightly before dusting with powdered sugar so it does not melt instantly.
How to Make Vegan Love Letter Pastries
Step 1: Make the creamy vanilla filling
Pour the coconut milk into a small saucepan and whisk in sugar, cornstarch, vanilla, and salt until smooth. Set the pan over medium heat and whisk constantly until the mixture thickens and small bubbles appear around the edges, about 4 to 6 minutes. Keep whisking until it reaches a thick pudding texture that coats the back of a spoon.
Transfer the filling to a bowl, press a piece of parchment or plastic wrap directly on the surface, and chill it in the fridge while you prep the pastry. The filling will firm up a bit more as it cools, which helps it stay inside the pastry.
Step 2: Prep the puff pastry
Line a baking sheet with parchment paper and set it aside. Lightly flour your work surface and place the thawed but cold puff pastry sheet on it. Roll it gently into a rectangle about 10 by 12 inches, keeping the thickness even.
Use a sharp knife or pizza cutter to cut the pastry into 6 equal rectangles or squares, depending on the shape of your sheet. Transfer the pieces to the lined baking sheet, leaving a little space between each one.
Step 3: Mix the jam filling
Spoon the jam into a small bowl. If you use lemon zest, stir it into the jam now. Taste and adjust the sweetness with a tiny drizzle of maple syrup if your jam tastes very tart.
Keep the jam nearby so you can work quickly once you start filling the pastry. Cold pastry puffs better, so avoid long pauses.
Step 4: Fill the pastry like tiny envelopes
Take the vanilla filling out of the fridge and give it a quick stir. Place about 1 tablespoon of the creamy filling in the center of each pastry square. Add about 1 teaspoon of jam on top of the cream, keeping both in the center.
Brush the edges of each pastry square lightly with plant milk. Fold two opposite corners toward the center so they overlap slightly, like a little envelope. Press gently where they meet and pinch the tips so they stay closed.
Step 5: Brush and chill before baking
Stir together the plant milk and maple syrup in a small bowl. Brush this mixture over the tops of the pastries to help them brown and shine. Place the baking sheet in the fridge for 10 to 15 minutes while you heat the oven.
Preheat your oven to 400°F (200°C). This short chill helps the pastry relax and puff nicely.
Step 6: Bake the Vegan Love Letter Pastries
Slide the baking sheet into the hot oven and bake for 16 to 20 minutes. The pastries should puff up, turn golden brown, and show a bit of bubbling jam at the edges. Rotate the pan halfway through baking if your oven has hot spots.
Once they look golden and crisp, remove the pan from the oven. Let the pastries cool on the baking sheet for 5 minutes, then transfer them to a cooling rack.
Step 7: Finish and serve
When the pastries cool until just warm, dust them lightly with powdered sugar. Sprinkle chopped pistachios or crushed freeze-dried raspberries over the top if you want extra color and crunch. Add a few fresh berries on the side and serve while still slightly warm.
These Vegan Love Letter Pastries taste best on the same day, when the pastry stays crisp and the filling still feels silky. I like to brew a cup of tea, sit down, and pretend I run a tiny vegan bakery in my kitchen.
What to Serve with Vegan Love Letter Pastries
Serve Vegan Love Letter Pastries with hot drinks like chai, earl grey, peppermint tea, or a foamy oat milk latte. Fresh fruit on the side, such as sliced strawberries, raspberries, or orange segments, balances the sweetness. You can also pair them with a scoop of dairy-free vanilla ice cream or coconut yogurt for a plated dessert. If you serve them for breakfast or brunch, add a simple tofu scramble or fresh fruit salad to round out the meal.
Storage Options
- Store leftover Vegan Love Letter Pastries in an airtight container in the fridge for up to 3 days.
- Reheat in a 325°F (165°C) oven or toaster oven for 8 to 10 minutes until the pastry crisps again.
- Freeze unbaked, filled pastries on a tray until solid, then store them in a freezer bag for up to 2 months.
- Bake frozen pastries at 400°F (200°C) and add 3 to 5 extra minutes, watching for golden color and puffed layers.
Vegan Love Letter Pastries
Ingredients
Method
- Preheat the oven to 400°F (200°C). Line a baking sheet with parchment paper.
- On a lightly floured surface, gently roll out the thawed vegan puff pastry sheet to smooth the folds and slightly enlarge it.
- Cut the pastry into 8 equal rectangles. Place 4 rectangles on the prepared baking sheet.
- Spoon about 2 teaspoons of raspberry jam onto the center of each rectangle on the baking sheet, leaving a small border around the edges.
- Lightly brush the borders with plant-based milk. Top each with another rectangle of pastry and press the edges together with your fingers, then crimp with a fork to seal.
- Using a small knife, cut a tiny slit or heart shape in the top layer of each pastry to allow steam to escape.
- Brush the tops with plant-based milk and sprinkle with granulated sugar if using.
- Bake the pastries for 12–15 minutes, or until puffed and golden brown. Remove from the oven and let cool on a wire rack for at least 10 minutes.
- In a small bowl, whisk together powdered sugar, plant-based milk, and almond extract until smooth and pourable. Add a few more drops of milk if needed to reach desired consistency.
- Drizzle the almond glaze over the cooled pastries.
- Sprinkle with sliced almonds and crushed freeze-dried raspberries if desired. Allow the glaze to set for a few minutes before serving.
Notes
Approximate per 1 pastry (1 of 8): 210 calories; fat 11 g; saturated fat 3 g; carbohydrates 26 g; fiber 1 g; sugars 10 g; protein 3 g; sodium 150 mg. Values are estimates and will vary based on brands, exact ingredients, and portion size.