
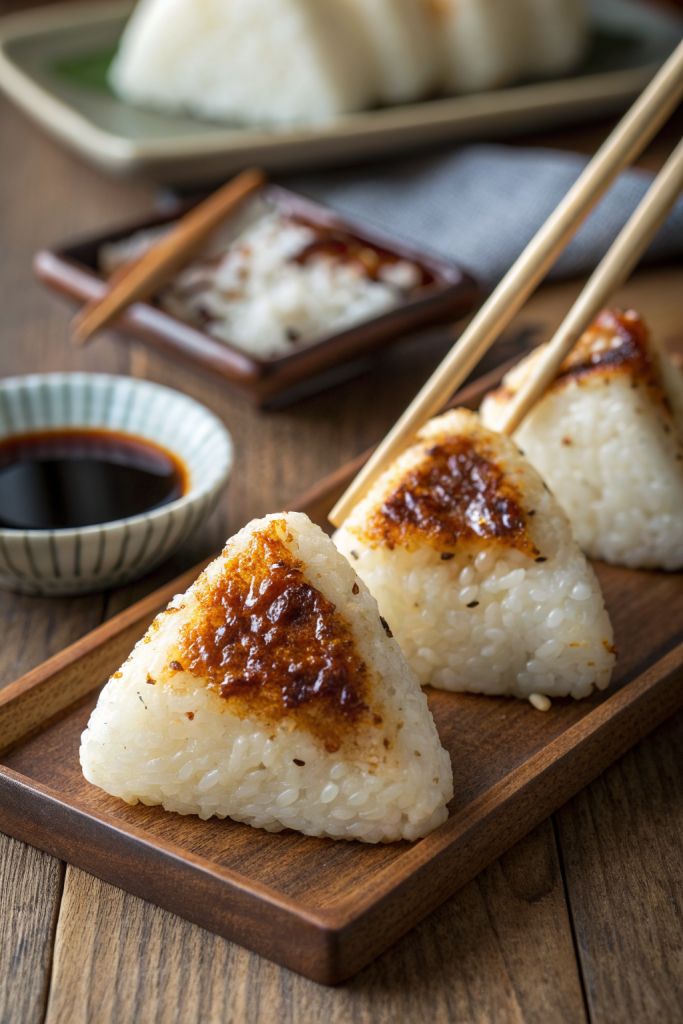
Yaki Onigiri Japanese Grilled Rice Balls Recipe tastes like smoky, toasty, slightly crispy rice on the outside with a soft, chewy, comforting center that hits every cozy-carb craving. It works perfectly for busy home cooks who want a fast snack or side dish in about 35 minutes, start to finish. I first learned to make these after burning rice on purpose in a pan, then realizing that crunchy rice tastes amazing when you do it intentionally.
Why Choose This Yaki Onigiri Japanese Grilled Rice Balls Recipe
This version keeps the ingredient list simple, so you can pull it off on a weeknight without hunting down specialty items. You still get that classic soy-glazed, charred flavor that you find at an izakaya, but with clear steps and home kitchen timing.
You can pan-sear, grill, or air fry these rice balls, so the recipe fits whatever equipment you already own. You also get options for fillings or keeping them plain, which works well if you cook for both picky eaters and adventurous ones.
“Perfectly crisp, smoky, and comforting, this Yaki Onigiri Japanese Grilled Rice Balls Recipe tastes like restaurant food that you can actually pull off at home. ★★★★★”
Ingredients You’ll Need
Rice
-
3 cups cooked Japanese short-grain rice (about 1.5 cups uncooked)
- Use sushi rice or any Japanese short-grain rice.
- Avoid long-grain or jasmine rice since they do not stick well.
- I often use Kokuho Rose or Nishiki because they hold shape nicely.
-
1/2 teaspoon fine sea salt
-
Optional: 1 teaspoon toasted sesame seeds
Glaze
-
2 tablespoons soy sauce
- Use regular or light soy sauce, not dark.
- If you need gluten free, use tamari or a certified gluten free soy sauce.
-
1 tablespoon mirin
- If you do not have mirin, mix 1 tablespoon water with 1/2 teaspoon sugar as a quick stand in.
-
1 teaspoon sugar
-
1 teaspoon neutral oil (canola, vegetable, or light olive oil)
Optional Fillings
Pick one or mix a couple in small amounts so the rice still seals well.
- 2 tablespoons cooked salmon flakes (no skin, no bones)
- 2 tablespoons canned tuna mixed with a bit of mayo and soy sauce
- 1 tablespoon umeboshi (pickled plum), pitted and chopped
- 2 tablespoons furikake rice seasoning
- 2 tablespoons finely chopped scallions
For Shaping And Cooking
- Small bowl of salted water for your hands
- 1 teaspoon neutral oil for your hands or mold
- 1–2 teaspoons neutral oil for the pan or grill grates
- Optional: a few small sheets of toasted nori for wrapping
Equipment
- Rice cooker or pot for cooking rice
- Large bowl for mixing and cooling rice
- Small bowl for hand-dipping water
- Nonstick skillet, cast iron pan, grill pan, outdoor grill, or air fryer
- Brush or spoon for glazing
- Tongs or spatula
- Optional: onigiri mold if you do not want to shape by hand
Tips & Tricks
- Cook the rice with slightly less water than usual so it stays firm and holds shape.
- Let the rice cool until warm, not hot, before shaping so it does not burn your hands and does not fall apart.
- Wet and lightly salt your hands before shaping to prevent sticking and to season the rice.
- Pack the rice firmly so the balls or triangles hold together, but do not crush it into a brick.
- Keep fillings small and centered so they do not leak out while you grill.
- Brush the glaze on after the rice surface dries and firms up, or the rice will stick and tear.
- Use medium heat, not high, so the outside crisps and browns without scorching.
- If you use an air fryer, line the basket with parchment and oil it lightly so the rice does not weld itself to the bottom.
- Flip gently with a thin spatula or tongs and support the rice ball from the side to avoid cracks.
- Serve some plain and some glazed if you cook for kids or anyone who prefers lighter seasoning.
How to Make Yaki Onigiri Japanese Grilled Rice Balls Recipe
Step 1: Cook The Rice
Rinse the short-grain rice in cold water until the water runs mostly clear. This removes extra starch and keeps the rice pleasantly sticky instead of gummy. Cook the rice in a rice cooker or pot with slightly less water than the package suggests so the grains stay firm.
When the rice finishes cooking, fluff it gently with a rice paddle or spatula. Spread it in a wide bowl to release steam and cool it down faster. Let it sit until it feels warm to the touch, not steaming hot.
Step 2: Season The Rice
Sprinkle the salt over the warm rice. Add sesame seeds if you use them. Use a cutting and folding motion with your spatula so you mix the seasoning without smashing the grains.
Taste a little rice and adjust the salt if you want a stronger flavor. Keep in mind that the glaze also adds saltiness. Cover the bowl with a clean towel to keep the rice from drying out while you shape.
Step 3: Prep Your Hands And Fillings
Set a small bowl of water next to your rice and add a pinch of salt. Lightly oil your hands or the inside of your onigiri mold. Arrange any fillings nearby in small bowls so you can work quickly.
Keep fillings dry or only lightly sauced so they do not soak the rice. Large chunks cause gaps, so chop everything small. I usually keep the filling amount to about 1–2 teaspoons per rice ball.
Step 4: Shape The Rice Balls Or Triangles
Scoop about 1/3 to 1/2 cup of rice into your damp, salted hands. If you want plain yaki onigiri, press the rice into a firm ball or triangle right away. If you want filled ones, press a shallow dent in the center, add a small spoonful of filling, then cover it with more rice.
Press gently but firmly with your palms and fingers to shape the rice into a compact triangle or round. Rotate as you press so you get even edges and no cracks. Set each finished piece on a plate or tray and repeat until you use all the rice.
Step 5: Mix The Glaze
In a small bowl, stir together soy sauce, mirin, sugar, and oil until the sugar dissolves. Taste a drop and adjust with a bit more sugar if you like a sweeter glaze. Keep the glaze near the stove with a brush or spoon.
This glaze gives the rice balls that shiny, savory, slightly sweet crust. The small amount of oil in the glaze helps the surface brown nicely. It also reduces sticking on the pan or grill.
Step 6: Pan Grill Method
Heat a nonstick or cast iron skillet over medium heat and add a thin layer of neutral oil. When the oil shimmers, place the rice balls in the pan with a little space between each one. Cook without moving them for 3–4 minutes until the bottom turns lightly golden and feels firm.
Flip gently and cook the other side for another 3–4 minutes. Once both sides feel set and lightly crisp, brush a thin layer of glaze on the top side. Flip and cook 1–2 minutes, then glaze the other side and flip again for another 1–2 minutes until you see deep golden brown spots.
Step 7: Grill Method
Preheat your grill or grill pan to medium and oil the grates well. Place the rice balls on the grill and cook 3–4 minutes per side until they feel firm and show light grill marks. Do not move them too early or they may stick.
Once the surface feels set, brush on the glaze and grill another 1–2 minutes per side. Watch closely because the sugar in the glaze browns quickly. Pull them off the grill when they look glossy and caramelized with some charred edges.
Step 8: Air Fryer Method
Preheat the air fryer to 390°F (200°C). Line the basket with parchment and brush it with a little oil. Arrange the rice balls in a single layer with space between them.
Air fry 8–10 minutes, turning once halfway, until the surface feels dry and slightly crisp. Brush with glaze, then air fry another 3–4 minutes, turning once, until the glaze sets and browns. If they look pale, add 1–2 more minutes, but watch closely.
Step 9: Serve
Let the yaki onigiri cool for a couple of minutes so the steam settles and the crust stays crisp. Wrap the bottom of each piece with a strip of toasted nori if you like that classic look and extra flavor. Serve them warm as a snack, side dish, or part of a bento.
I often set out extra soy sauce, a small dish of furikake, and some sliced scallions. Everyone can customize their own rice ball at the table. That small bit of interaction turns a simple snack into a fun meal.
What to Serve with it?
Yaki Onigiri Japanese Grilled Rice Balls Recipe pairs beautifully with a simple miso soup and a crisp cucumber salad for a light meal. You can also serve them with teriyaki chicken, grilled fish, or tofu, plus some steamed broccoli or green beans. If you pack bento lunches, tuck one or two rice balls next to tamagoyaki, edamame, and cherry tomatoes.
For a cozy night, serve them with a big bowl of vegetable soup or clear dashi-based soup and some pickled vegetables. Kids usually love them with a side of sliced fruit and a mild dipping sauce like soy sauce mixed with a little honey.
Storage Options
- Cool leftovers to room temperature, then wrap each rice ball tightly in plastic wrap and place them in an airtight container.
- Store in the fridge for up to 2 days for best texture.
- Freeze individually wrapped rice balls in a freezer bag for up to 1 month, and squeeze out extra air.
- Reheat chilled rice balls in a covered skillet over low heat with a tiny splash of water until hot, then crisp both sides again.
- Reheat frozen ones in the microwave until warm in the center, then finish in a skillet or air fryer to bring back the crispy crust.
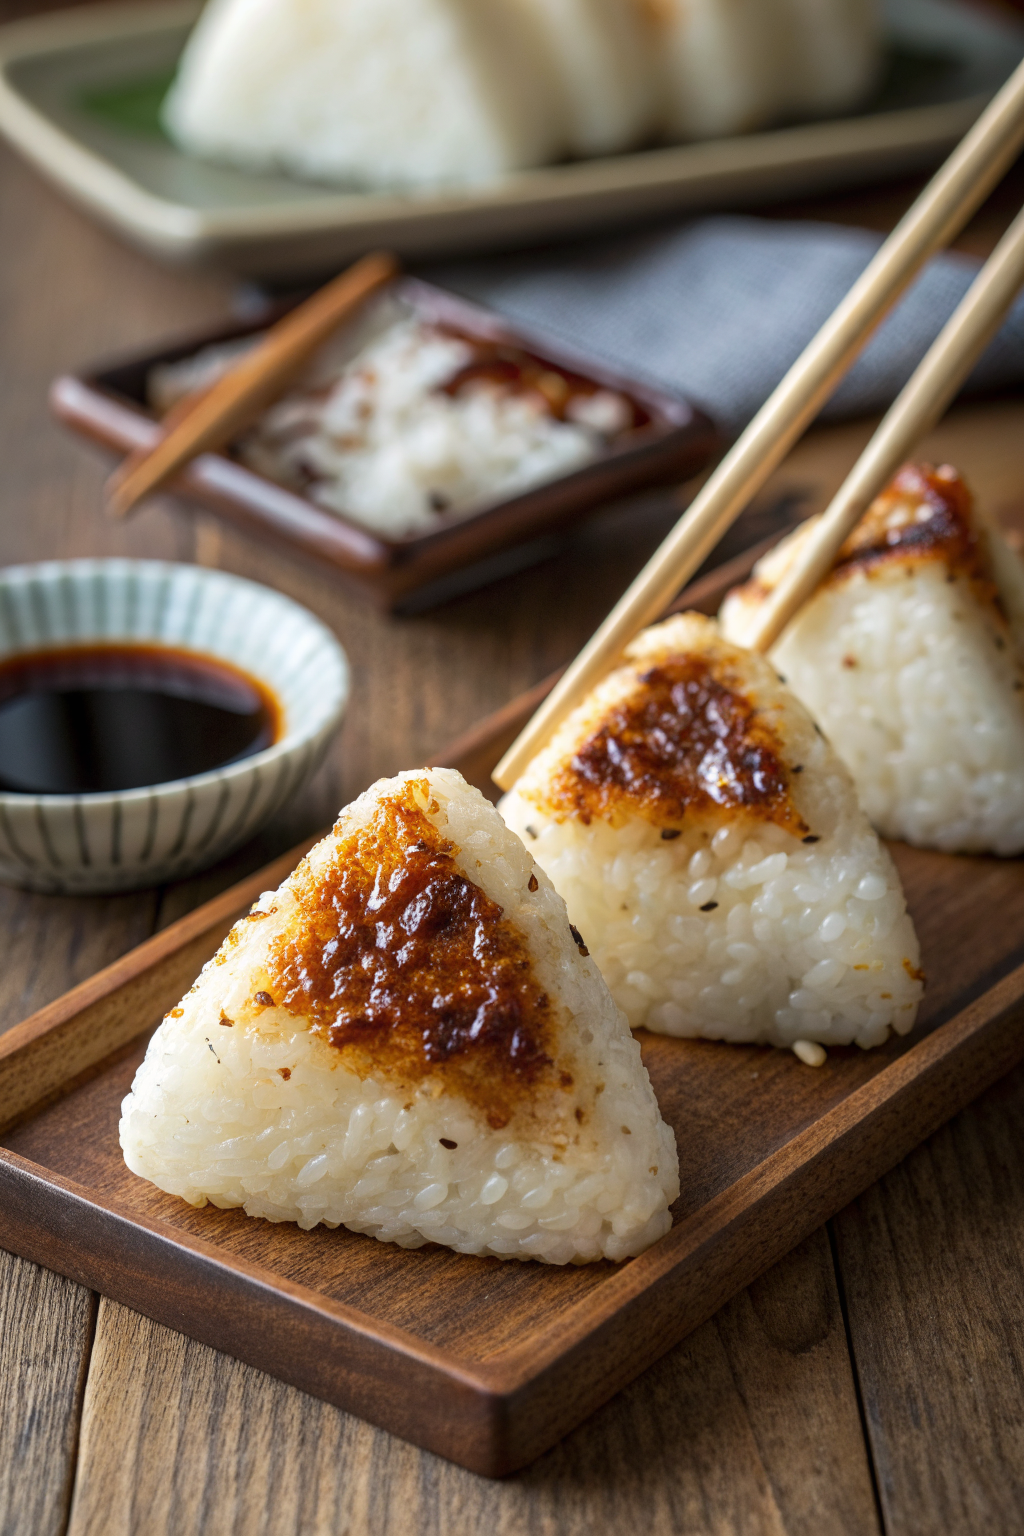
Yaki Onigiri Japanese Grilled Rice Balls Recipe
Ingredients
Method
- Rinse the short-grain rice in cold water until the water runs mostly clear, then cook it in a rice cooker or pot with slightly less water than usual so the grains stay firm and sticky.
- When the rice is done, fluff it gently, spread it in a wide bowl to release steam, and let it cool until warm to the touch, not hot.
- Sprinkle the warm rice evenly with fine sea salt and add toasted sesame seeds if using.
- Use a gentle cutting and folding motion to mix the seasoning through the rice without smashing the grains, then cover the bowl with a clean towel so the rice does not dry out.
- Fill a small bowl with water and add a pinch of salt for dipping your hands.
- Lightly oil your hands or the inside of an onigiri mold, and arrange any fillings in small bowls nearby so you can work quickly with them finely chopped and not too wet.
- Scoop about 1/3 to 1/2 cup of rice into your damp, salted hands.
- For plain yaki onigiri, press the rice firmly but gently into a compact ball or triangle.
- For filled onigiri, press a shallow dent in the center of the rice, add 1 to 2 teaspoons of filling, cover with a little more rice, then shape into a firm triangle or round, rotating as you press to avoid cracks.
- Set each shaped rice ball on a plate or tray and repeat with the remaining rice.
- In a small bowl, stir together the soy sauce, mirin, sugar, and neutral oil until the sugar dissolves and the mixture looks smooth.
- Heat a nonstick or cast iron skillet over medium heat and add a thin layer of neutral oil.
- Place the rice balls in the pan with a little space between them and cook without moving for 3 to 4 minutes, until the bottoms are lightly golden and feel set and firm.
- Flip the rice balls gently and cook the second side for another 3 to 4 minutes, until lightly crisp.
- Brush a thin layer of glaze on the top side, flip, and cook 1 to 2 minutes, then glaze the other side, flip again, and cook 1 to 2 minutes more, until the surfaces are glossy with deep golden brown spots.
- Preheat an outdoor grill or grill pan to medium and oil the grates well.
- Place the rice balls on the grill and cook for 3 to 4 minutes per side, until firm with light grill marks and a dry surface.
- Brush on the glaze and grill 1 to 2 minutes per side more, watching closely so the sugar in the glaze caramelizes without burning.
- Preheat the air fryer to 390°F (200°C), line the basket with parchment, and lightly oil it.
- Arrange the rice balls in a single layer and air fry for 8 to 10 minutes, turning once, until the surface feels dry and slightly crisp.
- Brush with the glaze, then air fry another 3 to 4 minutes, turning once, until the glaze sets and browns, adding a minute or two if needed.
- Let the yaki onigiri rest for a couple of minutes so the crust stays crisp, then wrap the bottom of each piece with a strip of toasted nori if desired and serve warm as a snack, side dish, or in a bento.
Notes
Approximate per 1 rice ball (about 1/6 of recipe, without fillings or nori): 170 calories; fat 2 g; saturated fat 0 g; carbohydrates 35 g; fiber 1 g; sugars 2 g; protein 4 g; sodium 380 mg. Values will vary based on fillings, brands, and portion size.