
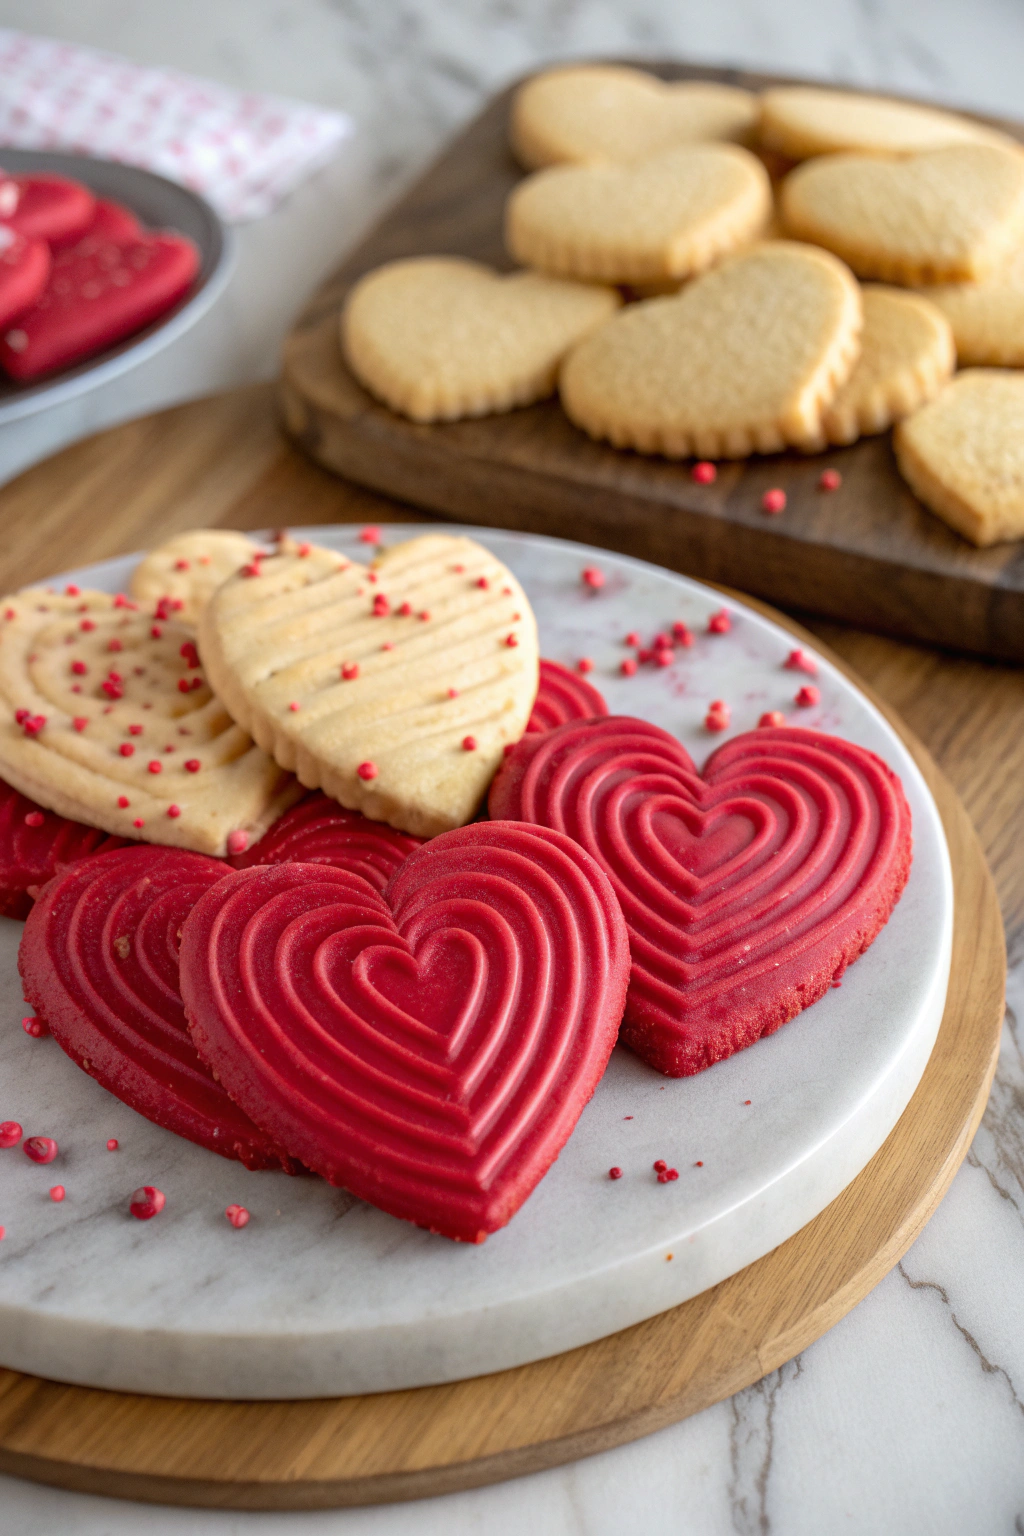
Crisp and Buttery Danish Biscuits with Chocolate Dip taste like a cross between shortbread and a bakery cookie, with a shattering snap and a rich cocoa finish. They suit anyone who loves classic European cookies, needs a make-ahead treat, and wants a dessert that takes about 45 minutes from start to finish. I baked a batch last weekend, ate three “for testing,” and decided that absolutely counts as research.
Why Buttery Danish Biscuits with Chocolate Dip Is Worth It
These biscuits taste incredibly light, yet they pack deep buttery flavor and a clean chocolate finish. The texture stays crisp for days, so they work perfectly for gifting, cookie boxes, and coffee breaks.
You mix the dough in one bowl, pipe or shape it, then dip the cooled biscuits in a simple chocolate coating. The recipe uses basic pantry ingredients, so you skip specialty shopping and still get bakery-level results.
“These Crisp and Buttery Danish Biscuits with Chocolate Dip taste like something from a Copenhagen café. They stay crisp, the chocolate sets perfectly, and my family keeps asking when I will bake the next batch.”
Ingredients You Need
Biscuit dough
- Unsalted butter, very soft but not melted
- European style butter gives richer flavor, but any good quality unsalted butter works.
- Granulated sugar
- Use fine granulated sugar if possible for a smoother dough.
- Egg, room temperature
- Vanilla extract
- Use pure vanilla for best flavor; avoid strong artificial vanilla here.
- All purpose flour
- A standard American brand like King Arthur or Gold Medal works well.
- Cornstarch
- This keeps the biscuits extra tender and crisp.
- Fine sea salt
Chocolate dip
- Dark or semisweet chocolate chips or chopped bar chocolate
- Use at least 55 percent cocoa for a deeper flavor, or go up to 70 percent if you like it more intense.
- Neutral oil or coconut oil
- Just a teaspoon or two helps the chocolate set with a nice sheen.
- Optional toppings
- Finely chopped toasted nuts
- Flaky sea salt
- Toasted shredded coconut
- Sprinkles
Pantry shortcuts and substitutions
- Use salted butter and reduce or skip the added salt if that is what you have.
- Swap half the vanilla with almond extract for a bakery style twist.
- Replace up to one third of the flour with finely ground almond flour for extra richness.
- Use high quality chocolate chips if you do not want to chop bar chocolate.
Equipment list
- Stand mixer with paddle attachment or a hand mixer
- Mixing bowl
- Rubber spatula
- Piping bag with a large open star tip
- If you do not own a piping bag, use a heavy zip top bag with a corner snipped off or shape small logs by hand.
- Baking sheets
- Parchment paper or silicone baking mats
- Cooling rack
- Small heatproof bowl for melting chocolate
Quick Tips & substitutions
- Soften butter until it yields easily to a finger press but still holds shape; cold or melted butter ruins the texture.
- Use room temperature egg so the batter stays smooth and does not curdle.
- Weigh flour if possible; too much flour makes dense biscuits that lose their delicate snap.
- Chill piped biscuits for 15 to 20 minutes before baking to help them keep their shape.
- Use semisweet chocolate for a classic flavor or milk chocolate if you bake for kids who prefer it sweeter.
- Add one teaspoon of finely grated orange zest to the dough for a citrus twist.
- Swap cornstarch with potato starch in equal measure if you need a corn free version.
- Use a gluten free all purpose blend that includes xanthan gum to make gluten free biscuits.
How to Make Crisp and Buttery Danish Biscuits with Chocolate Dip
Step 1: Cream butter and sugar
Place the very soft butter and granulated sugar in a mixing bowl. Beat with a mixer on medium speed until the mixture looks pale, fluffy, and slightly increased in volume, about 3 to 4 minutes. Scrape down the bowl once or twice so no streaks of butter hide at the bottom.
Step 2: Add egg and vanilla
Add the room temperature egg and vanilla extract to the bowl. Mix on low speed until the egg fully blends in and the mixture looks smooth and silky. Scrape the bowl again so the batter stays even and lump free.
Step 3: Mix dry ingredients
In a separate small bowl, whisk together the all purpose flour, cornstarch, and fine sea salt. This quick whisk prevents clumps and spreads the cornstarch evenly. Keep this bowl nearby so you can add it in stages.
Step 4: Combine into a soft dough
Add the dry ingredients to the butter mixture in two additions. Mix on low speed just until the flour disappears and the dough looks smooth and thick but still pipeable. If the dough feels too stiff to pipe, add a teaspoon of milk and mix briefly until it loosens slightly.
Step 5: Pipe the biscuits
Line baking sheets with parchment paper. Spoon the dough into a piping bag fitted with a large open star tip. Pipe small S shapes, rosettes, or short lines, leaving space between each biscuit so air can circulate.
Step 6: Chill and bake
Place the filled baking sheets in the fridge for 15 to 20 minutes so the dough firms up. Heat the oven to 350 degrees Fahrenheit while the biscuits chill. Bake one sheet at a time for 10 to 14 minutes, until the edges turn light golden and the centers look set.
Step 7: Cool completely
Remove the baking sheet from the oven and set it on a cooling rack. Let the biscuits sit on the sheet for 5 minutes so they firm up. Transfer them gently to the rack and cool them completely before you dip them in chocolate.
Step 8: Melt the chocolate
Place the chocolate and a small splash of neutral oil or coconut oil in a heatproof bowl. Set the bowl over a pot with a little simmering water, or microwave in short bursts of 15 to 20 seconds, stirring between each burst. Stir until the chocolate looks smooth and glossy with no lumps.
Step 9: Dip the biscuits
Dip each cooled biscuit about one third to one half of the way into the melted chocolate. Let excess chocolate drip back into the bowl, then place the biscuit on a parchment lined tray. Sprinkle on nuts, coconut, or flaky salt while the chocolate still feels wet.
Step 10: Set and serve
Leave the dipped biscuits at room temperature until the chocolate firms up. If your kitchen runs warm, slide the tray into the fridge for 10 minutes to speed things up. Once the chocolate sets, stack the Crisp and Buttery Danish Biscuits with Chocolate Dip on a plate and serve.
Recipe Variations
- Gluten free: Use a gluten free all purpose flour blend and check that your cornstarch and chocolate carry gluten free labels.
- Vegan: Swap butter with a good quality vegan block butter and use a flax egg or commercial egg replacer, then use dairy free chocolate.
- Low sugar: Reduce sugar by up to one third and use a darker chocolate with higher cocoa content.
- Citrus: Add lemon or orange zest to the dough and finish with a tiny pinch of zest on the chocolate.
- Spiced: Mix in ground cardamom or a little cinnamon for a cozy twist.
- Nutty: Replace part of the flour with almond flour and top the chocolate with chopped toasted nuts.
Ways to Serve Buttery Danish Biscuits
- Serve with hot coffee, tea, or hot chocolate for an afternoon treat.
- Pack a few biscuits in lunch boxes as a sweet surprise.
- Arrange them on a dessert platter with fresh berries and sliced fruit.
- Crumble them over vanilla ice cream or yogurt for a crunchy topping.
- Wrap a stack in a clear bag with a ribbon as a homemade gift.
Storage Success
Store Crisp and Buttery Danish Biscuits with Chocolate Dip in an airtight container at room temperature for up to one week. Keep them in a cool, dry spot so the chocolate does not soften. Layer parchment between stacks if you store more than one layer so the chocolate coating stays neat. Freeze baked and undipped biscuits for up to two months, then thaw, dip in chocolate, and let them set before serving.
Crisp and Buttery Danish Biscuits with Chocolate Dip
Ingredients
Method
- Preheat the oven to 350°F (175°C) and line two baking sheets with parchment paper.
- In a mixing bowl, cream the softened butter and granulated sugar together until light and fluffy.
- Beat in the egg, vanilla extract, and almond extract (if using) until well combined.
- In a separate bowl, whisk together the flour, baking powder, and salt. Gradually add the dry ingredients to the butter mixture and mix just until a soft dough forms.
- Using a teaspoon or small cookie scoop, portion the dough onto the prepared baking sheets, spacing the biscuits about 2 inches apart. Gently flatten each mound slightly with your fingers or the back of a spoon.
- Bake for 10–15 minutes, or until the edges are just turning golden and the centers are set. Allow the biscuits to cool on the baking sheet for 5 minutes, then transfer to a wire rack to cool completely.
- Once the biscuits are fully cooled, melt the chopped chocolate with the oil (if using) in a heatproof bowl set over a pan of gently simmering water, or in short bursts in the microwave, stirring until smooth.
- Dip one end of each biscuit into the melted chocolate, letting the excess drip off, then place on parchment paper to set. Allow the chocolate to firm up at room temperature or briefly chill in the refrigerator.
- Serve the crisp and buttery Danish biscuits with chocolate dip alongside coffee or tea, or store in an airtight container at room temperature for up to 5 days.
Notes
Approximate per 1 biscuit (1 of 24): 120 calories; fat 7 g; saturated fat 4 g; carbohydrates 14 g; fiber 1 g; sugars 7 g; protein 2 g; sodium 45 mg. Values are estimates and will vary based on specific ingredients, chocolate type, and portion size.