
Valentines Day Marshmallow Flower Recipe tastes like a soft vanilla cloud with fruity pops of color, perfect for anyone who loves cute treats more than fancy desserts and needs something done in about 30 minutes. It works well for busy parents, beginner bakers, or anyone who wants a kid-friendly Valentine’s Day project that still looks impressive on a dessert table. I tested these with my own kids, and they disappeared so fast I had to hide a few just to photograph them.
Why You Should Try This Valentines Day Marshmallow Flower Recipe
These marshmallow flowers look bakery-level adorable, but you only need basic grocery store ingredients and zero baking skills. You assemble everything cold, so you avoid hot sugar, candy thermometers, or anything that feels like a science experiment.
The recipe works perfectly for classroom parties, office treats, or a cozy night at home with a movie. Kids can help with almost every step, and adults still enjoy the flavor because the chocolate and sprinkles balance the sweetness.
“I made this Valentines Day Marshmallow Flower Recipe for a school party, and every single kid grabbed one first. The teachers asked how long I spent on them and looked shocked when I said under 30 minutes. They taste like chocolate-dipped marshmallows from a candy shop, but the flower shape makes them feel extra special.”
Ingredients You’ll Need
Main ingredients
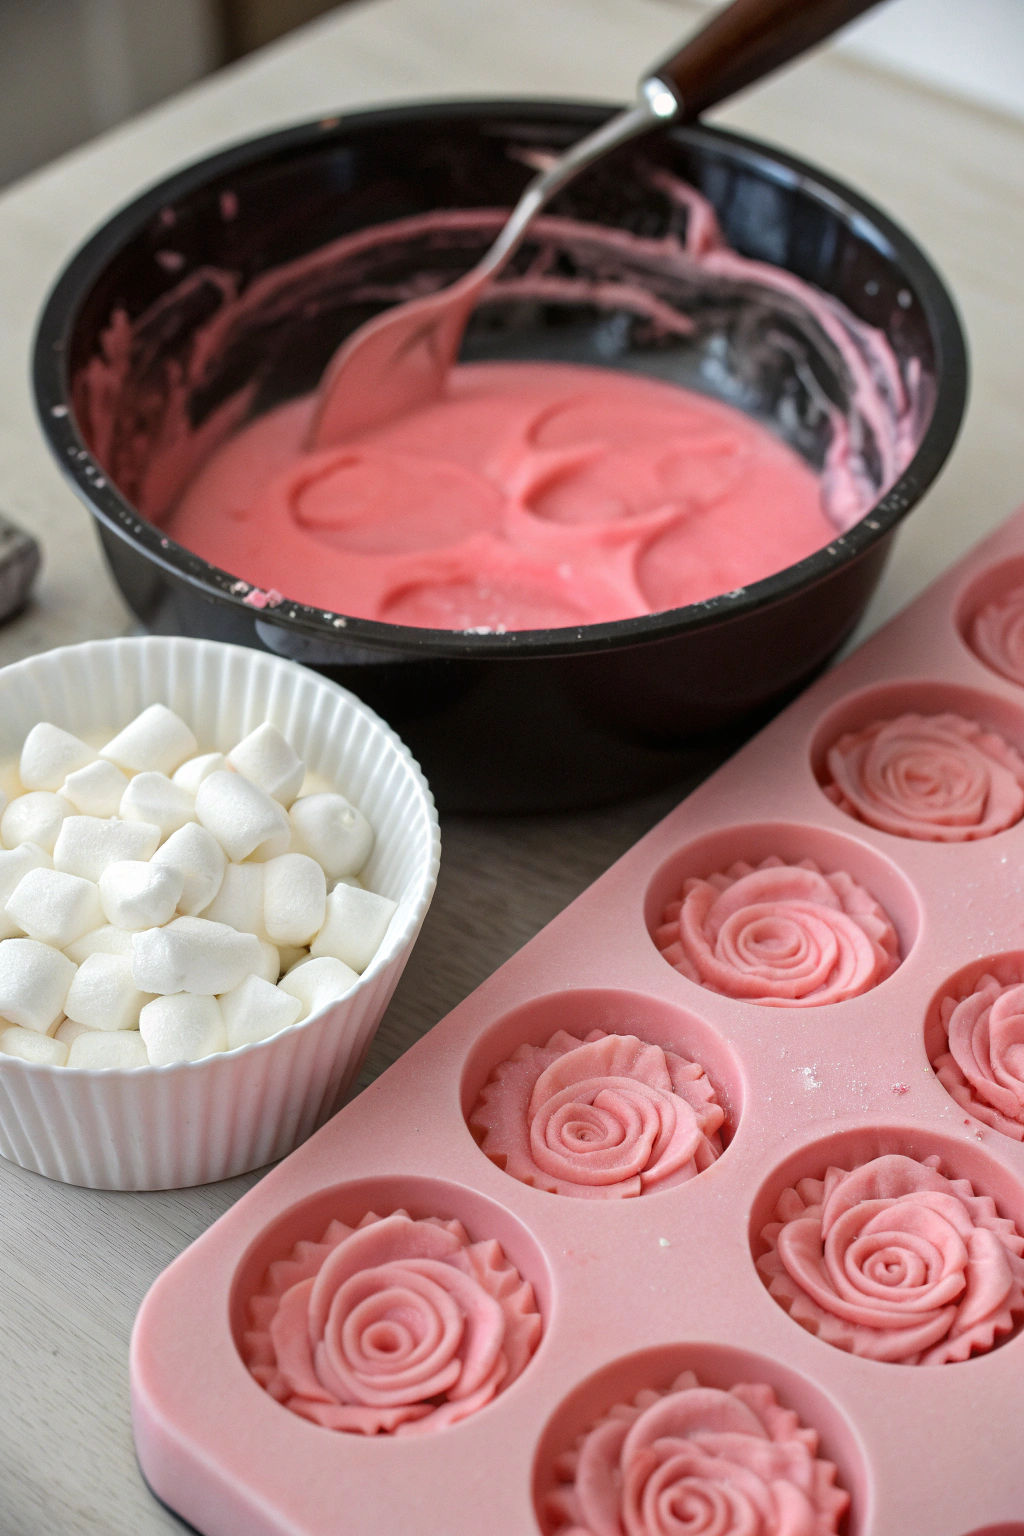
- Large marshmallows
- Use the standard size, not mini or jumbo.
- I like Jet-Puffed because they hold shape well, but any fresh, soft brand works.
- Mini marshmallows
- These form the petals.
- Use white for a classic look or pastel colors for extra Valentine vibes.
- Candy melts or chocolate coating
- Pink, red, or white candy melts work best for a neat, glossy finish.
- Use microwave-safe melting wafers; they coat smoothly and set quickly.
- Substitute with white chocolate chips plus 1 teaspoon neutral oil per cup if needed.
- Lollipop sticks or paper straws
- Use 6 to 8 inch sticks so the flowers feel like real “stems.”
- Paper straws look cute but feel softer; lollipop sticks feel sturdier.
- Sprinkles
- Use heart-shaped sprinkles or nonpareils for the flower centers.
- Any small sprinkle works, but avoid large chunky ones that fall off easily.
- Powdered sugar or cornstarch (optional)
- Use a tiny bit to keep cut marshmallows from sticking to your fingers.
Flavor and decoration options
- Strawberry or raspberry jam
- Spread a tiny bit between marshmallows for a fruity surprise.
- Use seedless jam so the texture stays smooth.
- Vanilla or almond extract
- Stir a few drops into melted white chocolate for extra flavor.
- Almond extract tastes strong, so use only a small amount.
- Colored sanding sugar
- Roll petals in pink or red sugar for sparkle.
- This works best while the marshmallow surface still feels slightly tacky.
Pantry shortcuts
- Use pre-colored candy melts so you skip food coloring.
- Use pre-mixed Valentine sprinkle blends instead of buying several jars.
- Use store-bought chocolate sauce only if it sets firm; most ice cream toppings stay too soft.
Equipment list
- Microwave-safe bowl for melting candy
- Small heatproof bowl or mug for dipping
- Sharp kitchen scissors or a small paring knife
- Cutting board
- Toothpicks or a small food-safe paintbrush for attaching petals
- Parchment paper or a silicone baking mat
- Cooling rack (optional, but helpful)
- Small bowls for sprinkles and mini marshmallows
Tips & Tricks
- Use fresh, soft marshmallows so petals cut cleanly and hold shape.
- Lightly dust scissors or knife with powdered sugar to keep cuts neat.
- Chill the marshmallows in the fridge for 5 minutes before dipping so the coating sets faster.
- Melt candy melts in short 15 to 20 second bursts and stir often to avoid scorching.
- Add 1 teaspoon neutral oil to thick melted candy to thin it for smoother dipping.
- Insert lollipop sticks gently with a twisting motion so marshmallows do not split.
- Cut mini marshmallows diagonally to form petal shapes with a sticky side that grips.
- Press petals on right after you dip or dot chocolate; they stick best while the coating still feels soft.
- Work in small batches of 2 to 3 flowers so the chocolate does not set before you add decorations.
- Stand finished flowers in a glass or poke them into a foam block so they dry without smudging.
- Use different sprinkle colors for the centers so each flower looks unique.
- Keep hands dry and clean; sticky fingers pull petals off.
- Practice one “test flower” first so you dial in timing and thickness of coating.
- If candy coating thickens, reheat it briefly and stir until smooth again.
- Store finished flowers away from heat and sunlight so colors stay bright.
How to Make Valentines Day Marshmallow Flower
Step 1: Prep your workspace
Line a baking sheet with parchment paper or a silicone mat.
Set out bowls with mini marshmallows, sprinkles, and any sanding sugar.
Place lollipop sticks, scissors, and toothpicks nearby so you do not scramble mid-project.
Step 2: Cut the mini marshmallow petals
Use clean, dry scissors and cut each mini marshmallow diagonally in half.
Each cut piece forms one petal with a sticky cut side and a rounded outer side.
Toss the sticky cut side lightly in colored sugar if you want sparkly petals, then set them in a bowl.
Step 3: Attach sticks to large marshmallows
Hold a large marshmallow firmly and twist a lollipop stick into the center of one flat end.
Push the stick about halfway through so the marshmallow feels secure but does not crack.
Repeat with all large marshmallows and set them upright on the lined tray.
Step 4: Melt the candy coating
Place candy melts or chocolate wafers in a microwave-safe bowl.
Microwave in 20 second bursts, stirring between each burst, until smooth and glossy.
Stir in a few drops of vanilla or almond extract if you want extra flavor, then test the texture; add a bit of neutral oil if it feels too thick.
Step 5: Dip the marshmallow “flower heads”
Hold a marshmallow by the stick and dip the top and sides into the melted candy.
Gently tap the stick on the side of the bowl to shake off excess coating.
Aim for a smooth, even layer that covers the marshmallow without dripping heavily.
Step 6: Add the flower petals
While the coating still feels soft, press mini marshmallow petals around the top edge.
Place the sticky cut side against the coated marshmallow so it clings easily.
Work around in a circle to form a ring of petals, then add a second layer if you want a fuller flower.
Step 7: Finish the flower centers
Dot a small amount of melted candy in the center of the flower with a toothpick or the tip of a spoon.
Sprinkle heart sprinkles or nonpareils into the center so they stick.
Gently tap off any loose sprinkles and set the flower upright on the tray.
Step 8: Let the flowers set
Place the tray in the fridge for about 10 to 15 minutes until the coating feels firm to the touch.
You can also let them sit at room temperature for 25 to 30 minutes if your kitchen feels cool.
Once the coating sets, lift each flower by the stick and check that petals and sprinkles stay secure.
Step 9: Add optional details
Tie a small ribbon bow around each stick near the base of the marshmallow.
Slide a green paper straw over the lollipop stick if you want a thicker, “stem-like” look.
Arrange the finished Valentines Day Marshmallow Flower Recipe treats in a jar or vase so they look like a candy bouquet.
What to Serve with Valentines Day Marshmallow Flower
Serve these marshmallow flowers with mugs of hot chocolate, strawberry milk, or simple cold milk for a cozy treat. They also sit nicely next to chocolate-covered strawberries, sugar cookies, or a small fruit platter. Kids love them as cupcake toppers, so you can stick one flower into each frosted cupcake. Arrange them in a bouquet as a centerpiece, then invite everyone to pick a flower as dessert.
Storage Options
- Store marshmallow flowers in a single layer in an airtight container at room temperature for up to 3 days.
- Keep them away from heat or direct sun so the coating does not soften or colors fade.
- Avoid the fridge for long storage because marshmallows can absorb moisture and turn sticky.
- Freeze only if needed: place flowers on a tray to firm up, then wrap gently and freeze up to 1 month; thaw at room temperature in the container so condensation forms on the container, not on the candy.
- Do not microwave to reheat; serve them at room temperature so the coating stays crisp and the marshmallow stays soft.
Valentines Day Marshmallow Flower Recipe
Ingredients
Method
- Line a baking sheet with parchment paper and set aside. Insert a lollipop stick or paper straw into each marshmallow to form the flower base.
- Melt the white chocolate or candy melts in a microwave-safe bowl in 20–30 second bursts, stirring between each, until smooth. Stir in a little vegetable oil if needed to thin.
- Dip each marshmallow into the melted coating, turning to cover completely. Gently tap off any excess, then place on the prepared baking sheet.
- While the coating is still wet, press small candy pieces into the center of the marshmallow and sprinkle the edges with sprinkles or colored sugar to resemble flower petals.
- Melt the pink or red candy melts and drizzle or pipe around the top edges of the marshmallows to add petal detail, if desired.
- Allow the marshmallow flowers to set at room temperature until the coating is firm, about 15–20 minutes, or refrigerate briefly to speed up setting.
- Serve the marshmallow flowers on a platter or wrap individually in cellophane bags for gifting.
Notes
Approximate per 1 flower (1 marshmallow with coating and decorations): 110–130 calories; fat 4–6 g; saturated fat 3–4 g; carbohydrates 20–24 g; fiber 0–1 g; sugars 18–22 g; protein 1–2 g; sodium 15–40 mg. Values will vary based on brands, type and amount of candy melts, sprinkles, and decorations used, as well as actual portion size.