
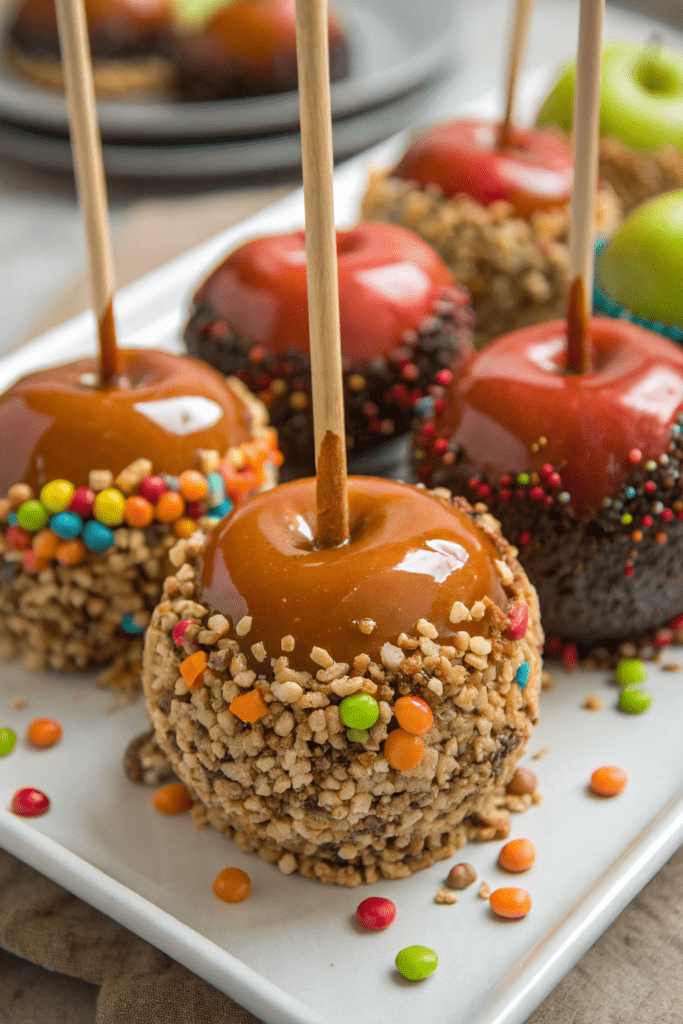
How to Make Caramel Apples tastes like a crisp fall fair in your kitchen, with tart juicy apples wrapped in buttery, chewy caramel and whatever fun toppings you pile on. It works for busy parents, party hosts, or anyone who wants a nostalgic dessert in about 45–60 minutes, start to finish. I still remember burning my first batch a decade ago, so you can learn from my caramel scars instead of earning your own.
Why Choose This How to Make Caramel Apples
This method gives you thick, clingy caramel that hugs the apples instead of sliding off in sad puddles. You use simple ingredients, a regular saucepan, and a candy thermometer so you hit that sweet spot between soft and chewy.
You also get options for toppings, shortcuts, and make-ahead storage, so the recipe fits weeknight treats or a full-on fall party. Kids can help with dipping and decorating, while you handle the hot sugar part like the kitchen hero you are.
“Best caramel apples I’ve ever made at home, and the caramel actually stayed on the apples ★★★★★”
Ingredients You’ll Need
Apples
- 8 small to medium apples
- Granny Smith apples give a tart contrast that cuts the sweetness.
- Honeycrisp or Fuji apples taste sweeter and juicier if you prefer less tang.
- Choose firm apples without bruises so they hold up to dipping.
Caramel Ingredients
- 1 cup (2 sticks / 226 g) unsalted butter
- 2 cups (400 g) packed light brown sugar
- 1 cup (240 ml) heavy cream
- 1 cup (240 ml) light corn syrup
- Corn syrup helps prevent crystals and keeps the caramel smooth.
- 1 teaspoon vanilla extract
- 1 teaspoon fine sea salt or kosher salt
- Use salted butter and reduce added salt to 1/2 teaspoon if needed.
Optional Flavor Boosters
- 1/2 teaspoon ground cinnamon
- 1/4 teaspoon ground nutmeg
- 1/2 teaspoon maple extract instead of part of the vanilla for a fall twist
Toppings
Mix and match your favorites:
- Chopped roasted peanuts, pecans, or almonds
- Mini chocolate chips
- Crushed pretzels
- Crushed graham crackers
- Toasted shredded coconut
- Crushed candy bars or toffee bits
- Sprinkles
- Melted chocolate for drizzling
- Use good-quality chocolate chips or melting wafers for easy drizzles.
Pantry Shortcuts & Substitutions
- Use store-bought soft caramels:
- 1 1/2 pounds (about 680 g) soft caramel candies
- 1/4 cup (60 ml) heavy cream
- Melt together for a quicker version.
- Use dark brown sugar for deeper flavor and a slightly richer color.
- Use half-and-half instead of heavy cream in a pinch, but expect slightly firmer caramel.
Equipment
- Heavy-bottomed medium saucepan (3 to 4 quart)
- Candy thermometer (clip-on style works best)
- Wooden spoon or heatproof silicone spatula
- Baking sheet lined with parchment paper or a silicone mat
- 8 wooden sticks, popsicle sticks, or sturdy skewers
- Small sharp knife or metal skewer to pierce apples
- Heatproof bowl if you use a double boiler method for store-bought caramels
- Small bowls or plates for toppings
Tips & Tricks
- Wash apples in hot water and rub them dry to remove wax so the caramel sticks.
- Chill apples in the fridge at least 30 minutes before dipping to help the caramel set quickly.
- Insert sticks straight through the core so the apples feel stable when you dip.
- Use a heavy-bottomed saucepan so the caramel heats evenly and avoids scorching.
- Clip a candy thermometer to the side of the pot so the tip sits in the caramel, not on the bottom.
- Stir gently and steadily so the mixture heats evenly and stays smooth.
- Keep the heat at medium or medium-low; high heat burns caramel fast.
- Aim for 240–245°F (soft ball stage) for chewy but not rock-hard caramel.
- Tilt the pan and swirl the apple instead of dunking it straight down to coat evenly.
- Let excess caramel drip off, then scrape the bottom of the apple on the pan edge so it does not pool.
- Roll apples in toppings while the caramel still feels warm and tacky.
- If the caramel thickens too much, warm it gently over low heat and stir until it loosens.
- Keep finished apples in the fridge if your kitchen runs warm so the caramel stays firm.
- Line the tray with parchment or a silicone mat so apples release easily.
- Work in batches of 4 apples at a time so the caramel does not cool too much between dips.
How to Make How to Make Caramel Apples
Prep the Apples
- Rinse the apples under hot tap water and scrub them with a clean towel.
- Dry them very well so no moisture stays on the skin.
- Pull off any stems.
- Insert a wooden stick into the top of each apple through the core, leaving enough stick as a handle.
- Place the apples on a plate or tray and chill them in the fridge while you make the caramel.
Set Up Your Work Station
- Line a baking sheet with parchment paper or a silicone baking mat.
- Set out your toppings in shallow bowls or on small plates near the baking sheet.
- Place your candy thermometer, spoon, and saucepan within easy reach.
- Clear a space on the counter so you can move quickly once the caramel reaches temperature.
Cook the Caramel
- Add butter, brown sugar, heavy cream, and corn syrup to the saucepan.
- Set the pan over medium heat and stir until the butter melts and the mixture looks smooth.
- Attach the candy thermometer to the side of the pan.
- Bring the mixture to a gentle boil while you stir constantly.
- Continue to cook, stirring often, until the thermometer reads 240–245°F.
- Adjust the heat as needed so the caramel bubbles steadily but does not scorch.
- When it reaches temperature, remove the pan from the heat.
- Stir in vanilla, salt, and any optional spices until fully combined.
- Let the caramel sit for 3–5 minutes so it thickens slightly and clings better to the apples.
Dip the Apples
- Take the chilled apples out of the fridge.
- Hold one apple by the stick and tilt the saucepan slightly so the caramel pools to one side.
- Dip the apple into the caramel and rotate it slowly so the caramel coats it evenly up to the top.
- Lift the apple and let the excess caramel drip back into the pan for a few seconds.
- Gently scrape the bottom of the apple along the rim of the pan so it does not leave a big caramel foot.
- Place the coated apple on the lined baking sheet.
- Repeat with the remaining apples, working steadily so the caramel stays warm and fluid.
Add Toppings
- While the caramel still feels warm and sticky, roll each apple in your chosen toppings.
- Press toppings lightly with your hand so they adhere well.
- If you plan to drizzle with melted chocolate, let the caramel set for about 10–15 minutes first.
- Melt chocolate chips or wafers in a microwave-safe bowl in short bursts, stirring between each.
- Use a spoon or small piping bag to drizzle chocolate over the apples in thin lines.
- Return the apples to the lined tray.
Set and Serve
- Let the caramel apples sit at room temperature for about 30–45 minutes until the coating feels firm.
- If your kitchen runs warm, move the tray to the fridge to help them set faster.
- Serve the apples whole with plenty of napkins, or slice them with a sharp knife for easier sharing.
- Enjoy within a day or two for the best texture and crunch.
What to Serve with it?
Caramel apples pair nicely with hot apple cider, hot chocolate, or a simple mug of tea. I like to set out a snack board with sliced cheddar, salted nuts, and plain apple slices so people can balance the sweetness. You can also serve them with vanilla ice cream and a sprinkle of cinnamon for a full dessert plate. If you host a kids’ party, add bowls of popcorn and pretzels so everyone can nibble between sticky bites.
Storage Options
- Store whole caramel apples in the fridge on a parchment-lined tray for up to 3 days.
- Wrap each apple tightly in plastic wrap if you stack them, so they do not stick together.
- Freeze sliced caramel apple pieces on a parchment-lined tray, then move them to a freezer bag for up to 1 month.
- Thaw frozen slices in the fridge, then enjoy them chilled or at cool room temperature.
- Avoid microwaving whole caramel apples since the caramel can slide off and the apple can turn mushy.
- If you want slightly softer caramel, let refrigerated apples sit at room temperature for 10–15 minutes before serving.
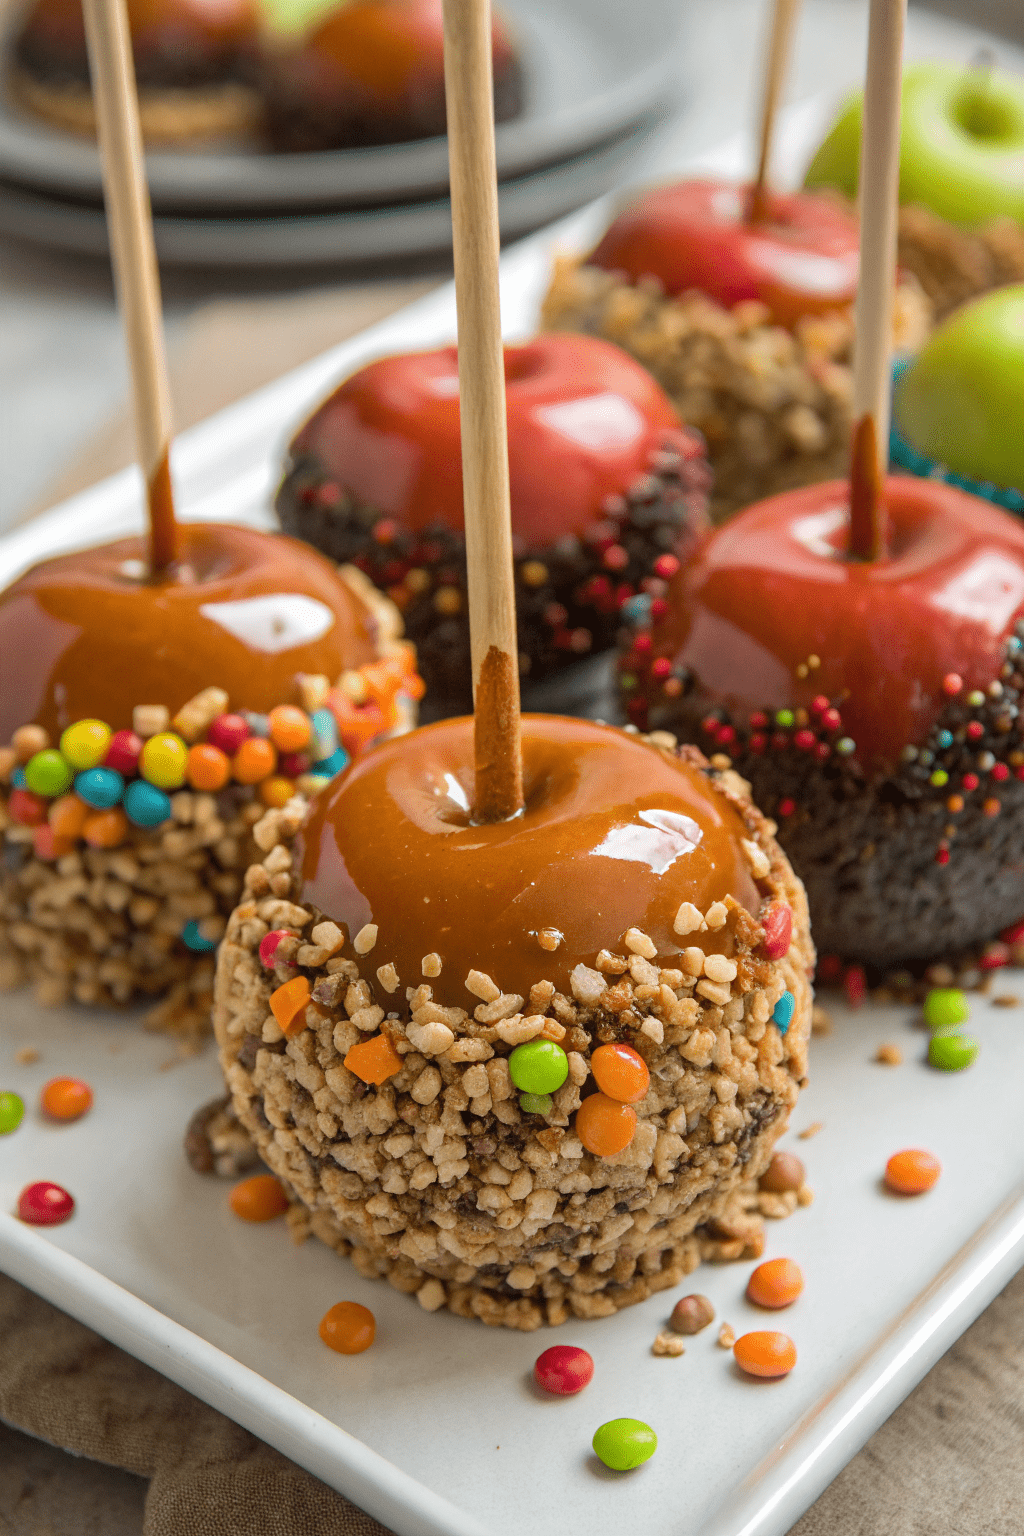
How to Make Caramel Apples
Ingredients
Method
- Rinse the apples under hot tap water and scrub them with a clean towel to help remove any wax so the caramel sticks better.
- Dry the apples very well so no moisture remains on the skin.
- Pull off any stems from the apples.
- Insert a wooden stick into the top of each apple straight through the core, leaving enough stick at the top to use as a handle.
- Place the apples on a plate or tray and chill them in the refrigerator while you make the caramel.
- Line a baking sheet with parchment paper or a silicone baking mat and set it aside.
- Place your toppings in shallow bowls or on small plates and keep them near the lined baking sheet.
- Set out your saucepan, candy thermometer, and a wooden spoon or heatproof spatula so they are within easy reach.
- Clear a space on the counter so you can move quickly once the caramel reaches temperature.
- Add the butter, brown sugar, heavy cream, and corn syrup to a heavy-bottomed medium saucepan.
- Place the pan over medium heat and stir until the butter melts and the mixture looks smooth.
- Attach a candy thermometer to the side of the pan, making sure the tip sits in the caramel and not on the bottom of the pan.
- Bring the mixture to a gentle boil, stirring constantly so it heats evenly and does not scorch.
- Continue to cook, stirring often, until the thermometer reads 240–245°F (soft-ball stage) for a chewy but not rock-hard caramel.
- Adjust the heat as needed so the caramel bubbles steadily without burning.
- When the caramel reaches temperature, remove the pan from the heat.
- Stir in the vanilla, salt, and any optional spices or maple extract until fully combined.
- Let the caramel sit for 3–5 minutes so it thickens slightly and will cling better to the apples.
- Remove the chilled apples from the refrigerator.
- Hold one apple by the stick and tilt the saucepan slightly so the caramel pools to one side.
- Dip the apple into the caramel and slowly rotate it so the caramel coats the apple evenly up to the top.
- Lift the apple and let the excess caramel drip back into the pan for a few seconds.
- Gently scrape the bottom of the apple along the rim of the pan so it does not leave a large puddle of caramel on the tray.
- Place the coated apple on the lined baking sheet.
- Repeat with the remaining apples, working steadily so the caramel stays warm and fluid. If it thickens too much, warm it gently over low heat and stir until it loosens again.
- While the caramel is still warm and tacky, roll each apple in your chosen toppings or sprinkle the toppings over the surface, pressing lightly so they adhere.
- If you plan to drizzle with melted chocolate, let the caramel set on the apples for about 10–15 minutes first.
- Melt chocolate chips or melting wafers in a microwave-safe bowl in short bursts, stirring between each, until smooth, then drizzle over the apples with a spoon or small piping bag if desired.
- Return the apples to the lined tray and let them sit at room temperature for 30–45 minutes, or chill them, until the caramel is firm.
- Serve the caramel apples whole or slice them with a sharp knife for easier sharing.
Notes
Approximate per caramel apple (1 of 8, without toppings): 430–460 calories; fat 24 g; saturated fat 15 g; carbohydrates 55 g; fiber 3 g; sugars 49 g; protein 2 g; sodium 260 mg. Values are estimates and will vary based on apple size, toppings, and portion size.