
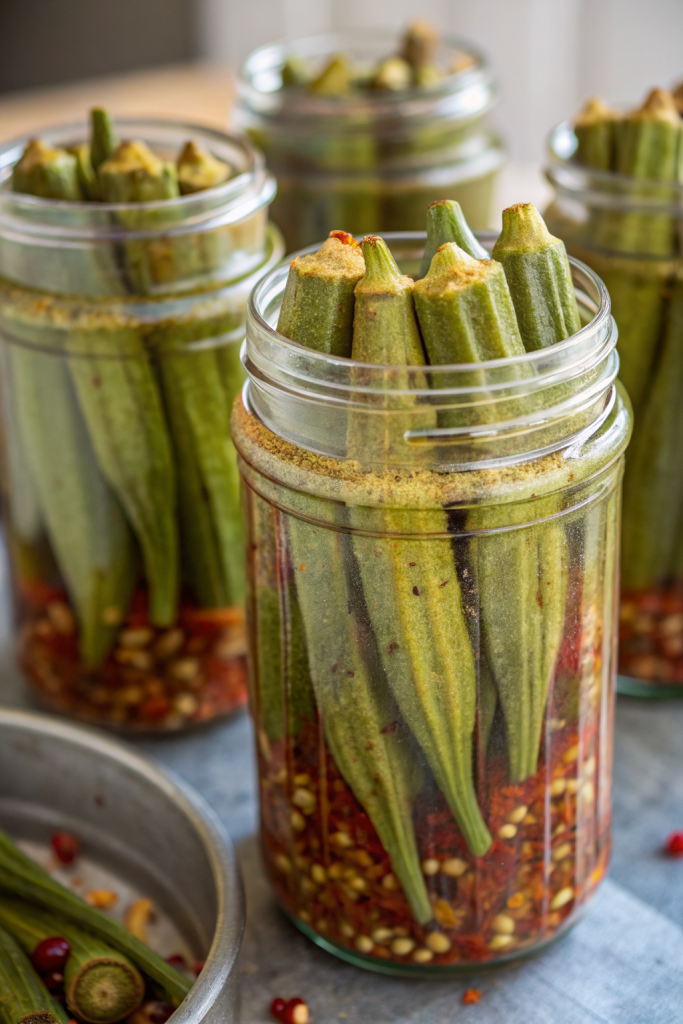
How to Pickle Okra tastes tangy, garlicky, a little spicy, and keeps that perfect crunchy snap that turns okra skeptics into fans. It works for busy home cooks who want a quick small-batch pickle in under 30 minutes of active time, plus a short rest before eating. I grew up in the South, and I still get a little too excited when I see a jar of crisp pickled okra on the table.
Why Make This Pickle Okra at Home
Homemade pickled okra tastes brighter and crunchier than most store brands, and you control the heat, salt, and garlic level. You also skip weird additives, use the vinegar you like, and adjust the flavor to match your favorite dishes.
You also save money when you pickle a big farmer’s market haul instead of letting okra wilt in the crisper. Small-batch pickling turns a short okra season into jars you can enjoy for weeks.
“This Pickle Okra recipe gave me the crunch and tang I wanted, and my family finished a whole jar in one night. ★★★★★”
Ingredients You Need
Here is what you need to make a classic, crunchy How to Pickle Okra recipe.
Fresh produce
- Fresh okra pods, small to medium, firm and unblemished
- Fresh garlic cloves
- Fresh dill sprigs or dill seed
- Fresh hot peppers, such as jalapeño or serrano, optional for heat
- Lemon slices, optional for a citrusy twist
Vinegar and liquid
- Distilled white vinegar, 5 percent acidity, for classic sharp flavor
- Apple cider vinegar, optional, for a slightly softer, fruity flavor
- Water, filtered if your tap water tastes strongly of chlorine
Salt and sweetener
- Pickling salt or kosher salt without additives
- White sugar or cane sugar, optional, to round out the acidity
Spices
- Whole black peppercorns
- Mustard seeds
- Coriander seeds, optional
- Crushed red pepper flakes, optional
- Bay leaves
You can use all white vinegar for a very bright, old-school Southern flavor. You can also use half white vinegar and half apple cider vinegar for a slightly mellower brine. Avoid balsamic or rice vinegar here, since they change the color and flavor too much for classic pickled okra.
Pantry shortcuts and brand notes
- Use pre-peeled garlic from the refrigerated section if you feel short on time, but pick firm cloves.
- Use pickling spice blends if you do not want to buy separate spices; just check the label for cloves if you dislike that flavor.
- Use canning salt or a kosher brand without anti-caking agents, since additives can cloud the brine.
Equipment
- 2 to 4 glass jars with lids, pint size, wide mouth works best
- Small saucepan for the brine
- Measuring cups and spoons
- Funnel, optional but helpful
- Tongs or clean chopsticks to pack okra
- Clean towel or paper towels
Tips & Mistakes
- Pick small, young okra pods; large pods often turn tough and stringy in the jar.
- Dry the okra very well after rinsing, or extra water can dilute the brine and soften the texture.
- Pack the okra tightly in the jars so they stand upright and stay submerged in the brine.
- Trim only the stem tips; do not cut into the pod, or the seeds spill out and the jar turns slimy.
- Use vinegar with 5 percent acidity; lower acidity can lead to a bland and unsafe pickle.
- Heat the brine until the salt and sugar dissolve, but do not boil it for a long time, or the flavor turns harsh.
- Cool the jars to room temperature before chilling, or sudden temperature changes can crack glass.
- Chill the pickled okra at least 24 hours before eating; if you rush it, the flavor and crunch stay weak.
- Label the jars with the date so you track freshness and flavor changes over time.
- Taste a pod every few days; when the flavor hits your sweet spot, eat that batch within a couple of weeks.
How to Pickle Okra
Prep the okra and jars
Rinse the okra under cool water and pat it completely dry with a clean towel. Trim only the very tip of the stem and the pointy end, and keep the pod intact. Wash the jars and lids in hot soapy water, rinse well, and let them air dry upside down on a clean towel.
Pack the jars
Place a garlic clove or two, a dill sprig, a small piece of hot pepper, a few peppercorns, mustard seeds, and a bay leaf in the bottom of each jar. Stand the okra pods upright in the jars, tips up, packing them snugly so they do not float. Tuck extra dill or a lemon slice along the side if you want more flavor.
Make the brine
Combine vinegar, water, salt, and sugar in a small saucepan. Add extra spices if you want a stronger flavor, such as more peppercorns or red pepper flakes. Heat the mixture over medium heat and stir until the salt and sugar dissolve, then turn off the heat.
Fill the jars
Place the jars on a towel to protect your counter. Use a funnel if you have one, and pour the hot brine over the okra, leaving about half an inch of headspace at the top. Tap the jar gently or slide a clean chopstick down the sides to release any air bubbles, then add more brine if needed to cover the okra fully.
Seal and chill
Wipe the rims of the jars with a clean damp cloth so the lids seal well. Screw the lids on until fingertip tight, not overly tight. Let the jars cool to room temperature, then move them to the refrigerator.
Wait and taste
Chill the jars at least 24 hours before tasting, though 2 to 3 days gives better flavor. Taste one pod and adjust your next batch based on what you like: more garlic, more heat, or a touch more sugar. Keep the jars in the fridge and enjoy them within a few weeks for the best crunch.
Variations I’ve Tried
Spicy pickled okra: Add more jalapeño slices, a pinch of red pepper flakes, and extra black peppercorns to each jar. This version works great on tacos and next to grilled chicken.
Garlic and dill heavy: Double the garlic and dill for a flavor that hits like a classic dill pickle, just with okra instead of cucumbers. This version works well for snacking straight from the jar.
Smoky version: Add a small pinch of smoked paprika and a slice of fresh hot pepper to each jar. The smoky note pairs nicely with roasted vegetables and grilled fish.
Citrus twist: Add a thin slice of lemon or lime to each jar and use a mix of white and apple cider vinegar. The citrus brightens the brine and makes the okra taste extra fresh.
How to Serve Pickle Okra
Serve pickled okra straight from the jar as a crunchy snack or appetizer, especially when you want something salty and tangy. Add it to snack boards with cheese, fresh vegetables, hummus, and crackers. Slice it and toss into salads, grain bowls, or cold pasta salads for extra texture and flavor. You can also tuck whole pods next to fried chicken, grilled fish, or a simple pot of beans and rice.
How to store
- Store jars of How to Pickle Okra in the refrigerator for up to 3 to 4 weeks for the best flavor and crunch.
- Keep the okra submerged in brine at all times; top off with a little extra vinegar and water if needed.
- Avoid freezing pickled okra, since freezing softens the texture and turns the pods mushy.
- Serve the pickled okra cold straight from the fridge; do not reheat, since heat softens the crunch and dulls the bright flavor.
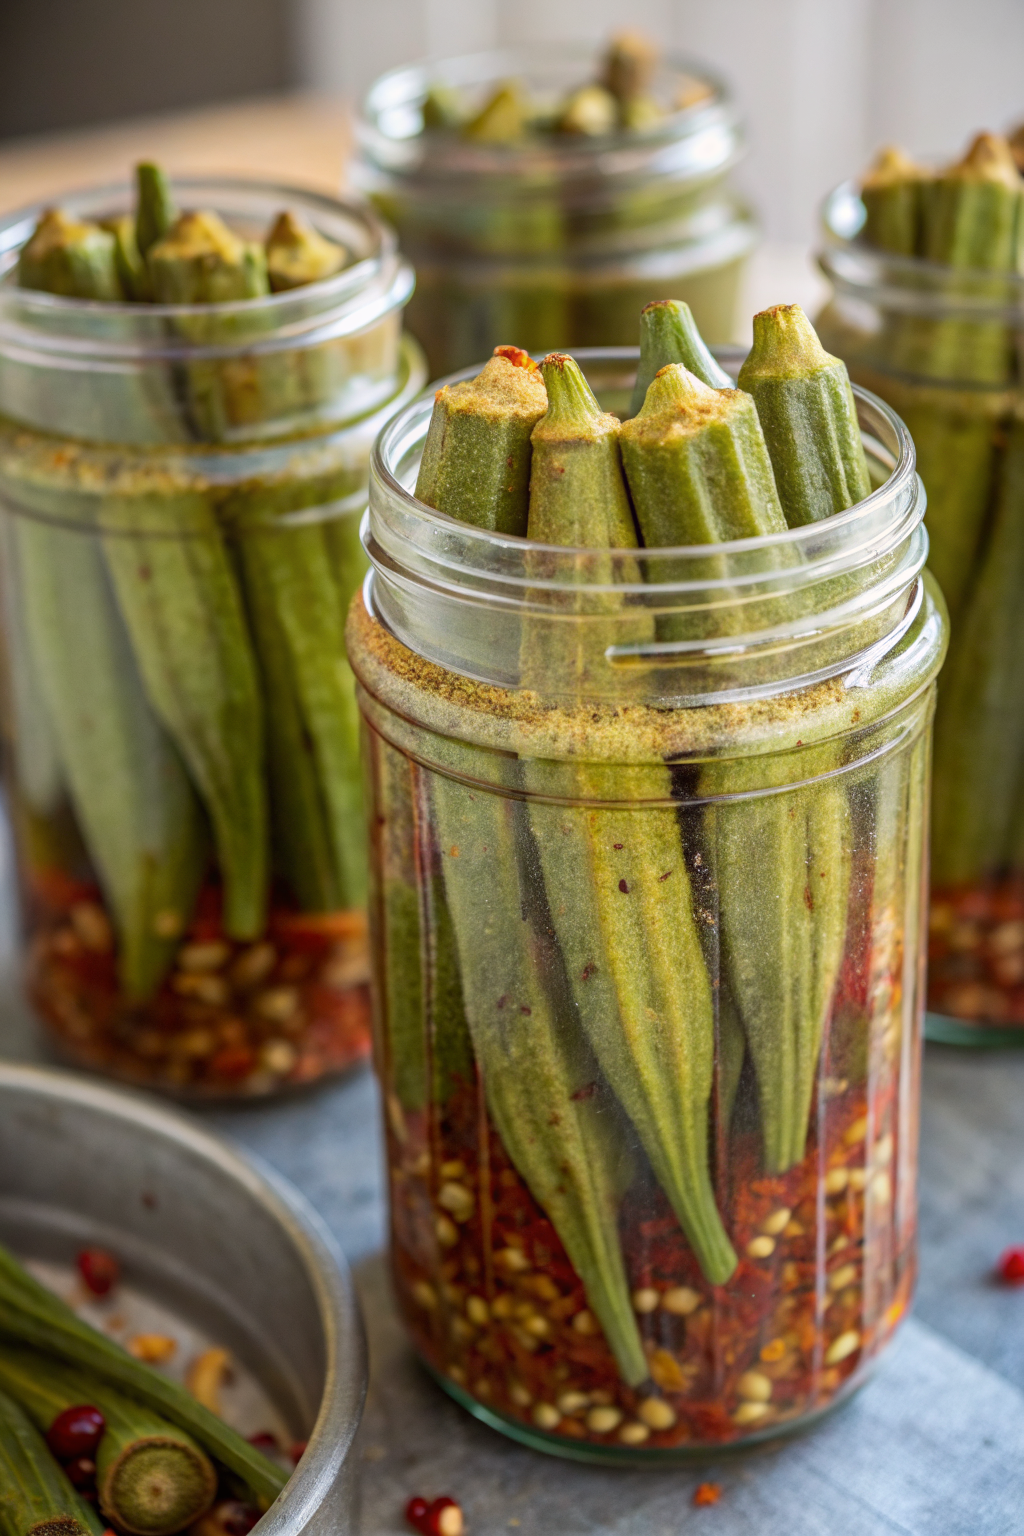
How to Pickle Okra
Ingredients
Method
- Rinse the okra under cool water and pat it completely dry with a clean towel. Trim only the very tip of the stem and the pointy end, keeping each pod intact so the seeds do not spill out.
- Wash 2 to 4 wide-mouth pint jars and their lids in hot soapy water, rinse well, and let them air dry upside down on a clean towel.
- Place 1 garlic clove, 1 dill sprig, a few slices of hot pepper (if using), a pinch of peppercorns, mustard seeds, coriander seeds (if using), a pinch of red pepper flakes (if using), and 1 bay leaf in the bottom of each jar.
- Stand the okra pods upright in the jars, tips up, packing them snugly so they do not float. Tuck in extra dill or a lemon slice along the side of each jar if you want more flavor.
- In a small saucepan, combine the vinegar, water, salt, and sugar (if using). Add any remaining peppercorns or spices you like for stronger flavor. Heat over medium heat, stirring just until the salt and sugar dissolve, then remove from the heat without boiling for a long time.
- Place the packed jars on a towel to protect your counter. Using a funnel if you have one, pour the hot brine over the okra, leaving about 1/2 inch of headspace at the top of each jar.
- Tap each jar gently on the counter or slide a clean chopstick or thin utensil down the sides to release any air bubbles. Add more brine if needed so the okra is fully submerged.
- Wipe the rims of the jars with a clean damp cloth, then screw the lids on until fingertip tight, not overly tight. Let the jars cool at room temperature until no longer warm.
- Refrigerate the cooled jars and chill at least 24 hours before tasting, preferably 2 to 3 days for better flavor and crunch.
- Taste a pod and adjust your next batch as desired with more garlic, heat, or a touch more sugar. Keep the jars refrigerated and use within a few weeks for the best texture.
Notes
Approximate per serving (about 2–3 pods plus brine): 25 calories; fat 0 g; saturated fat 0 g; carbohydrates 5 g; fiber 1 g; sugars 2 g; protein 1 g; sodium 380 mg. Values are estimates and will vary based on brine concentration, jar size, and portion size. Storage: Keep jars refrigerated for up to 3–4 weeks, making sure the okra stays fully submerged in the brine.